Update notice — September 2026: This article was originally published in 2019 and shows an earlier interface of Azure AD Connect. The product is now called Microsoft Entra Connect. The original procedure has been preserved as a historical reference; before using it in production, consult the current Microsoft documentation below.
Current requirements: Microsoft recommends Windows Server 2025 or Windows Server 2022. TLS 1.2 must be enabled, and Microsoft Entra Connect Sync must be on version 2.5.79.0 or later before September 30, 2026, to avoid synchronization failures.
Source: Microsoft Entra Connect: Prerequisites and hardware: “All synchronization services in Microsoft Entra Connect Sync will stop working on September 30, 2026 if you’re not on at least version 2.5.79.0.”
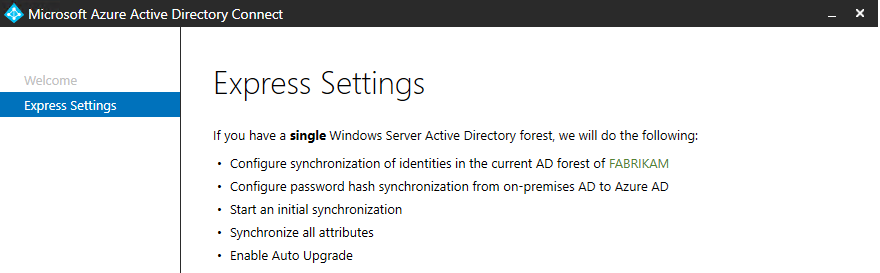
Hello, everyone. In today’s article, we’ll install AD Connect using the simplest method, and the one used in most hybrid identity management implementations with Azure AD: the express installation. By default, this installation mode automatically configures the PHS (Password Hash Synchronization) authentication method.
What Is AD Connect Express Install?
The express installation of Azure AD Connect is the method used by more than 90% of Microsoft customers with a configured hybrid identity environment.
Consider this deployment if you have the scenario below:
- You have a single on-premises forest.
- You have fewer than 100,000 objects in the on-premises domain.
You need to have a credential with Enterprise Administrator access during the installation.
With the express installation, PHS synchronization is enabled by default, which synchronizes users’ password hashes in encrypted format to Azure AD.
The express installation enables:
- Synchronizing users, contacts, groups, and devices with Windows 10 installed.
- Automatic upgrade of Azure AD Connect, when available, making it possible to always have the latest version of the tool.
- All objects and OUs will be synchronized to Azure AD.
Requirements to Perform the Installation
- AD Schema at least version 2003 or later.
- It’s recommended to enable the domain recycle bin.
- Windows Server Standard or better. Windows Server Essentials from version 2019 onward is supported.
- It’s not recommended to install on domain controllers for security reasons.
- Installing the tool on a Windows Server Core server is not supported.
- It must be installed on a Windows Server 2008 R2 or later version with all updates applied.
- You must have PowerShell version 3.0 and .NET Framework 4.5.1.
- You need credentials with Global Admin privileges in Azure and Enterprise Admin privileges in the on-premises domain.
AD Connect Server Configuration
| Number of Objects | CPU | Memory | Disk |
| Fewer than 10,000 | 1.6GHz | 4GB | 70GB |
| Between 10,000 and 50,000 | 1.6GHz | 4GB | 70GB |
| Between 50,000 and 100,000 | 1.6GHz | 16GB | 100GB |
For more information about the Azure AD Connect installation requirements, click this link.
Express Installation of Azure AD Connect
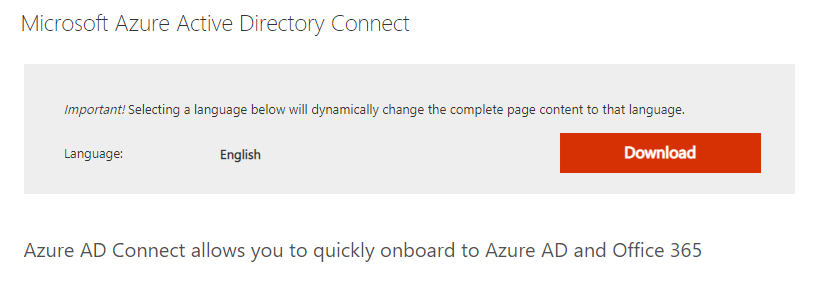
Download the AAD Connect installer through this link.
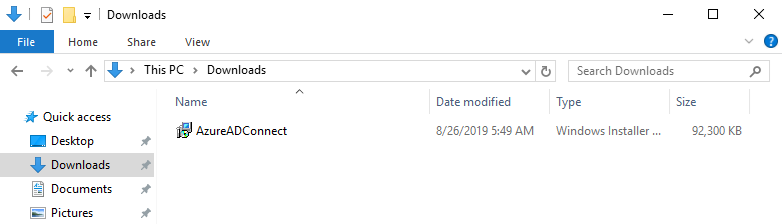
Run the AzureADConnect.msi file.
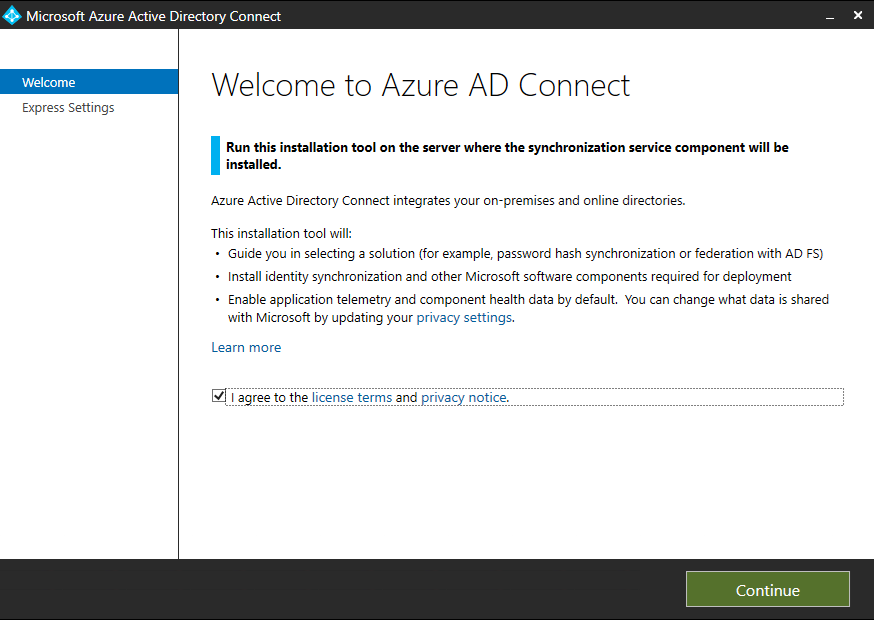
Accept the license terms and click Continue.
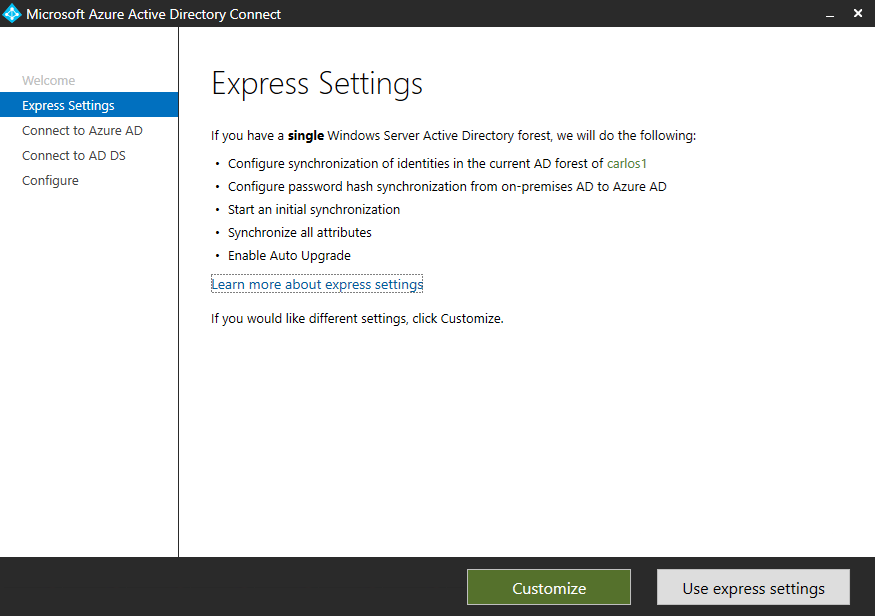
If there are no issues with the Azure AD Connect installation requirements, click Use express settings.
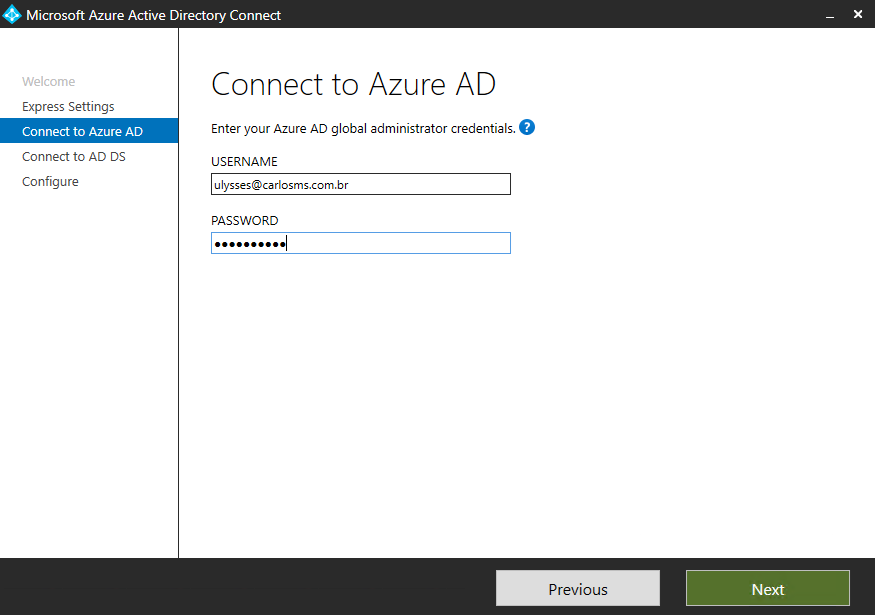
Sign in with the credential of the user who has the Global Administrator role in Azure and click Next.
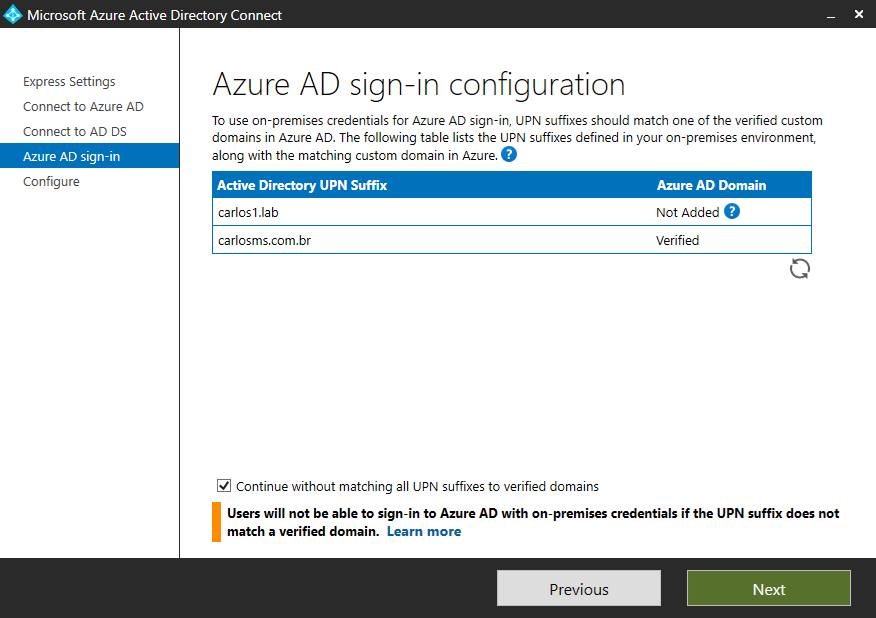
The message below occurs when the on-premises domain doesn’t have a UPN suffix registered in Azure AD.
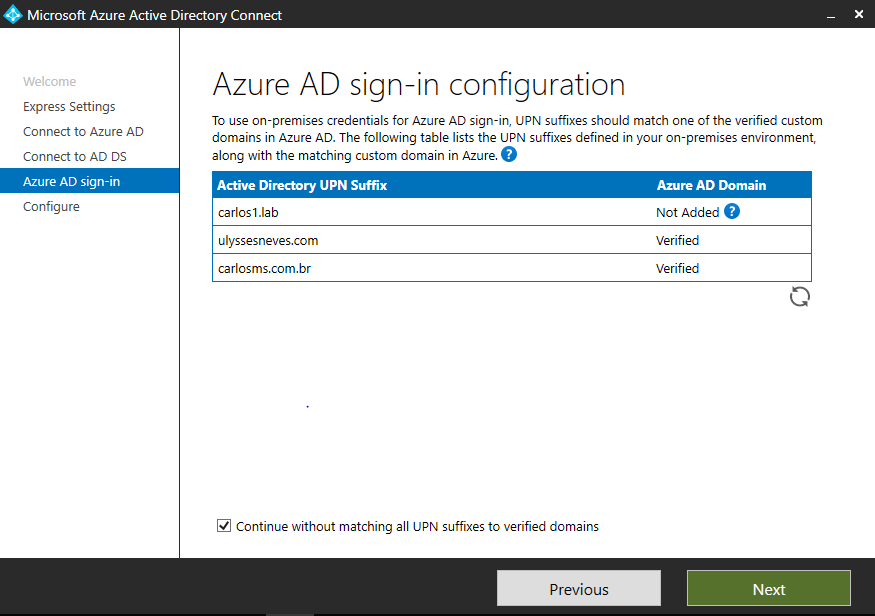
Let’s adjust the trust of the on-premises domain with the domain ulyssesneves.com and verify that domain again.
By clicking refresh, we can see that the UPN suffix is verified.
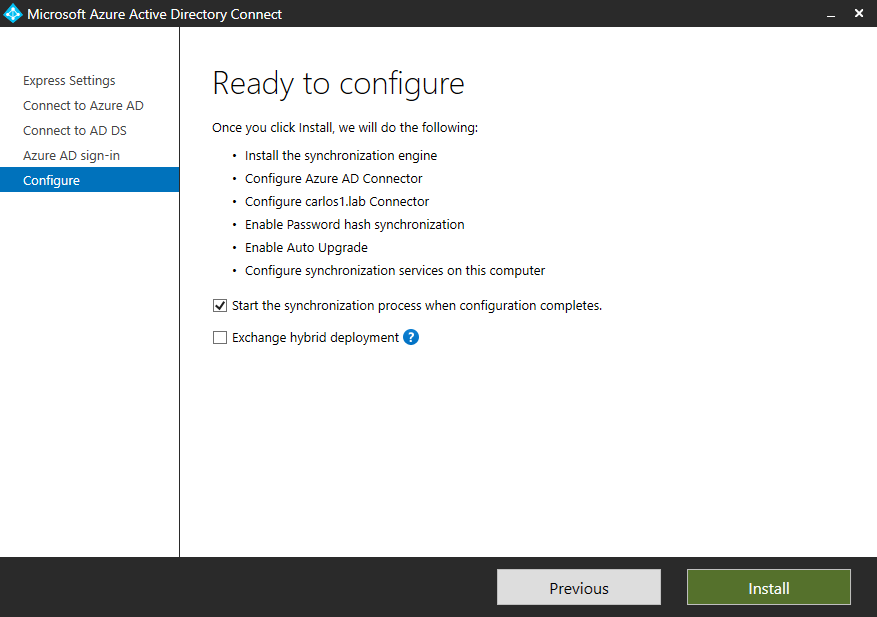
Click Install.
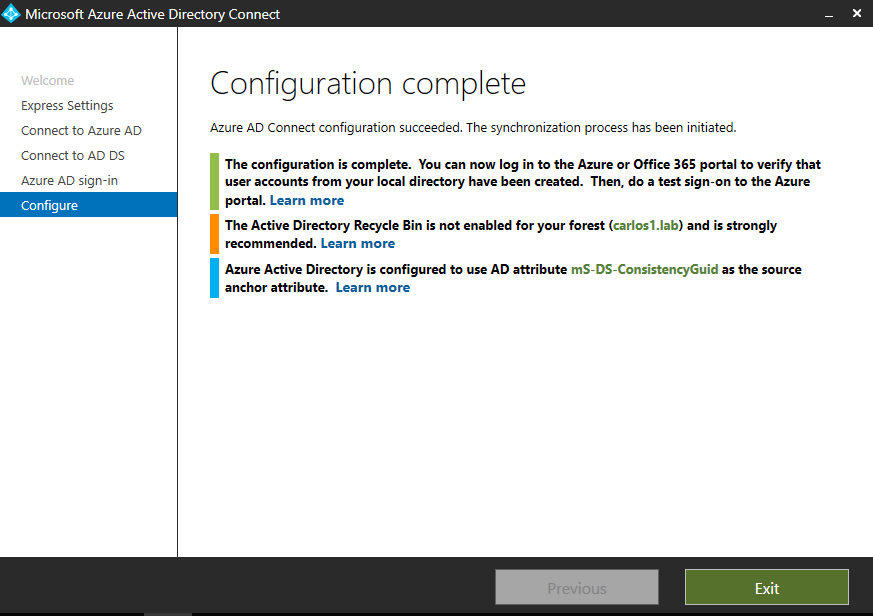
With the configuration complete, click Exit.
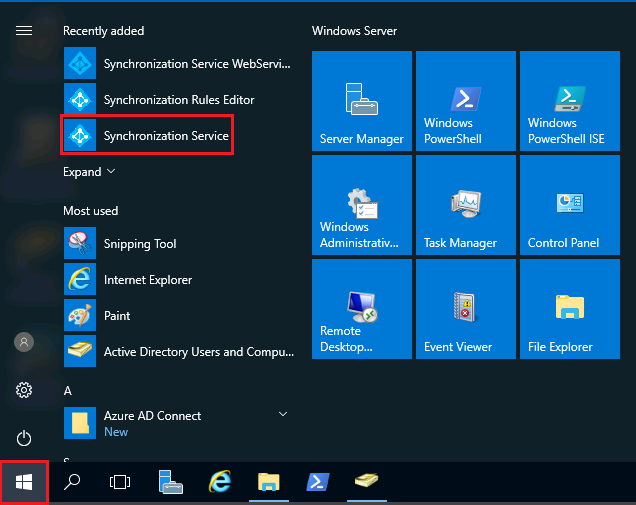
Let’s now show how the AD Connect synchronization service works.
Open the Start menu and click Synchronization Service.
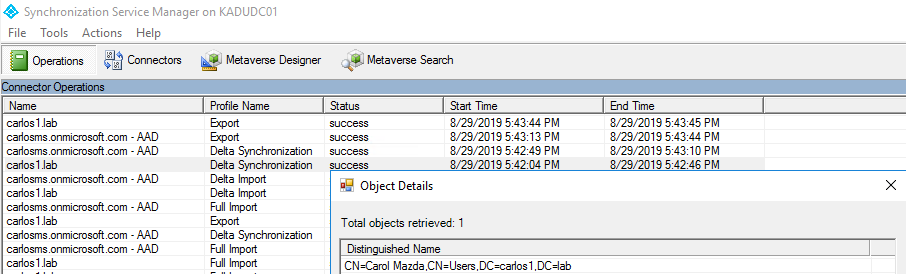
In the Operations window, you can view all the operations performed by the connectors and their operations.
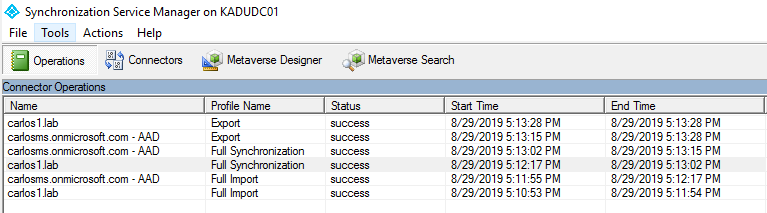
With the full synchronization performed after the AAD Connect installation, let’s now create an on-premises user and replicate it using delta replication. This replication only carries the objects that have changed since the last task.
Let’s create a user named carol.mazda@ulyssesneves.com.
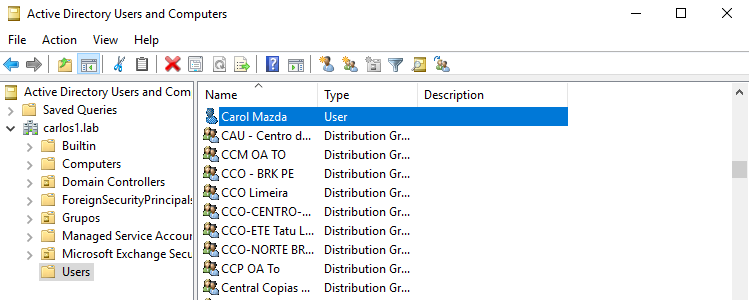
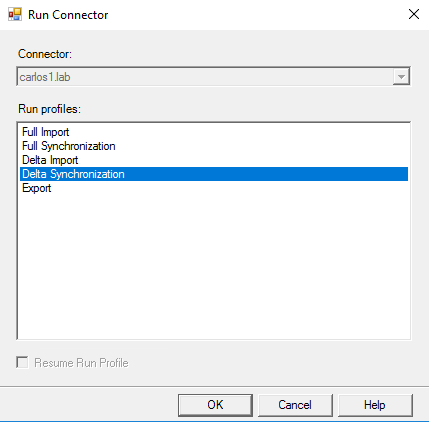
With the user created, let’s run a delta synchronization on the on-premises domain connector.
After the (delta) synchronization finishes, we can view which new objects were carried over to Azure AD.
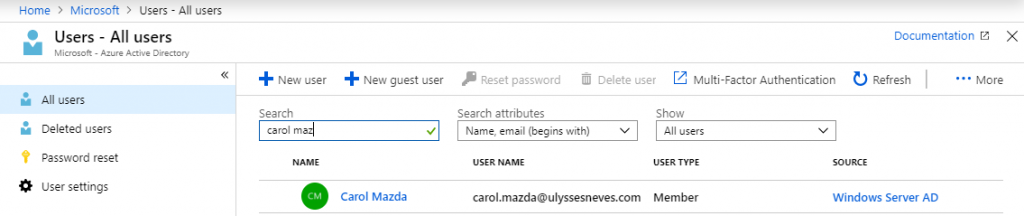
We can identify the replicated user in Azure AD.
Summary
In today’s article, we performed an express installation of Azure AD Connect and replicated users to Azure AD using full synchronization and delta synchronization.
In the next article, we’ll perform a custom installation of Azure AD Connect and explain a bit more about each authentication method this installation allows us to use.
I hope this content has contributed to expanding your knowledge of Azure.
Did you like the post? Like and share it.
If you have any suggestions or comments, let us know.
[ ]’s
Ulysses Neves
