Hello everyone. As promised, after passing the AZ-500 – Microsoft Azure Security Technologies exam, I’ll share a series of articles to help those preparing for this exam.
In today’s article, we’ll introduce Microsoft Entra PIM – Privileged Identity Management and explain step by step how to enable this tool to manage access to Azure resources and to Microsoft Entra ID groups as well.
For more information about the topics covered in the exam, click this link.
Before we talk about the tool, we need to explain a few security concepts that are important when using PIM.
Principle of least privilege
This is an information security practice that allows the user to have only the privilege necessary to perform their activities or a specific action.
JIT – Just-in-time access
This is the temporary access users receive to perform activities when needed, and this access is removed after the activity.
What is PIM?
PIM focuses on controlling privileged access to services hosted in Azure, Microsoft Entra ID, etc.
With PIM, it is possible to manage and monitor who requests access to high-privilege groups in Microsoft Entra ID or in groups that manage Azure resources. It is also possible to generate reviews and evaluate users who have access to a group or resource.
License to use PIM
To use PIM’s features, you need to acquire at least one of the licenses listed below:
- Microsoft Entra ID P2
- Enterprise Mobility + Security (EMS) E5
- Microsoft 365 M5
Should I license all users to use PIM?
If you plan to implement PIM in your organization, you can upgrade the PIM subscription only for the users involved in the privileged access grant process. For example:
- Administrators;
- Users with eligible assignments;
- Approvers;
- Access reviewers.
In this article, we’ll teach you how to activate and enable PIM on the Azure subscription and in Microsoft Entra ID, allowing you to control privileged access to these resources in Azure.
Enabling PIM – Azure PIM Consent
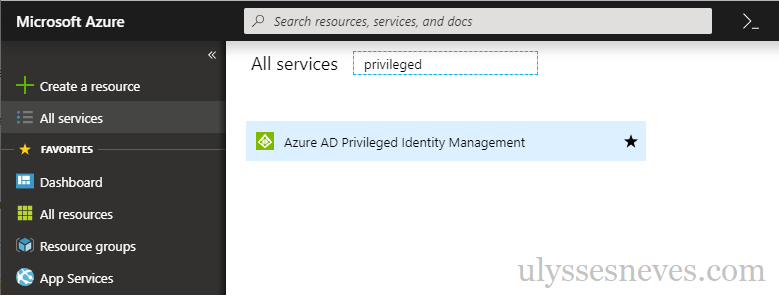
Before we start managing Azure groups using PIM, let’s enable the feature in Azure.
Click this link to access the PIM menu.
Sign in with your Azure access credential.
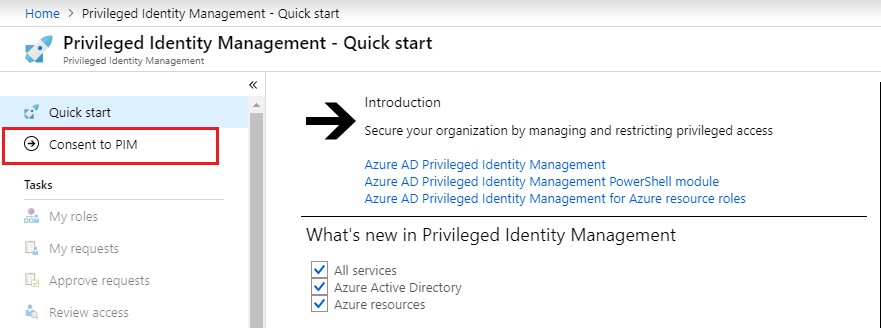
To enable PIM in Azure, you need to use MFA – Multifactor Authentication, and for that, we’ll validate our credential using another authentication method.
Click Verify my identity.
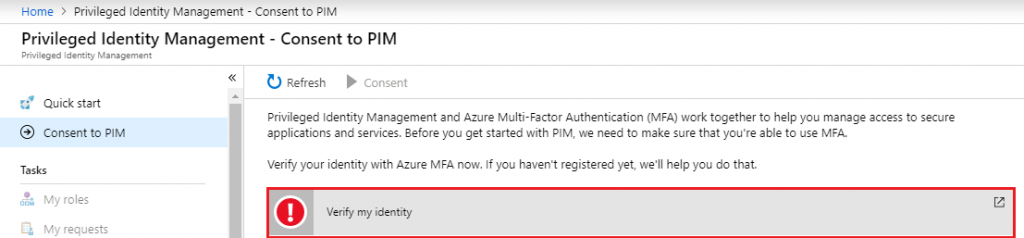
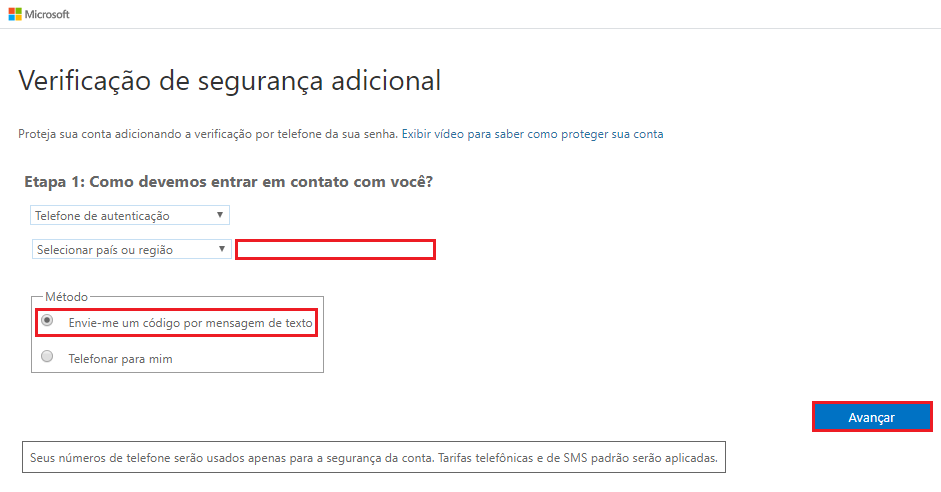
Confirm the information and click Avançar.
You can verify access through a call, an app, and SMS.
For this illustration, we’ll validate two-factor authentication using SMS. Enter the country location and phone number information.
Select Envie-me um código por mensagem de texto and click Avançar.
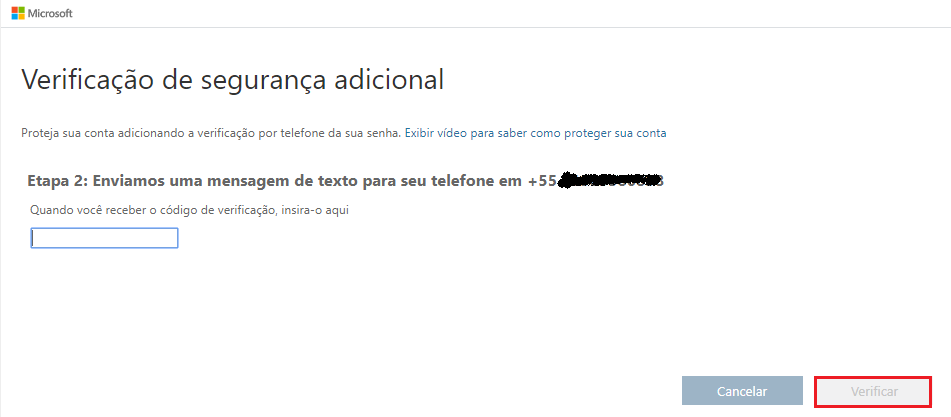
Confirm the phone information and enter the code received by SMS.
Click Verificar.
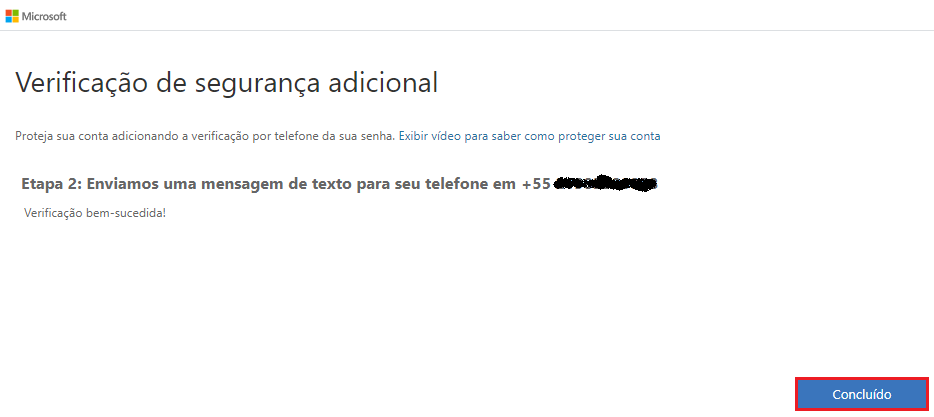
Once the two-factor verification is confirmed, click Concluído.
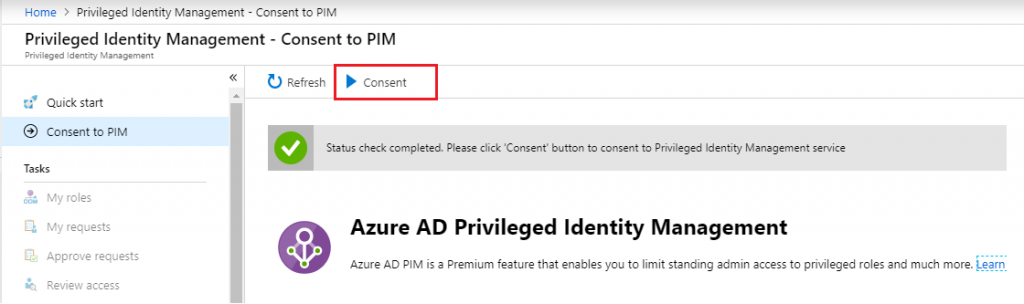
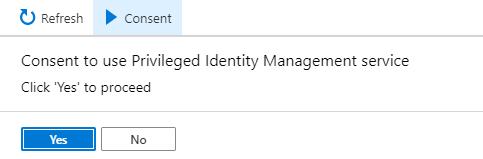
With the two-factor verification status OK, click Consent.
Confirm the selection by clicking YES.
Managing Microsoft Entra ID resources with PIM
To use PIM to control privileged credentials in Microsoft Entra ID, let’s enable PIM for Microsoft Entra ID roles.
Click this link to access Microsoft Entra ID roles.
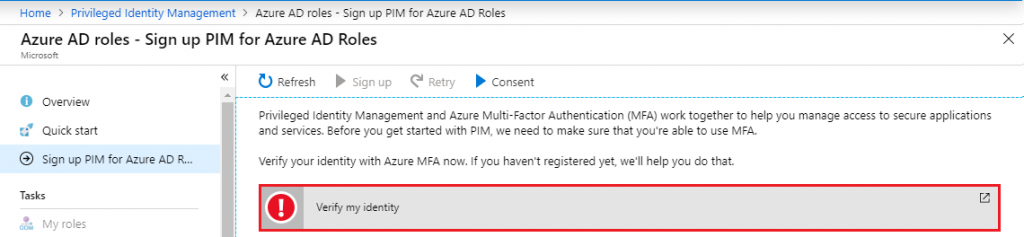
Select the Sign up PIM for Azure AD Roles menu.

Click Verify my identity to complete the two-factor authentication step and confirm the credential.
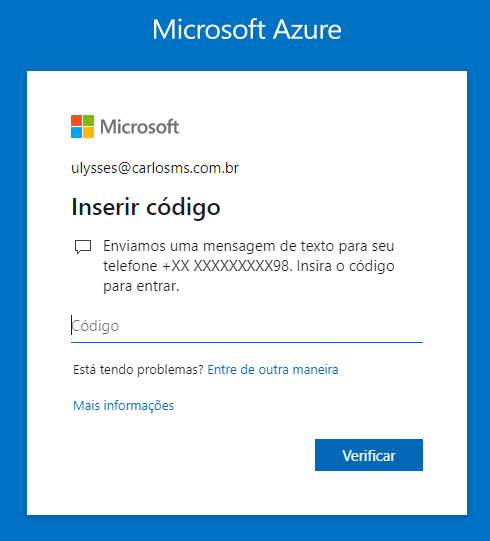
Since we’ve already registered the phone number and enabled PIM using MFA, for this step, you’ll only be asked for the code, confirming the last two digits of the phone number.
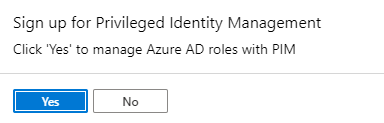
Once two-factor authentication is confirmed, click Sign up.

Confirm the selection by clicking Yes.
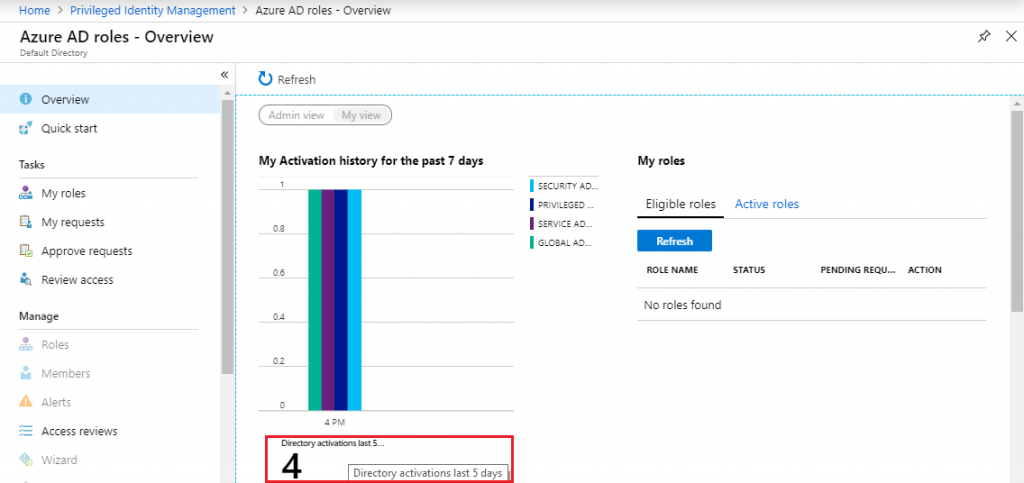
By clicking the Azure AD roles – Overview menu, you can see a dashboard with information about the latest activations in the last 5 days.
Managing Azure resources using PIM
Now let’s enable PIM for privileged access control on Azure resources.
Access the PIM – Azure resources menu by clicking this link.
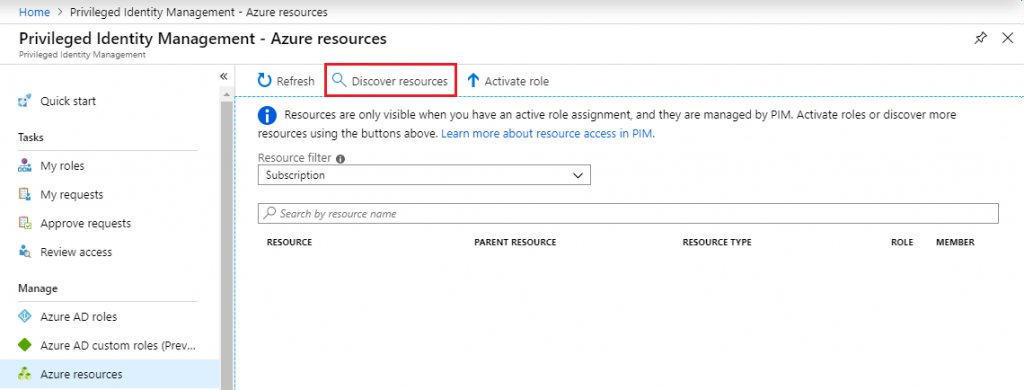
Click Discover resources.
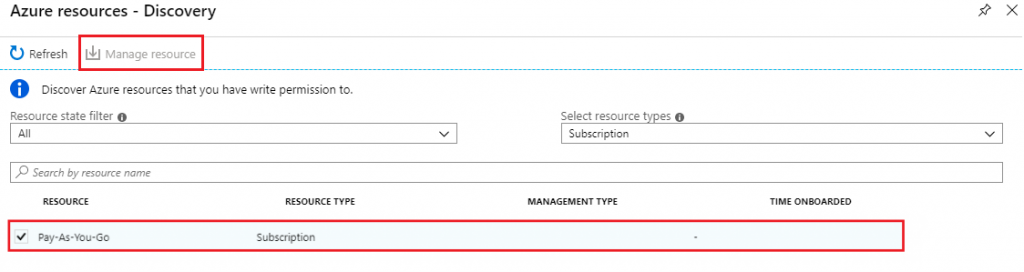
Select the Subscription or resource you want to use with PIM and click Manage resource.
Click Yes to confirm.
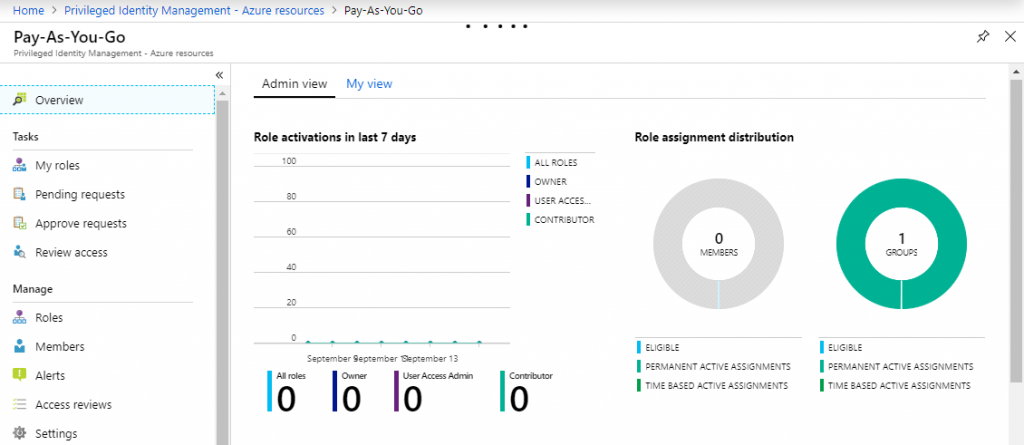
By clicking the resource that was enabled for PIM, you can see a dashboard with information about access grants for the selected resource.
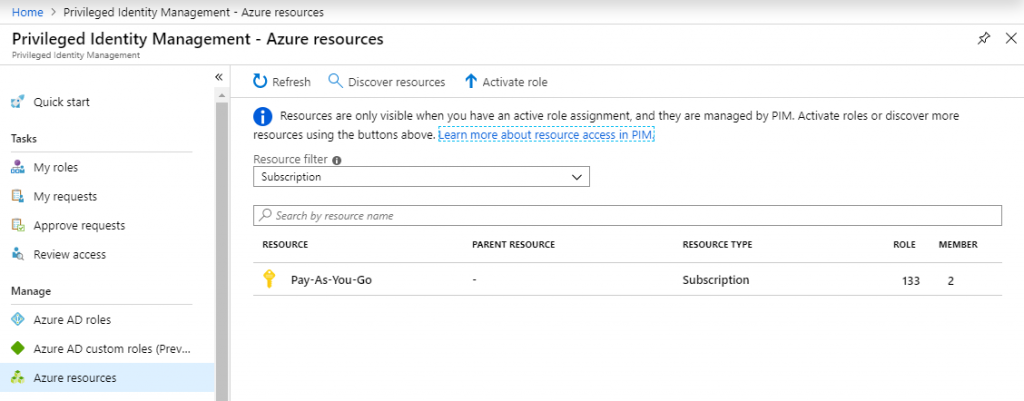
With the dashboard below, you can monitor the latest privileged credential activations.
Summary
In today’s article, we explained a few security concepts and what PIM is for. We explained how to enable PIM to control privileged access to Azure resources and access groups in Microsoft Entra ID.
In the next article, we’ll explain the roles in an access request flow for privileged groups managed by PIM, and simulate granting privileged access to a user.
I hope this content has contributed to enriching your knowledge of Azure.
Did you like the post? Like and share it.
If you have any suggestions or comments, let us know.
[ ]’s
Ulysses Neves
