Hello, everyone. In today’s article, we’ll explain step by step how to create a conditional access policy that prompts the user for MFA with exceptions based on location. This policy allows the administrator to create MFA requirement exceptions for users located on networks known to the company, improving the user experience without giving up security.
Conditional access policy exceptions
The exceptions contained in the access conditions of conditional access policies allow you to define specific characteristics to allow or deny access to resources in Azure, and can be defined as:
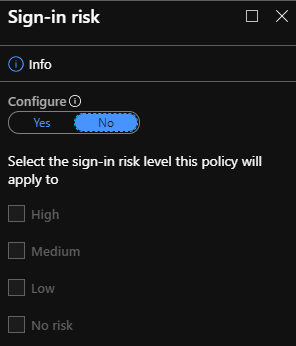
- Sign-in Risk – Uses the access risk level, whether the sign-in is being performed by the correct user, based on information obtained by AAD Identity Protection. It’s possible to define the level to be accepted as a condition for granting or blocking access.
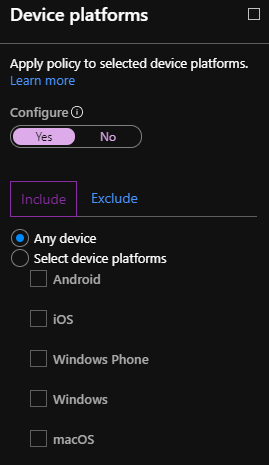
- Device Plataforms – Allows you to define which operating systems installed on users’ devices will be affected by the policy, and can be allowed or blocked.
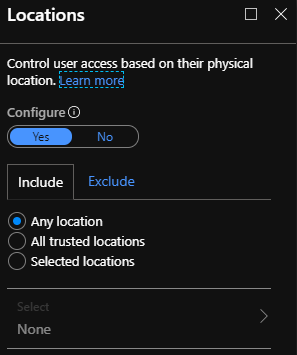
- Locations – Allows you to define conditions based on locations, and can use secure corporate networks (named locations) previously registered in Azure, or countries/regions that should be allowed or blocked by the policy.
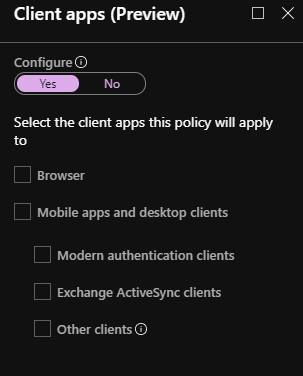
- Client apps (preview) – Allows you to define conditions based on the application used by the user to access the resource in Azure. It’s possible to configure the condition for applications that support modern authentication or that don’t have this support. For more information, follow this link.
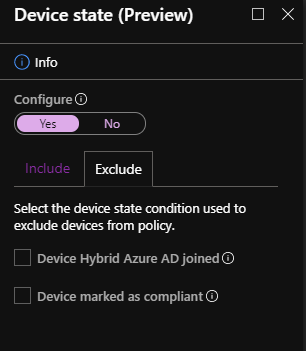
- Device state (preview) – Allows you to treat devices known to or managed by the company as an exception, preventing those devices from receiving the policy.
For more information about the conditions listed above, click this link.
Creating a location
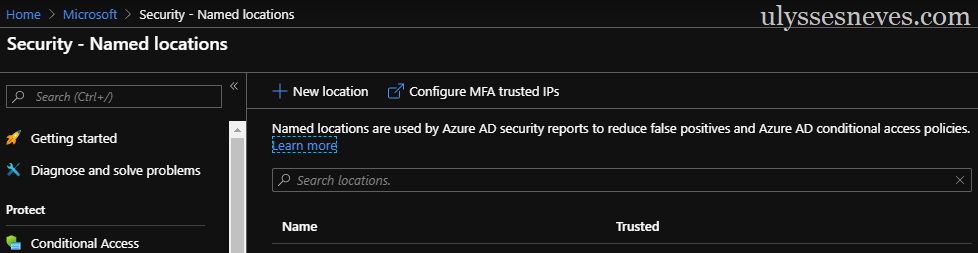
Before creating the location-based conditional access policy, we need to have at least one named location registered in Azure.
Access the named locations blade by following this link.
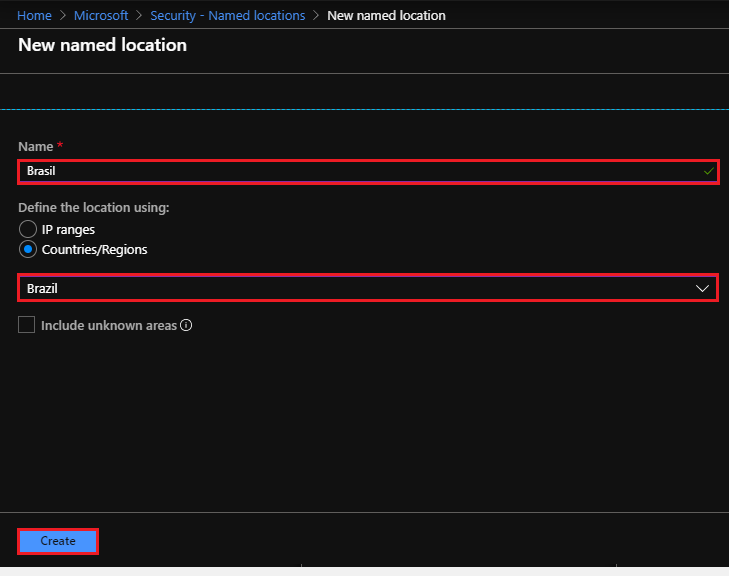
Let’s create a location based on countries/regions and assign a known location to Brazil.
Click New location.
Enter the location name and select the Countries/Regions option.
Select the country you want to register and click Create.
Creating an MFA usage policy
Now let’s create a policy that will use the location we created to allow users located in Brazil to not be prompted for multi-factor authentication when trying to access the Azure portal.
To access the conditional access policies blade, click this link.
Click New policy.

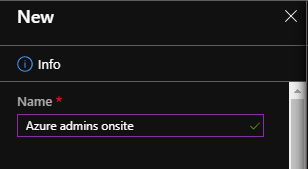
Enter the policy name in the Name box.
Defining candidates to receive the policy
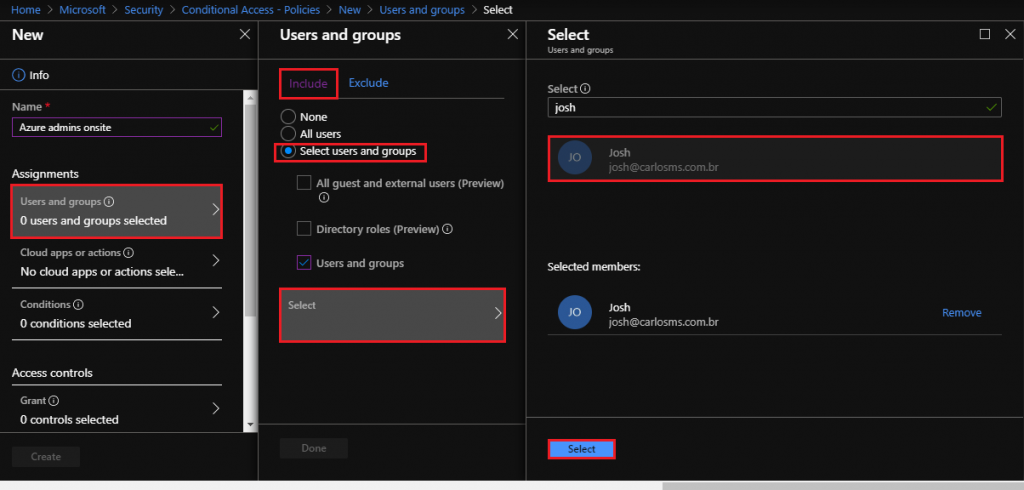
To illustrate, let’s select just one user to be affected by the policy.
Select the menu Users and groups > Include > Select users and groups > Select > select the user or group.
Defining the applications affected by the policy
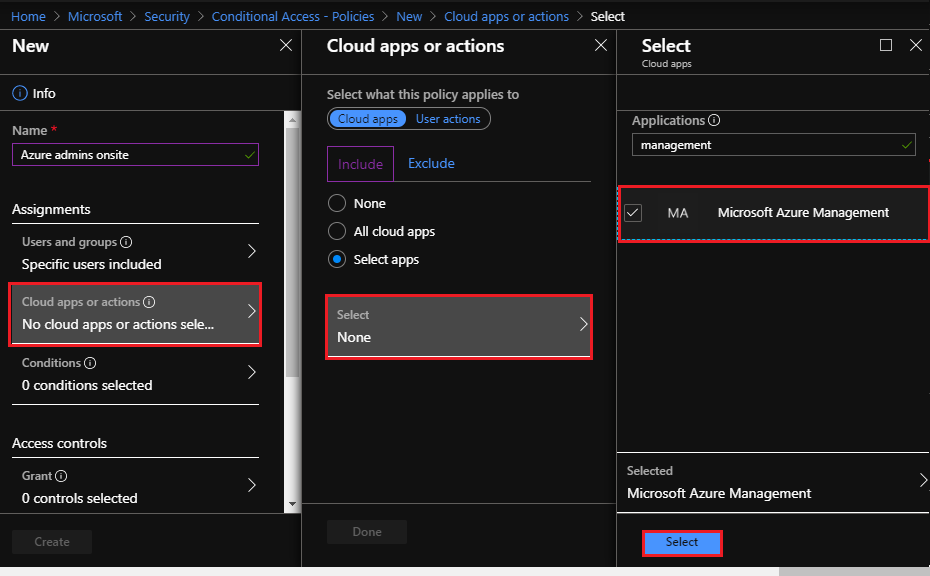
Let’s define that the user identified in the previous step will receive a multi-factor authentication confirmation request when trying to access the Azure management portal if accessing from outside Brazil.
Select the menu Cloud apps or actions > Include > Select apps > Select > Microsoft Azure Management.
Click Select and then Done.
Defining the policy application conditions
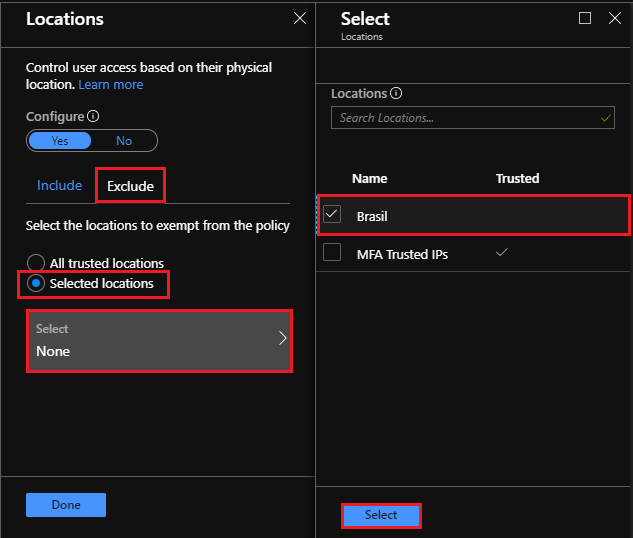
In this step, we’ll define under which conditions the access policy to the Azure management portal will be applied.
Select the menu Conditions > Locations > Configure = YES > Exclude > Selected locations > Select.
Check the location you created at the beginning of the article. In our case, Brazil.
Click Select and then Done.
Select the On option to activate the policy and then Create.
Defining the access control
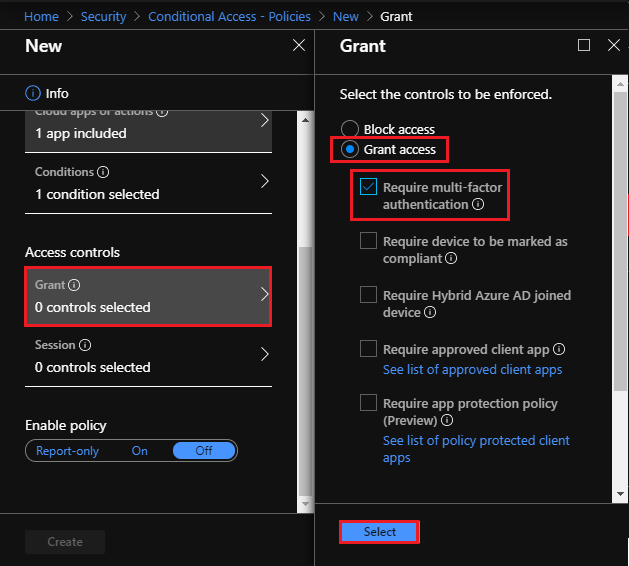
Now let’s define what control will be applied to users who meet the requirements defined previously.
Select the menu Grant > Grant access > Require multi-factor authentication.
Click Select.
Testing access to the Azure management portal
Let’s test the access of the user josh@carlosms.com.br to the Azure management portal from Brazil.
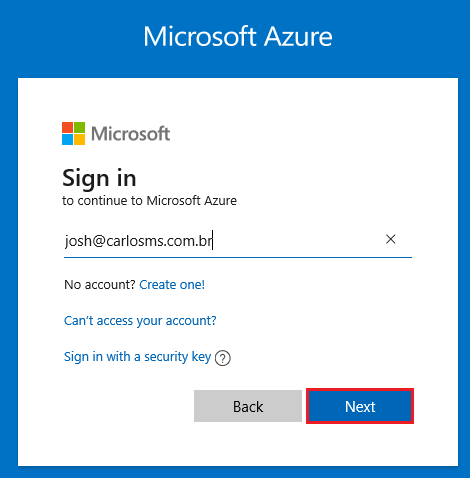
Access the address portal.azure.com and enter the test user’s credentials and password.
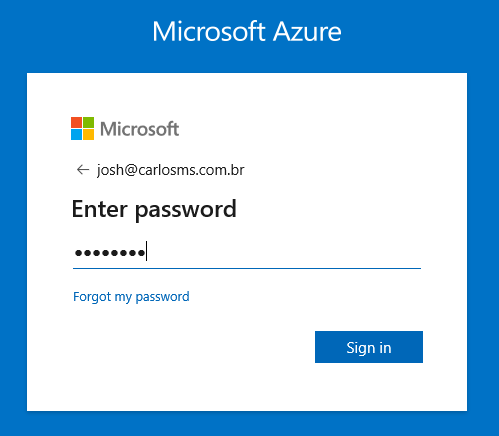
Enter the test user’s password.
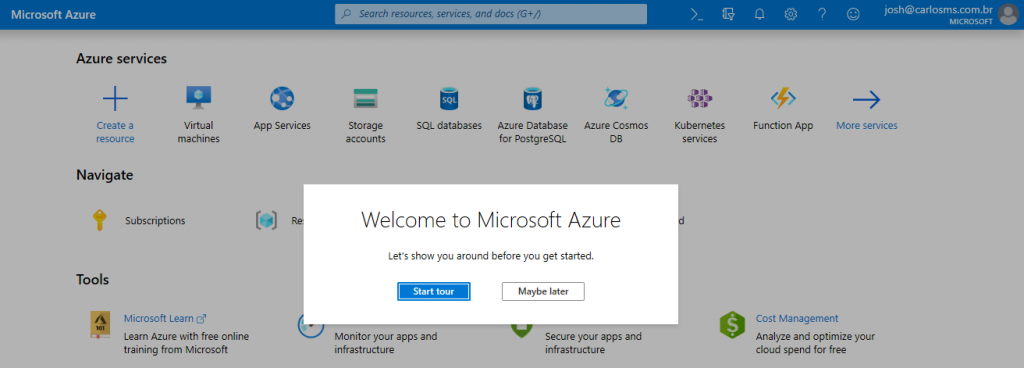
As shown below, access was allowed without requesting multi-factor authentication because the user is signing in from a named location configured in the MFA rule exception, in this case Brazil.
Now let’s remove Brazil from the named location rule and test whether multi-factor authentication will be requested.
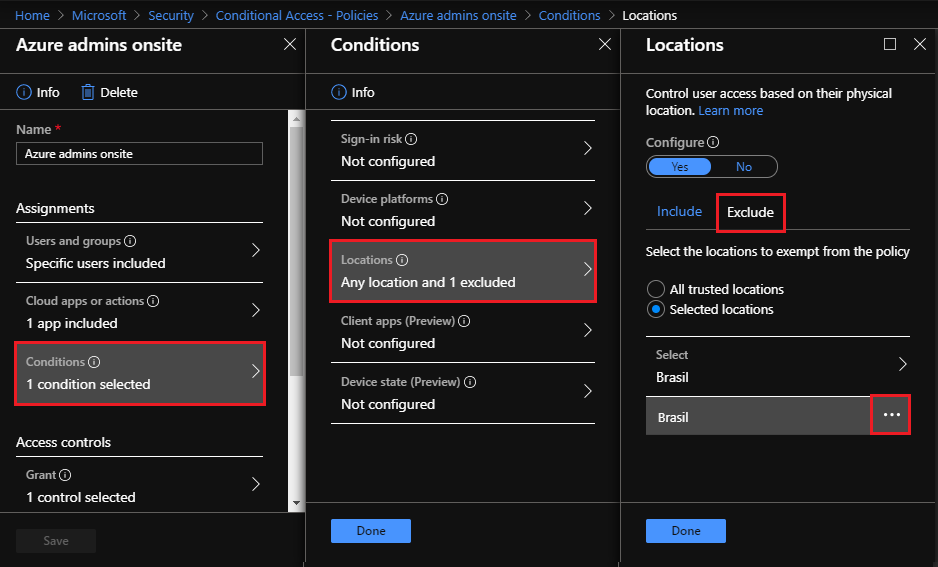
Access the created policy again and select the menu Conditions > Locations > Exclude.
Select the option next to the name of the named location you created and select Remove.
Click Done and then Done again.
Again, let’s access the Azure portal and test whether MFA will be applied to the user Josh.
When opening the portal, we notice that the browser offers us the option to sign in with the user using the credentials used at the previous logon.
Let’s click the name of user Josh to sign in to the portal.
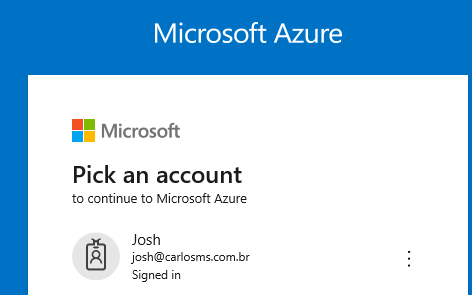
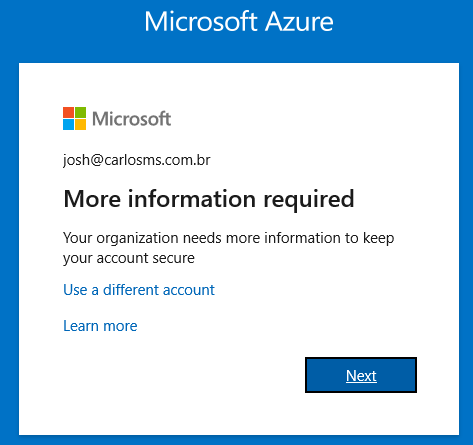
As soon as we try to sign in with the user Josh on the Azure portal without the named location configured in the exception, we’re prompted for multi-factor authentication.
Let’s set it up by clicking Next.
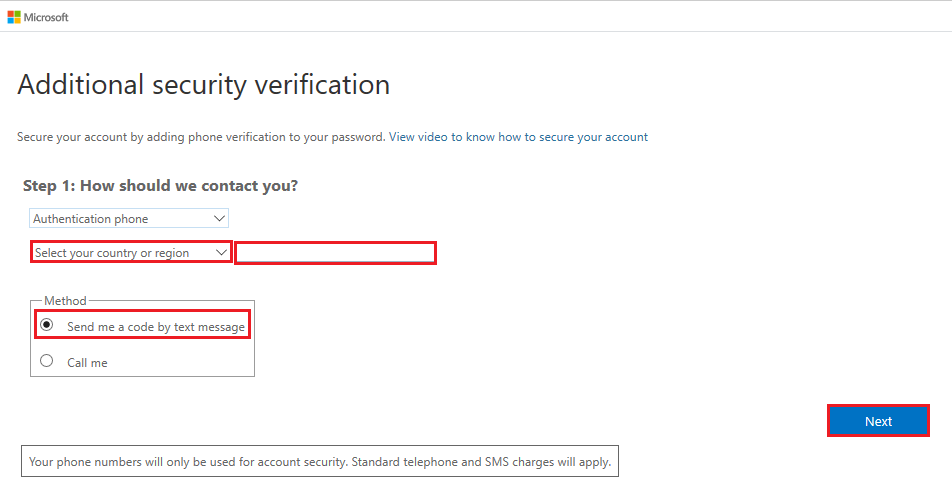
If you decide to select the Authentication phone option with a code sent by SMS, enter your country code + mobile phone number.
Check the Send me a code by text message option.
Click Next.
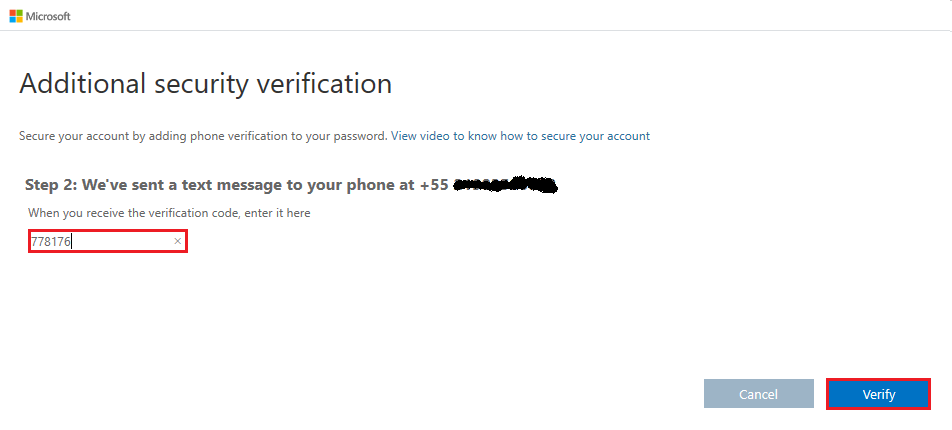
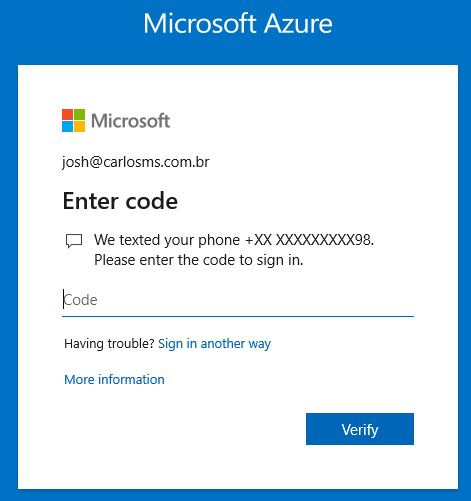
Enter the code received by SMS on the registered device and click Verify.
After registering the device and providing multi-factor authentication for access to the Azure portal.
Now, whenever the user affected by this policy tries to access the Azure management portal, they will receive the code request before signing in.
Summary
In today’s article, we talked about how to configure an MFA request exception using a conditional access policy and a named location. We showed step by step how to define a policy to exclude a named location as a condition to enforce the use of multi-factor authentication. In the next article, we’ll talk about device management in Microsoft Entra ID.
I hope this content has helped enrich your knowledge of Azure.
Did you like the post? Like it and share it. 🙂
If you have any suggestions or comments, let us know.
[ ]’s
Ulysses Neves
