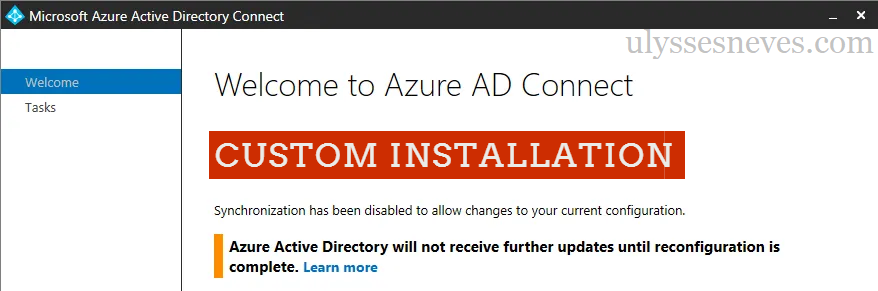
Update notice — September 2026: This article was originally published in 2019 and shows an earlier Azure AD Connect interface. The product is now called Microsoft Entra Connect. The original procedure has been preserved as a historical reference; before using it in production, consult the current Microsoft documentation below.
Current requirements: Microsoft recommends Windows Server 2025 or Windows Server 2022. TLS 1.2 must be enabled, and Microsoft Entra Connect Sync must be on version 2.5.79.0 or later before September 30, 2026 to avoid synchronization failures.
Source: Microsoft Entra Connect prerequisites and hardware: “All synchronization services in Microsoft Entra Connect Sync will stop working on September 30, 2026 if you’re not on at least version 2.5.79.0.”
Hello, everyone. In the last article, we showed how to install the Microsoft Entra Connect tool using express settings and synchronized a user created in the local AD using (delta) synchronization. If you haven’t read it yet, click this link.
In today’s article, we’ll perform the same installation, but now using the custom option and the PTA (pass-through authentication) authentication method, which validates all access to Azure services against the domain controllers on the internal network.
What is Microsoft Entra Connect Custom Install?
The express installation of Microsoft Entra Connect is the option used when you have a more complex environment and need to explore configurations that the express installation doesn’t support.
Consider this deployment if you have the scenario below:
- You have more than one local forest.
- You have more than 100,000 objects in the local domain.
- You need access to different settings than the express installation.
For the custom installation, you need to have the credentials below during the installation:
- Local Admin on the server
- Admin on AD DS
- Global Admin in Microsoft Entra ID
- SA on the database, if you want to store the database on a separate server.
Requirements to perform the installation
- AD Schema at least version 2003 or later.
- It’s recommended to enable the domain recycle bin.
- Windows Server Standard or better. Windows Server Essentials starting from the 2019 version is supported.
- It’s not recommended to install on domain controllers for security reasons.
- Installing the tool on a Windows Server Core is not supported.
- It must be installed on Windows Server 2008 R2 or later with all updates.
- It must have PowerShell version 3.0 and .Net Framework 4.5.1.
Microsoft Entra Connect server configuration
| Number of objects | CPU | Memory | Disk |
| Less than 10,000 | 1.6GHz | 4GB | 70GB |
| Between 10,000 and 50,000 | 1.6GHz | 4GB | 70GB |
| Between 50,000 and 100,000 | 1.6GHz | 16GB | 100GB |
For more information about the installation requirements for Microsoft Entra Connect, click this link.
Custom installation of Microsoft Entra Connect
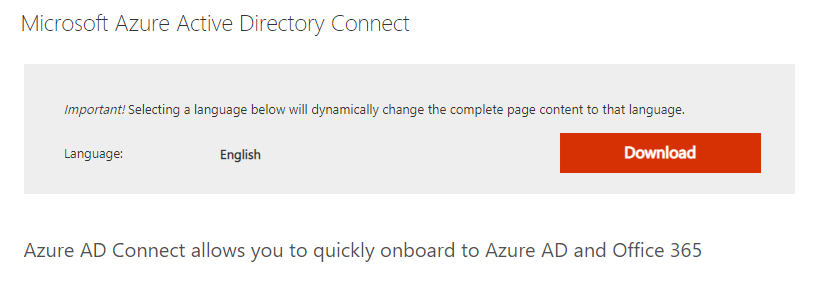
Download the Microsoft Entra Connect installer through this link.
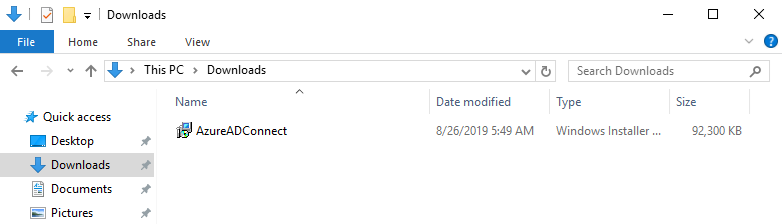
Run the AzureADConnect.msi file.
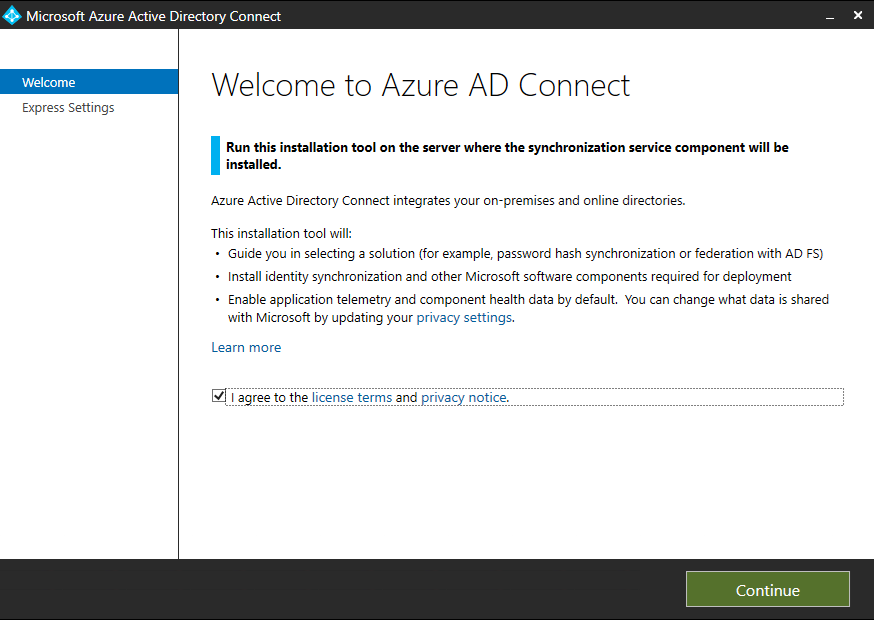
Accept the license terms and click Continue.
Click Customize.
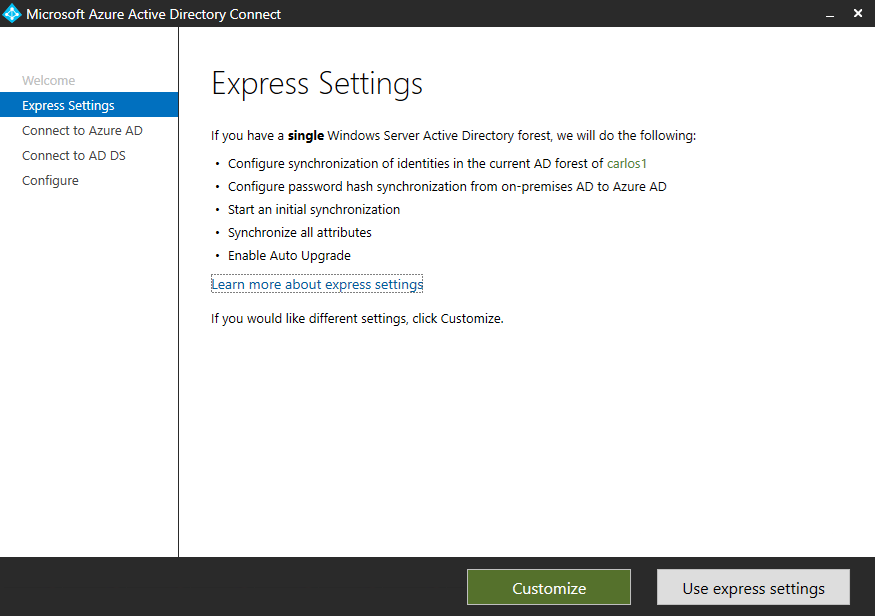
On the screen below, you can use some customizations. We’ll explain each one of them.
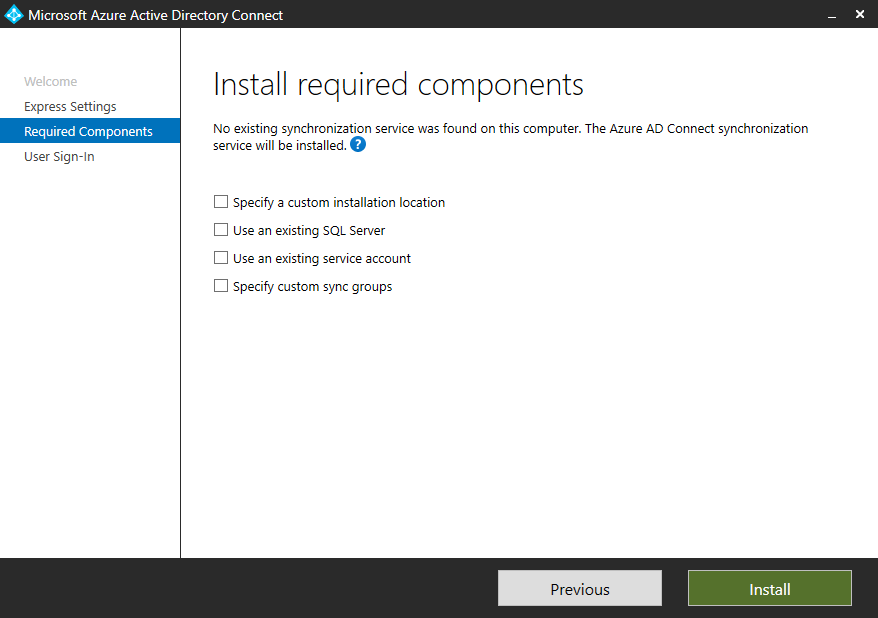
Specify a custom installation location – Set a location on the server different from the default where you want to install the application.

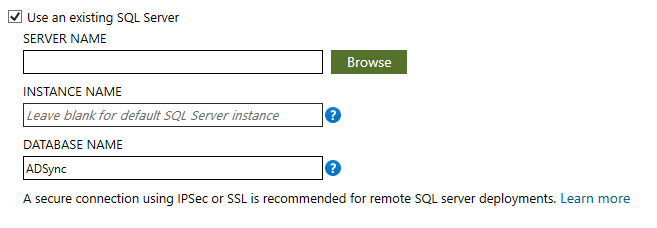
Use an existing SQL Server – If you have a database server available, you can configure the Microsoft Entra Connect database on this server.
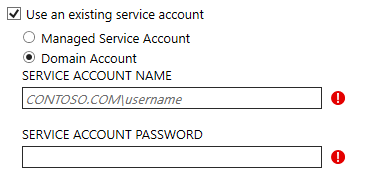
Use an existing service account – If you want the Microsoft Entra Connect service to use a specific service account, for example for proxy authentication purposes, configure this account.
Specify custom sync groups – By default, Microsoft Entra Connect creates four local groups on the server: ADSyncAdmins, ADSyncBrowse, ADSyncOperators, ADSyncPasswordSet. If you want to change these groups, you can do so through this option.
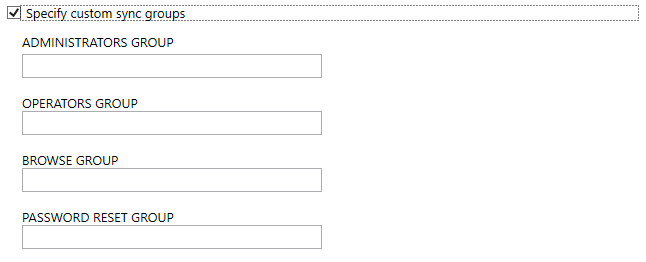
We’ll leave all of them unchecked and continue the installation by clicking Install.
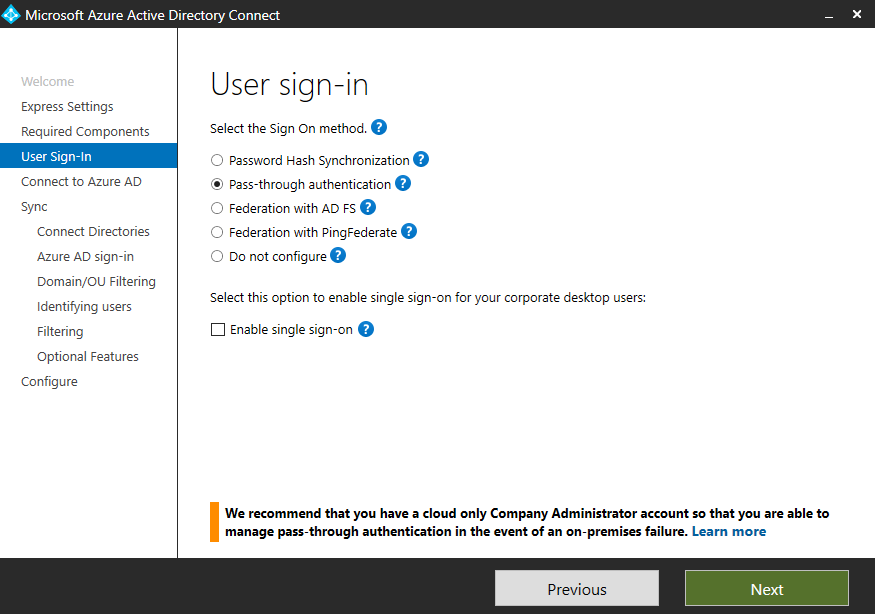
We’ll keep Pass-through authentication selected and click Next.
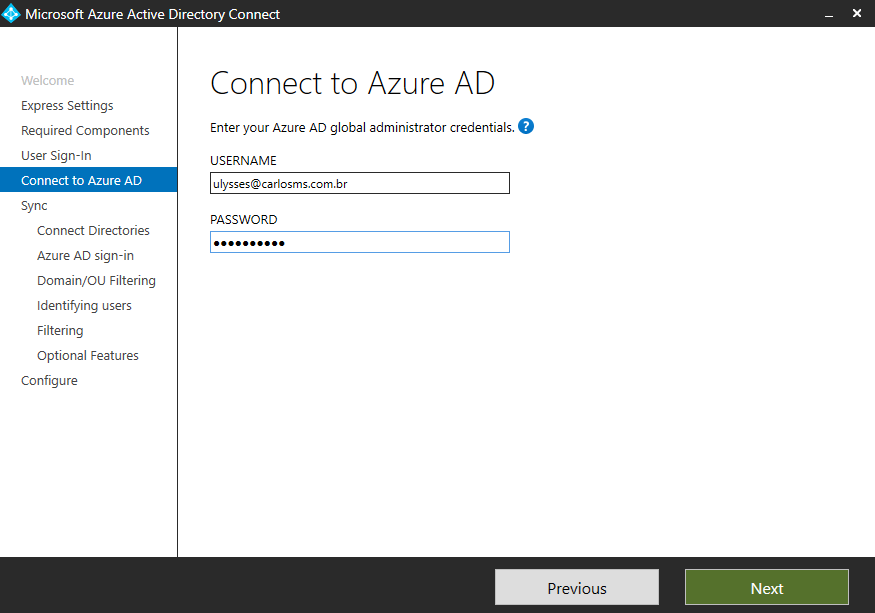
Enter the Global Admin credentials in Microsoft Entra ID and click Next.
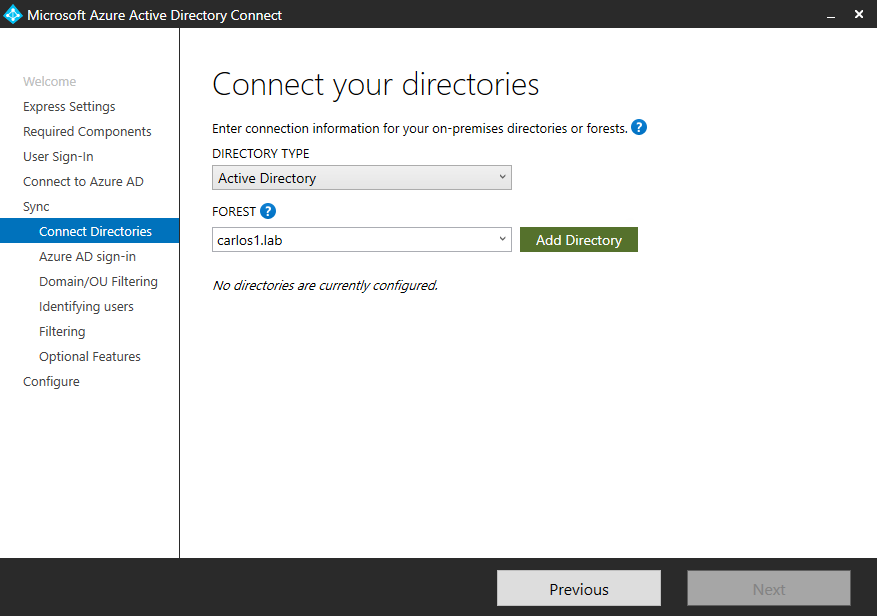
Let’s configure the existing domain by clicking Add Directory.
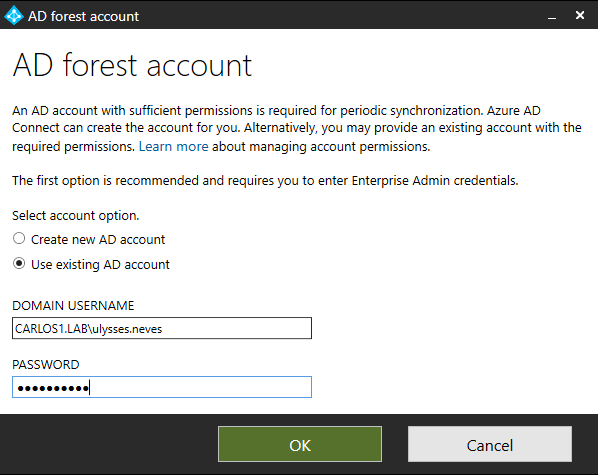
Select Use existing AD account with Domain Admin privileges and enter the credentials.
Click OK.
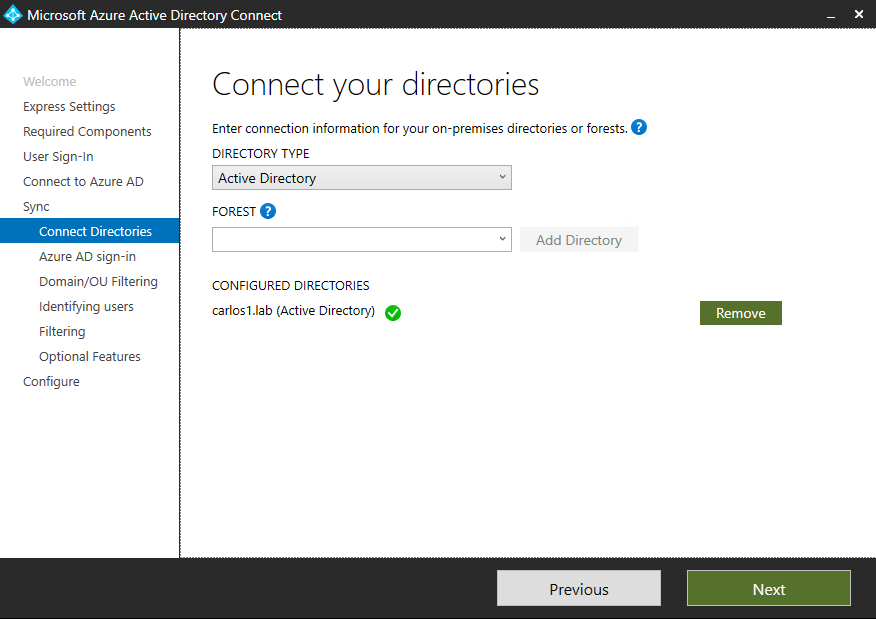
Below, we confirm that the domain was configured.
If you want to add other domains or forests, repeat the step above.
Click Next.
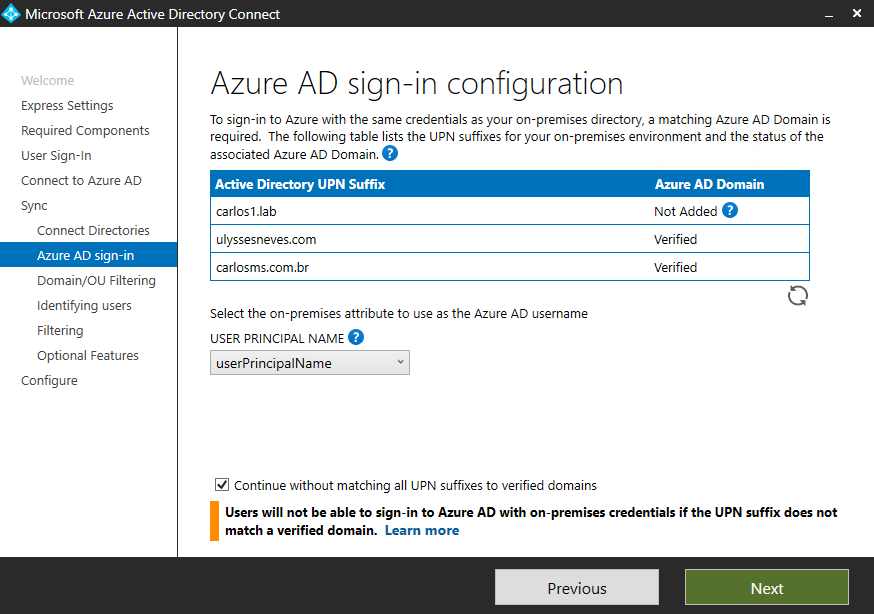
Check the UPN suffixes that will be used by users to access Azure services.
Microsoft Entra Connect uses userPrincipalName as the default attribute, but you can use another one by selecting the USER PRINCIPAL NAME checkbox.
We’ll keep the default and click Next.
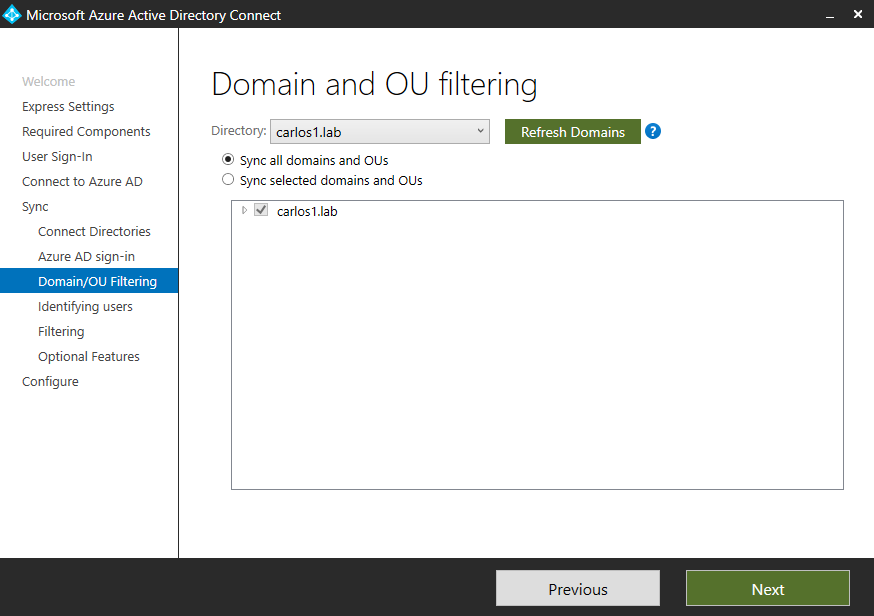
Select the local domain you want to sync. On this screen, you can select specific domains and OUs to be synchronized to Microsoft Entra ID. In an upcoming post, we’ll explain how to filter objects by OU.
We’ll keep all objects selected and click Next.
On the screen below, you need to configure how users will be identified in Microsoft Entra ID and specify how to identify them in the local AD. We’ll explain each configuration item below.
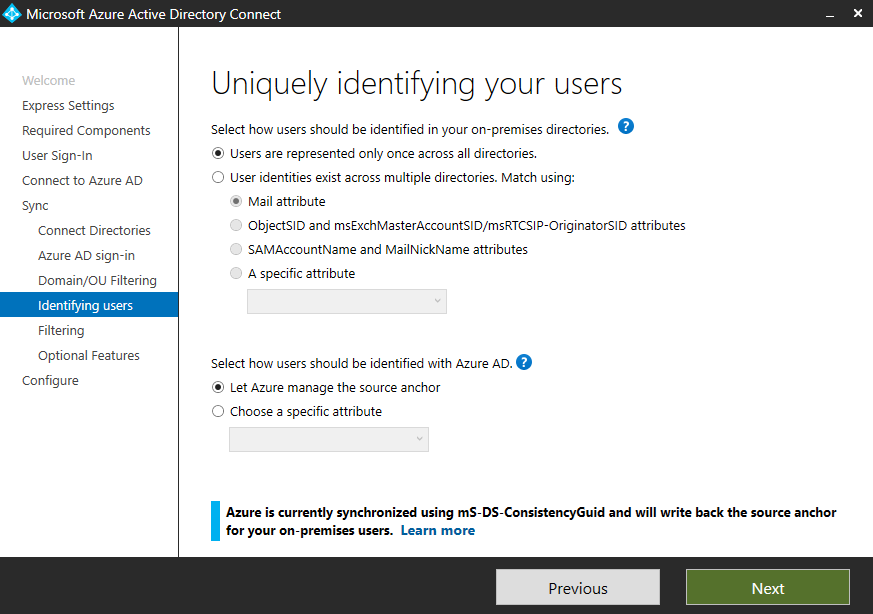
Users are only represented once across all forests – Select this option if you have separate forests and users who aren’t part of more than one forest.
User identities exist across multiple directories – Select this option if you have users in different forests. To proceed with this option, you need to define an attribute for Microsoft Entra ID to use for the comparison:
- Mail attribute – Synchronizes users and contacts using this attribute. If the attribute is blank, it won’t be synchronized.
- ObjectSID and msExchangeMasterAccountSID/ msRTCSIP-OriginatorSid – Synchronizes users enabled in one forest with disabled users in a resource forest. One example is when you have only a Lync infrastructure and Exchange isn’t used.
- sAMAccountName and MailNickName – Synchronizes users’ sign-in attributes.
- A specific attribute – Synchronizes using an attribute defined by the administrator. Note: The selected attribute must exist in the metaverse, or the installation won’t complete.
Select how users should be identified with Azure AD – Source Anchor – Selecting this option to identify which attribute will be used to define users in Microsoft Entra ID.
Let Azure manage the source anchor for me – If you use this option, Azure uses the ms-DS-ConsistencyGuid attribute by default from version (1.1.524.0) onward for user objects and ObjectGUID for other objects. This attribute is immutable and is generated by the system.
A specific attribute – Select this option if you want to use another attribute to perform the synchronization. Note: Keep in mind that once configured, the attribute cannot be changed. Don’t select attributes that can be changed over time. Don’t use attributes with an @-sign or UPN. For more information about how to select the sourceAnchor, check out this link.
We’ll keep the options below selected and click Next.
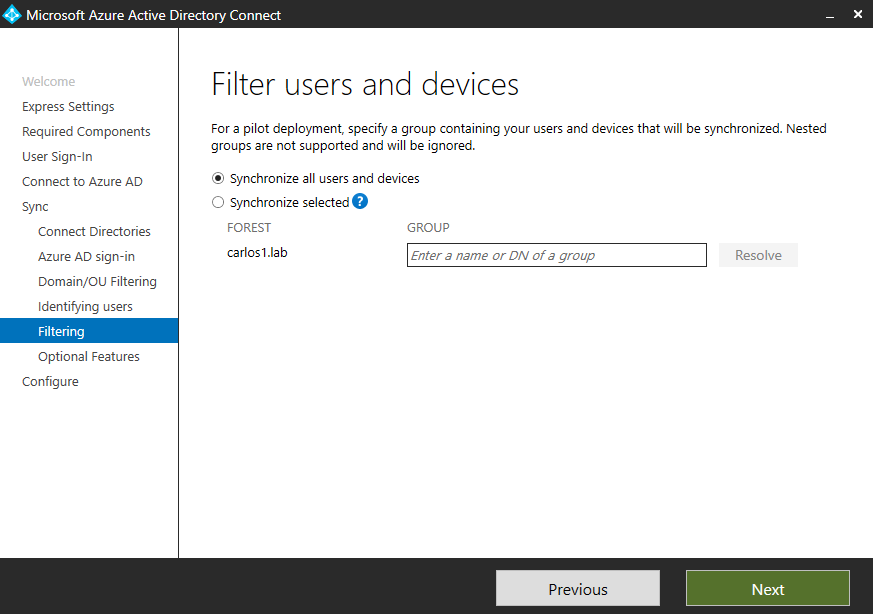
On the screen below, you can filter the objects that will be synchronized by using groups.
We’ll keep the option to synchronize all users and devices and click Next.
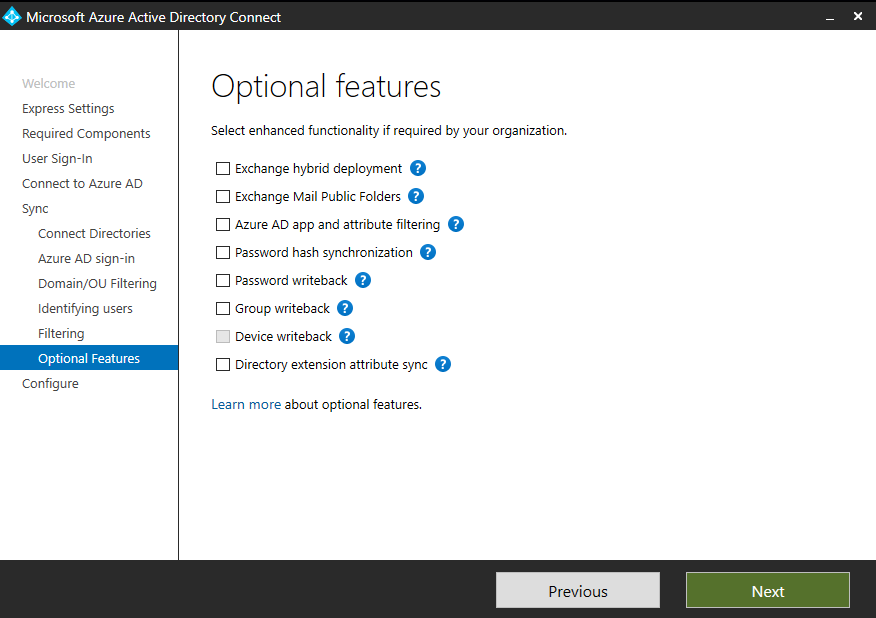
The screen below presents other settings available for the hybrid environment. We’ll cover these settings in detail in another post.
Click Next.
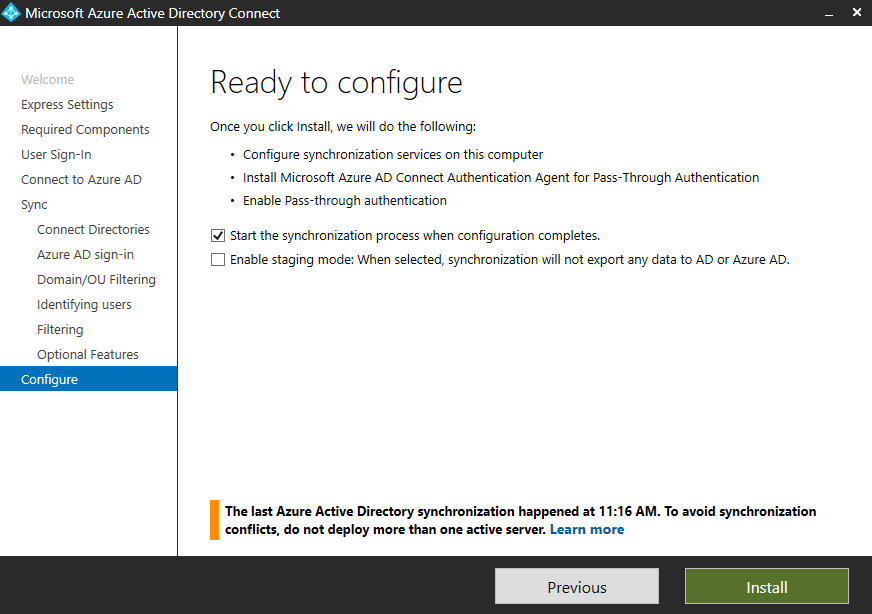
Leave the Start the synchronization process when configuration completes option checked and click Install.
Enable staging mode – This option can be selected when you intend to implement high availability, test new configurations, or decommission a production server. When enabled, the server performs the import and SYNC, but doesn’t perform exports.
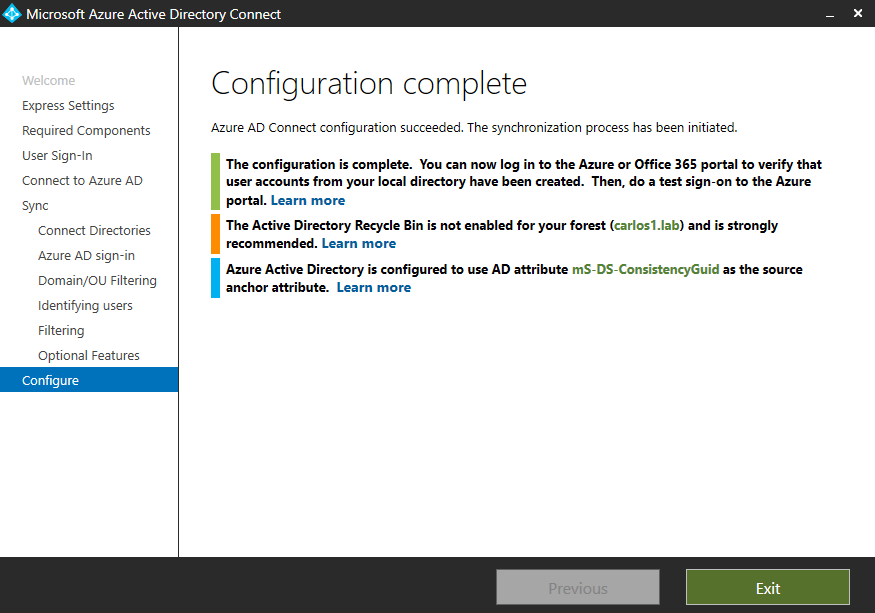
Check the notes and click Exit.
Validating the Microsoft Entra Connect service in the portal
You can validate the health of the synchronization service in the portal through this link.
Since we’re using PTA, authentication agents are required to perform user access checks against the domain.
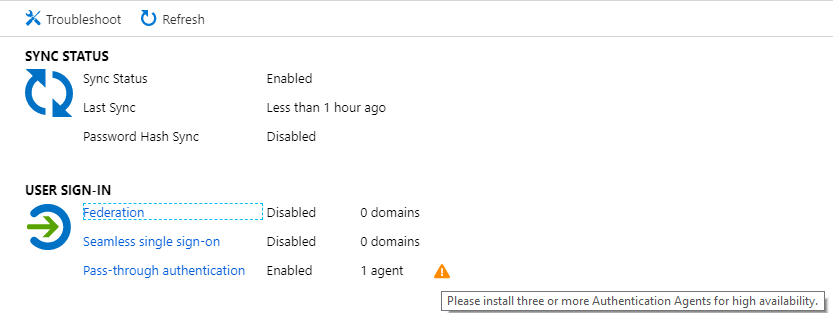
In our scenario, we have only one agent installed on the Microsoft Entra Connect server itself. To achieve high availability, it’s recommended to have more than one active agent in the domain, or you’ll receive the message above.
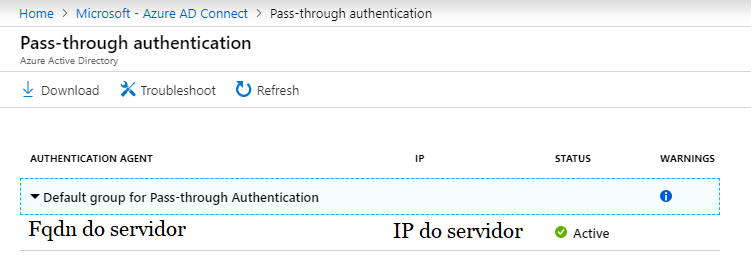
To identify the agents installed on the servers, click Pass-through authentication in the window above.
You can see the server’s Fqdn, its IP, and its status.
Installing an agent on more servers
Click Download on the previous screen.
Click Accept terms & download.
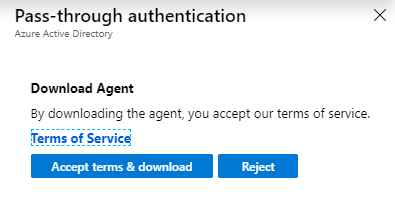
Run the AADConnectAuthAgentSetup.exe installer on a server in the domain where you want to validate the authentication of the services in Azure.

Summary
In today’s article, we performed a custom installation of Microsoft Entra Connect using Pass-through authentication and explained how to check the health of the agents and services in the Azure portal.
In the next article, we’ll explain how to apply filters to objects synchronized to Microsoft Entra ID using OU-based filter.
I hope this content has helped enrich your knowledge of Azure.
Did you like the post? Like and share it.
If you have any suggestions or comments, let us know.
[ ]’s
Ulysses Neves
