Security notice — September 2026: Filtering can remove previously synchronized objects from Microsoft Entra ID. Disable the sync scheduler or use staging mode, review the proposed changes, and confirm protection against accidental deletions before exporting.
Source: Microsoft Entra Connect Sync: configure filtering: “Objects that are filtered out are no longer synchronized to Microsoft Entra ID. Because of this change, any objects in Microsoft Entra ID that were previously synchronized but were then filtered are deleted in Microsoft Entra ID.”
Hi, everyone. In today’s article, we’ll bring a brief step-by-step guide on how to create a filter on the objects synchronized to Microsoft Entra ID using OU (Organizational Units).
By default, when using the express installation, all objects from all domains of the connected forest are synchronized to Microsoft Entra ID. This is because Office 365 and other cloud-hosted applications need access to the GAL (Global Access List) for communication and integration with the other objects in the forest.
You can filter the objects that will be synchronized to Microsoft Entra ID by OU, groups, domains, or even attributes. Depending on the scenario needed, one of these filters is used to prevent all objects from the on-premises AD from being sent to Microsoft Entra ID.
Filters on object synchronization are normally used in cases such as a tool POC that requires authentication using Microsoft Entra ID, when you want to prevent accounts that don’t belong to users from being synchronized, or even in scenarios where you intend to use a multi-Azure AD topology, allowing a single domain to be synchronized to multiple Microsoft Entra ID instances using more than one AD Connect server. For more information about the multi-Azure AD topology, click this link.
For our scenario, we’ll work with the OU called ulyssesneves where we’ll create a user called carlos.jose.
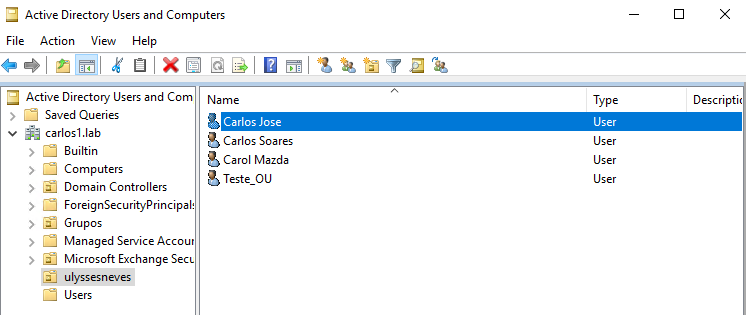
Let’s configure Microsoft Entra Connect to synchronize only the objects from the ulyssesneves OU.
Let’s also create some user objects that will be used in this demonstration.
Considering an express Microsoft Entra Connect deployment scenario, follow the steps below. If you haven’t set up Microsoft Entra Connect yet, follow the step-by-step guide in this link.
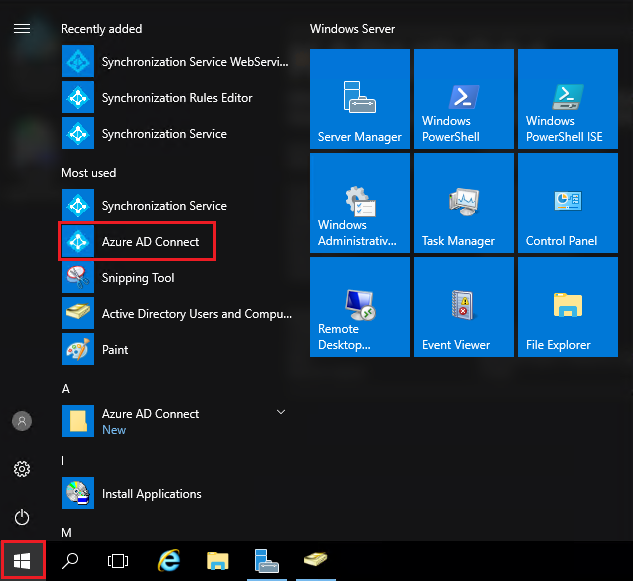
Open Microsoft Entra Connect.
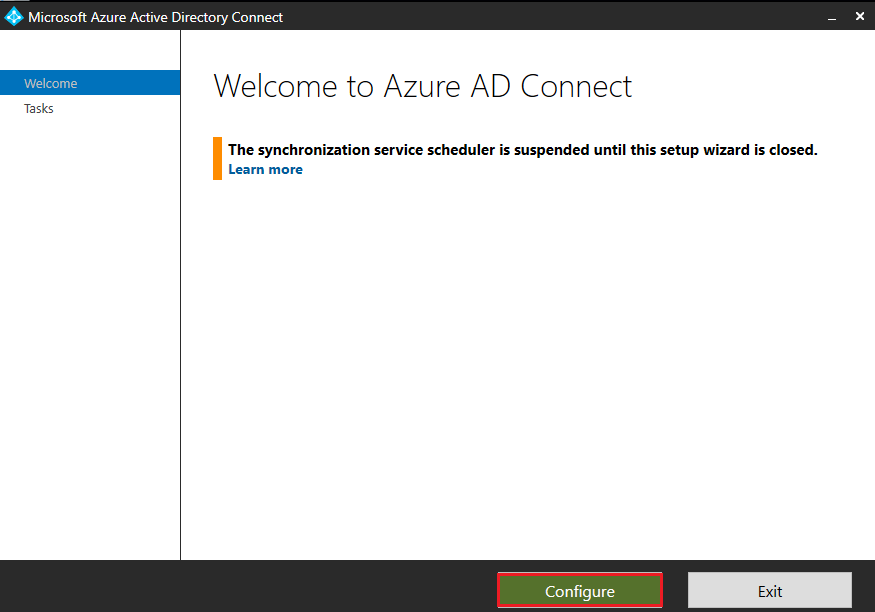
Click the Configure option.
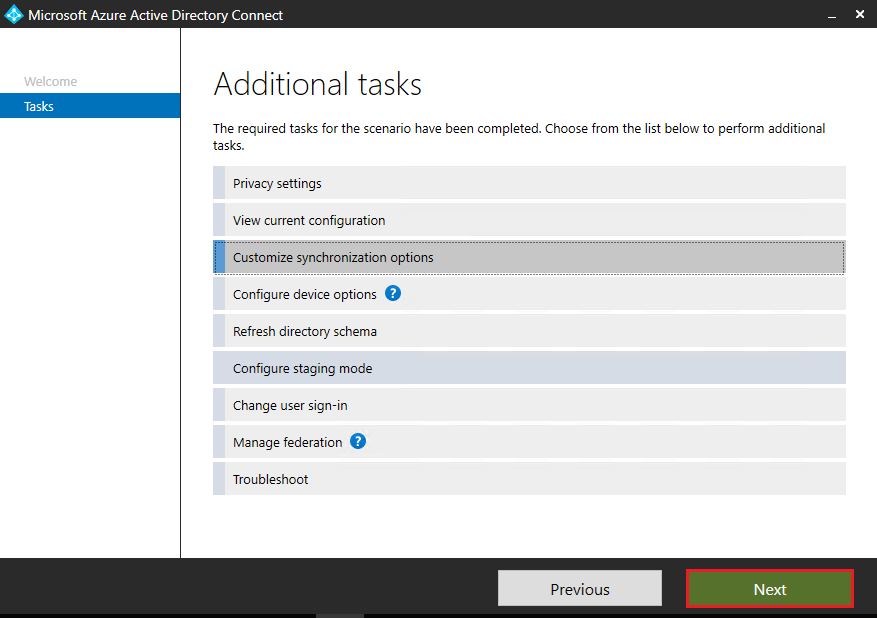
Click Customize Synchronization options.
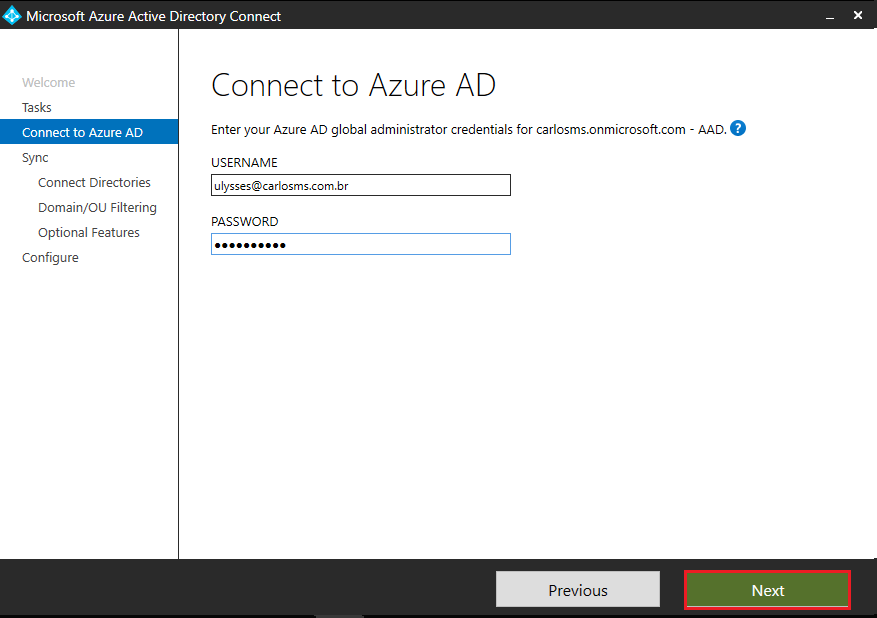
Enter credentials with Global Admin permission in Microsoft Entra ID and click Next.
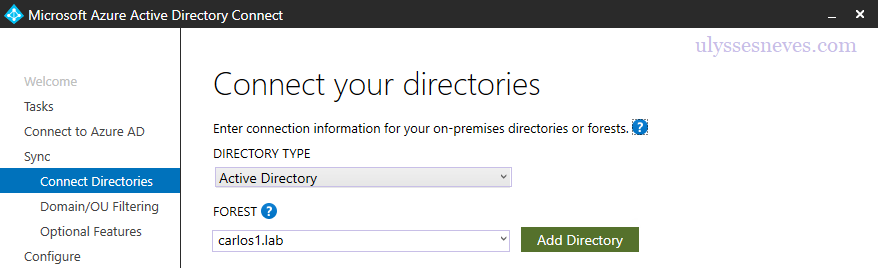
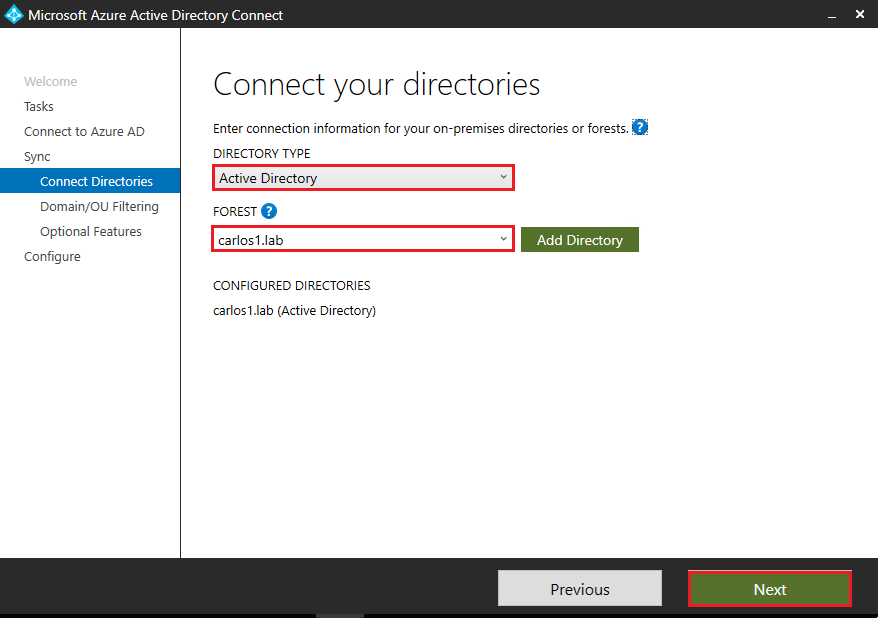
Select the forest and the directory to which you want to apply the filter.
You can include another directory from the forest selected above.
Click Next.
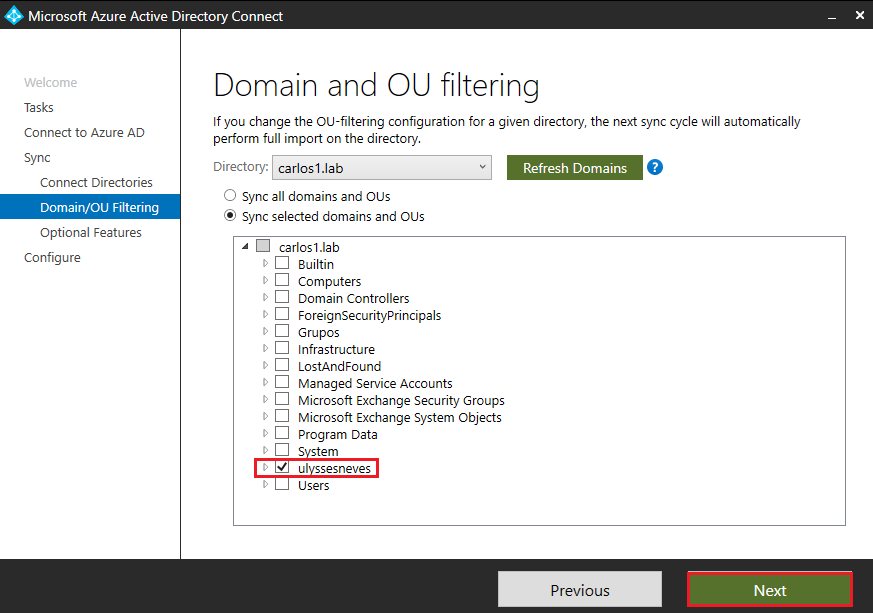
Select the domain and the Sync selected domains and OUs option.
Expand the selected domain.
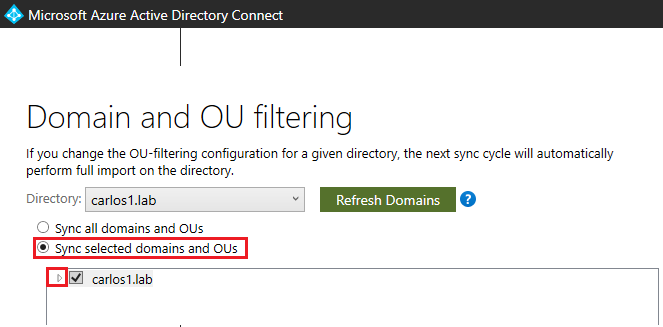
Select the OU you want to synchronize, or remove the OU you don’t want to send to Microsoft Entra ID.
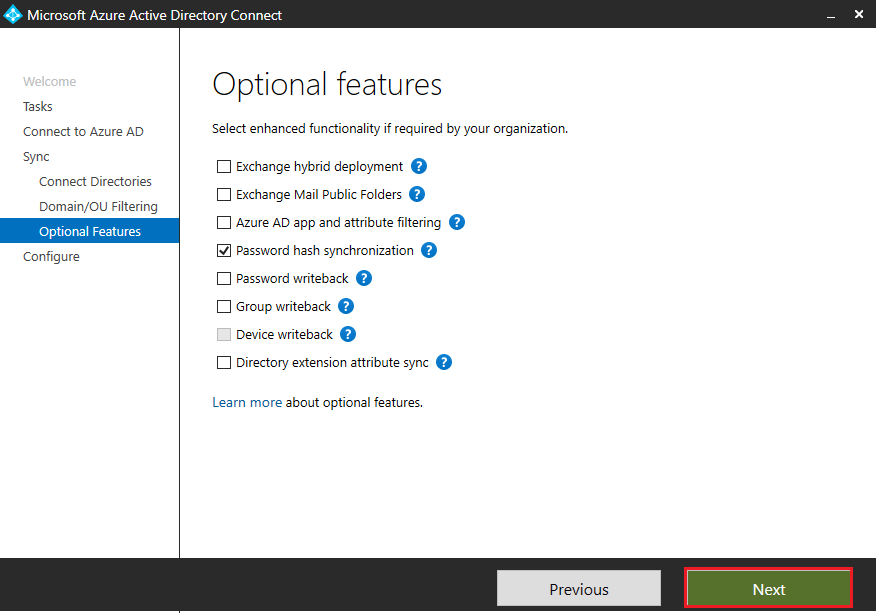
On the optional features screen, you can perform optional configurations, such as authentication method, hybrid Exchange settings, etc.
Click Next.
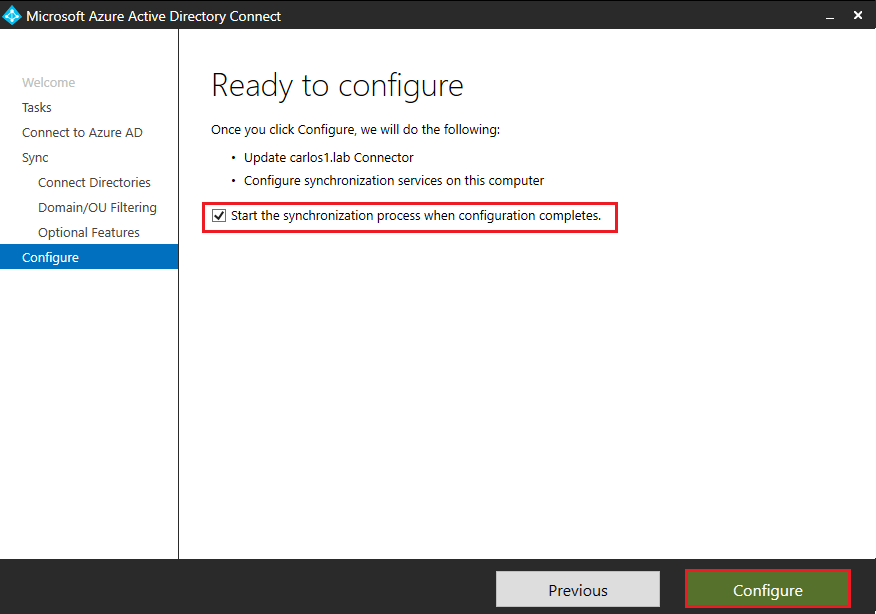
Leave the Start the synchronization process when configuration completes option checked and click Configure.
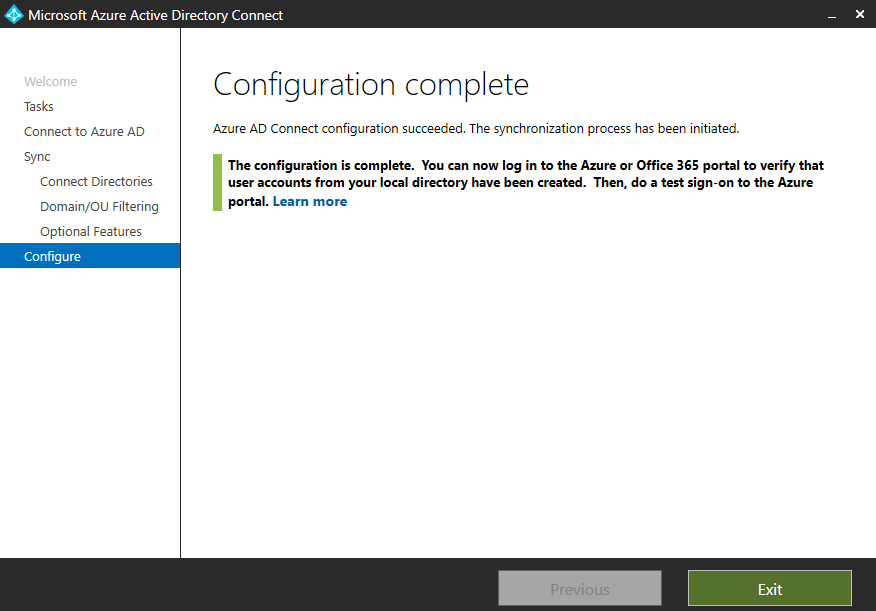
Click Exit.
Let’s now synchronize the user carlos.jose@ulysses.neves.com using the Synchronization Service.
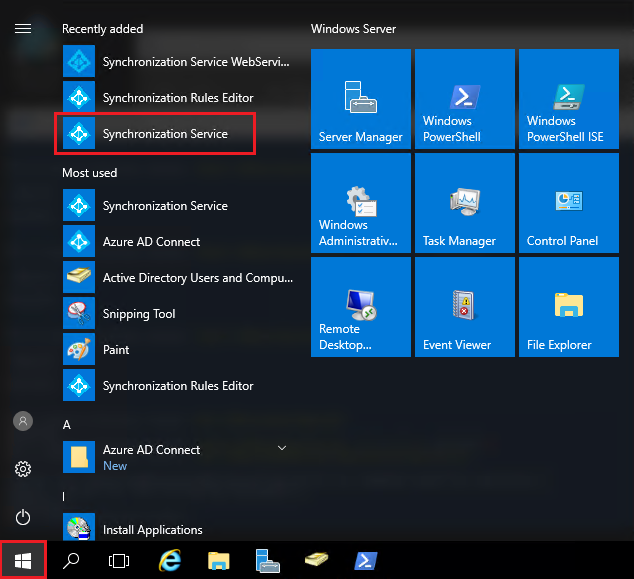
When running a full import on the local AD connector, we notice that there’s an object marked to be added in Microsoft Entra ID.

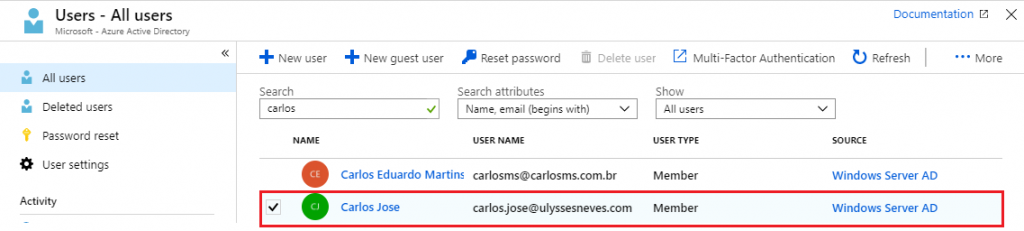
After running a full export, we can see in Microsoft Entra ID that the user “Carlos Jose” already appears in Microsoft Entra ID.
Summary
In today’s post, we showed how to apply synchronization filters using OU-based filtering. For more information about how to configure a synchronization filter by domain or by OU, visit this link.
I hope this content has contributed to enriching your knowledge of Azure.
Did you like the post? Like and share it. 🙂
If you have any suggestions or comments, let us know.
[ ]’s
Ulysses Neves
