Hello, everyone. In today’s article, we’ll explain how to enable MFA for Azure users using a conditional access policy. If you don’t yet know what a conditional access policy is, check out this link where I explain the concept of this feature in Azure. This article covers the “configure multi-factor authentication settings” topic of the AZ-500 – Microsoft Azure Security Technologies exam. If you’re preparing to take this exam, don’t miss the next articles on this blog.
Enabling MFA using conditional access
Go to the conditional access policies menu by clicking this link.
Sign in with your Azure credential with administrative privileges.
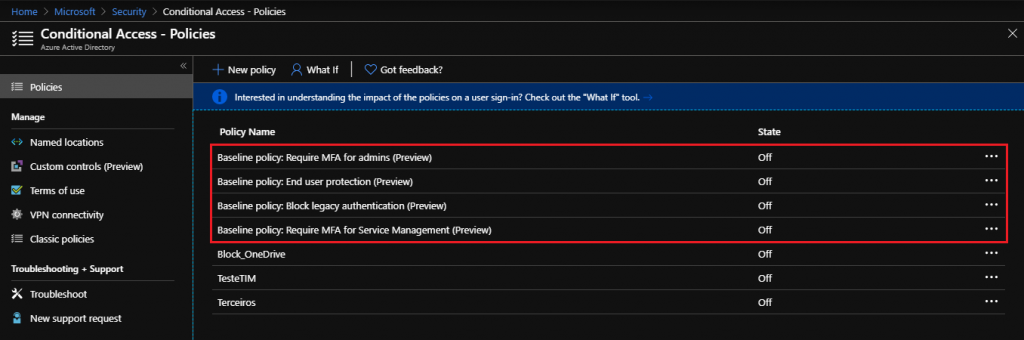
When you open the menu options, you can see a few default policies already created that can be used.
Creating a custom policy
To illustrate, let’s create a policy that forces the use of a second authentication for users defined as global admins:
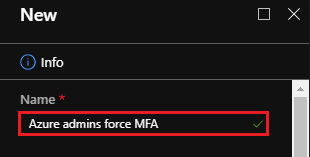
Name: Azure Admins force MFA
Assignments: Global admins
Cloud apps: Microsoft Azure management (Azure portal)
Access controls: grant access (Require Multi-factor authentication)
Click the New policy button.

Set a name for your policy in the Name option.
Conditional access policy scope: We’ll set it so that users assigned the global administrator role must use MFA to access the Azure management portal.
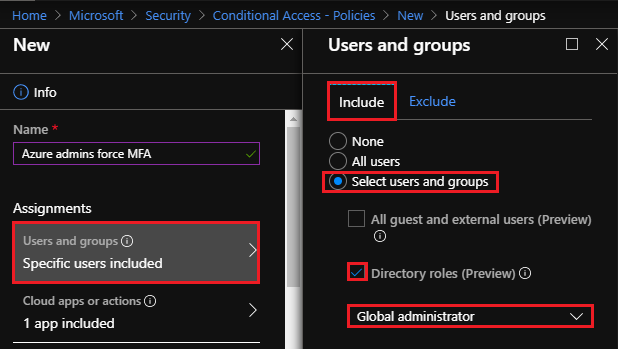
Set the affected users by selecting Assignments > Users and groups > Include.
Click the Select users and groups > Directory roles (Preview) option.
Search for the Global Administrator role and click Done.
Let’s set the application to be affected by the policy by clicking Cloud apps and actions > Cloud apps > Include > Select apps.
In the app search option, type Microsoft Azure Management (Azure portal).
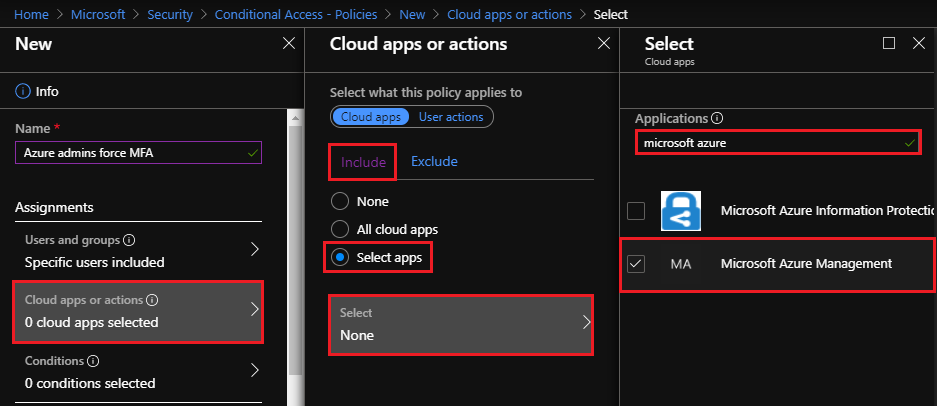
Check whether the policy does not affect the user performing the action, or applications that could impact restoring the policy to its original state in case of problems.
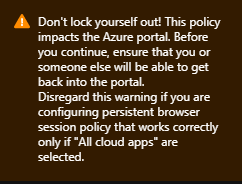
Click Done.
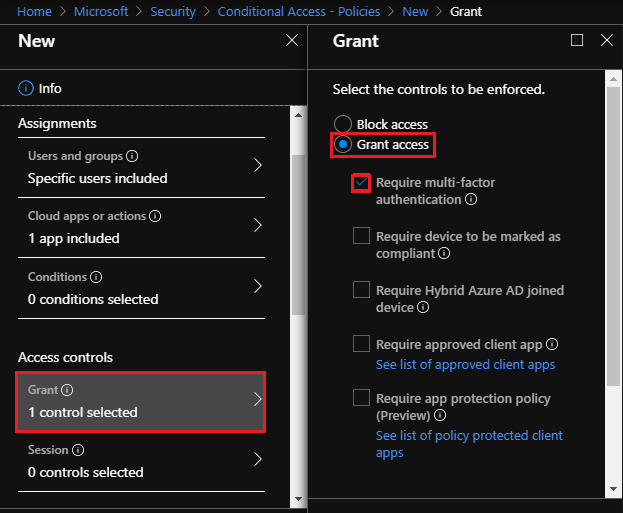
To configure access control, look for the Access controls menu. Let’s click Grant > Grant access > Require multi-factor authentication.
Since the policy affects the user I’m logged in as, because I hold the global administrator role, a message is shown along with the option to exclude the logged-in user from the policy.
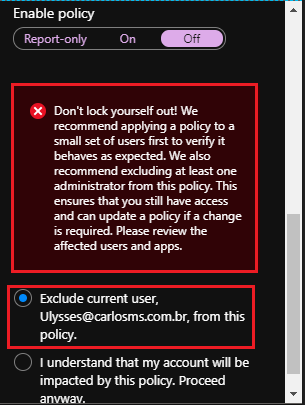
Let’s keep the policy turned off and click Create.
Activating the conditional access policy
With the policy created, we’ll find it in the list of available policies.
Click the policy you created.

In the Enable policy menu, there are three options:
- Report-only: This is the newest conditional access policy option, intended to let the administrator evaluate the policy’s impact on the users who will be affected by it. For more information, visit this link.
- On: Policy enabled.
- Off: Policy disabled.
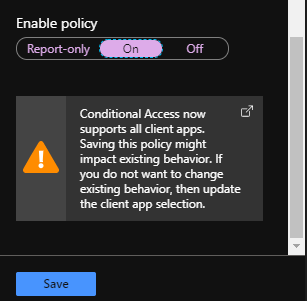
Let’s enable the policy by clicking On and then Save.
Accessing the Azure portal
To test the policy, let’s access the Azure portal again using the user John@ulyssesneves.com.
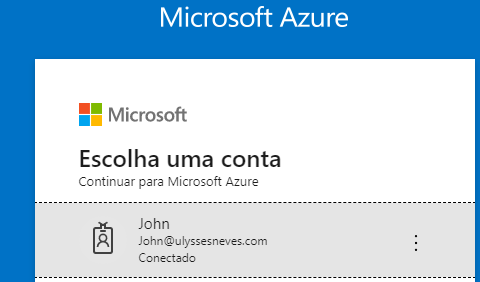
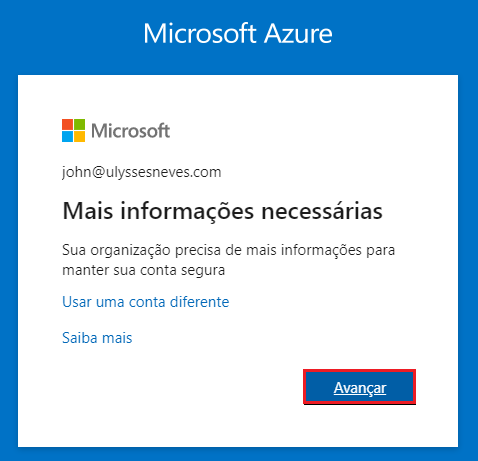
Azure MFA is triggered and requests more information from the user.
Click Avançar.
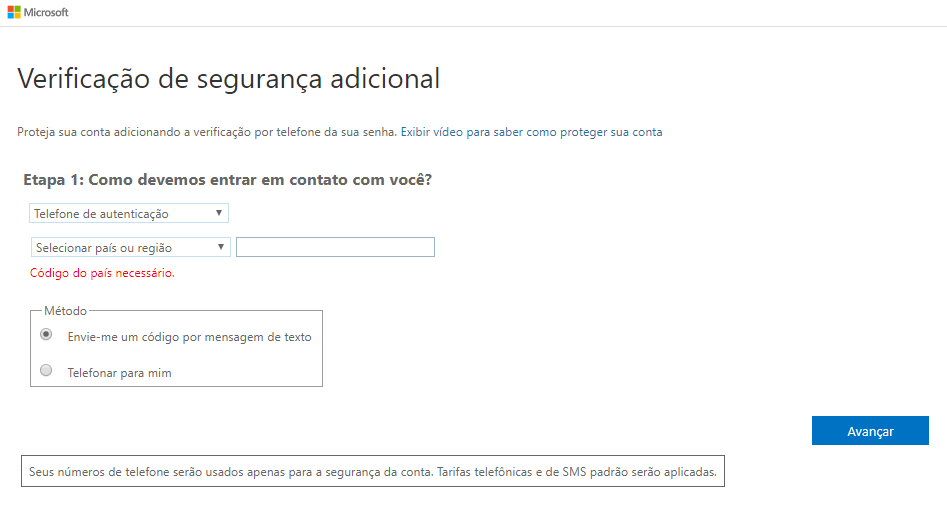
Let’s select two-step phone verification by selecting the SMS option.
Enter the country code and the phone number that will receive the SMS and click Avançar.
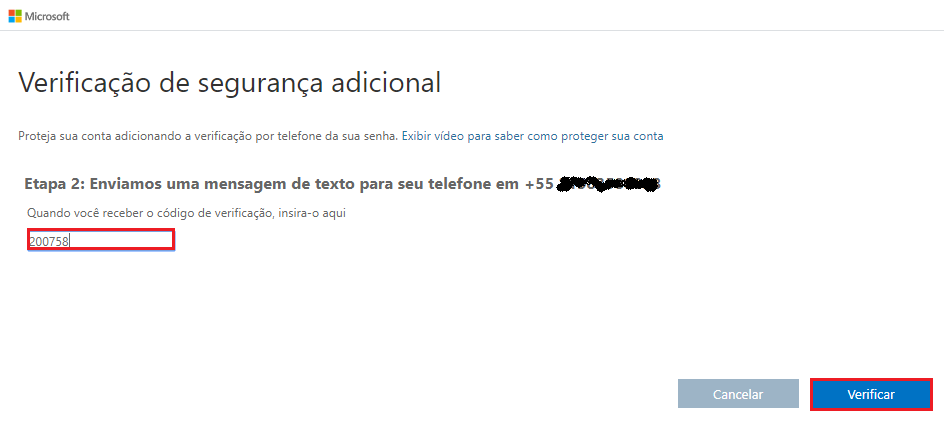
Enter the code received by SMS and click Verificar.
Click Concluído.
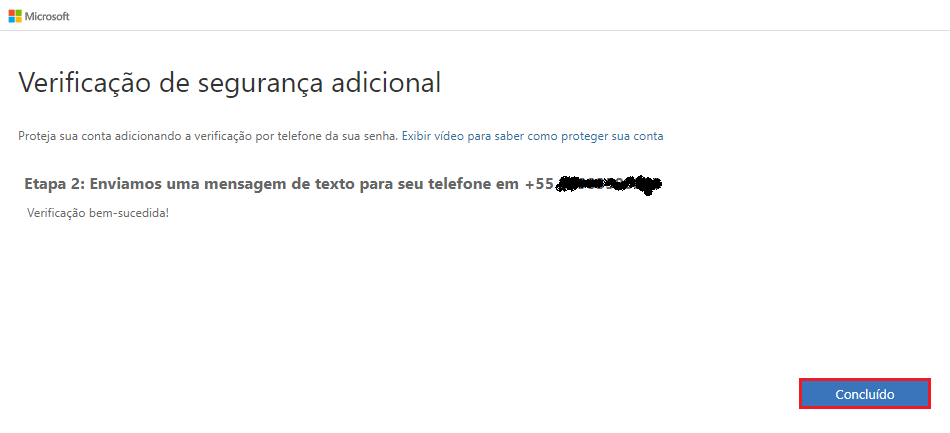
With two-factor authentication verified, access to the Azure portal is granted to the user John.

Summary
In today’s article, we talked about how to enable MFA using a conditional access policy.
In the next article, we’ll continue with the topic “Configure Microsoft Azure Active Directory for workloads“, explaining how to configure conditional access policies as an exception for MFA use based on the user’s location.
I hope this content has contributed to enriching your knowledge of Azure.
Did you like the post? Like and share it. 🙂
If you have any suggestions or comments, let us know.
[ ]’s
Ulysses Neves
