
Hi everyone. In today’s article, we’ll explain what the MFA registration policy in Azure is and how to configure it using Microsoft Entra ID Identity Protection.
What is Microsoft Entra ID Identity Protection
Azure Identity Protection is a risk detection tool that enables automated actions based on data in the Azure platform. This data is also used to control access to resources in Azure through Conditional Access policies, depending on the risk level assigned to the access.
For more information about the types of access risk, check out this link.
Required licensing
To use Identity Protection, at least an Azure AD Premium P1 license is required. Depending on the license type, you can use advanced options of the tool.
- With an Azure AD Premium P2 license, you can obtain detailed information about the detections made by the tool.
- With an Azure AD Premium P1 license, you can identify a risk, but you cannot obtain details about it. All events will appear as Additional risk detected access, but the risk level and details are omitted.
Enabling MFA registration
Let’s enable MFA registration using identity protection.
Access the MFA policy menu in Microsoft Entra ID by clicking this link.
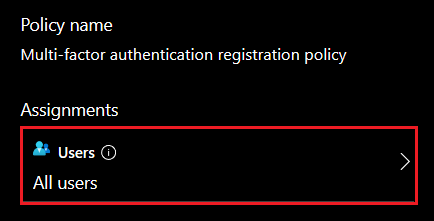
To select a user or group required to register, click the Users menu.
Select the user/group to be affected by the policy.
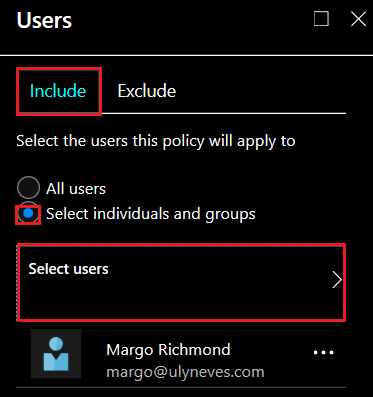
Click Done.
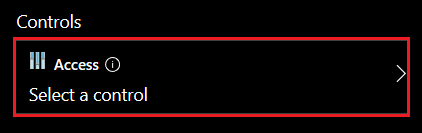
Let’s configure the policy to require MFA registration on the next sign-in, in case the user hasn’t done it yet.
Check the Require Azure MFA registration option.
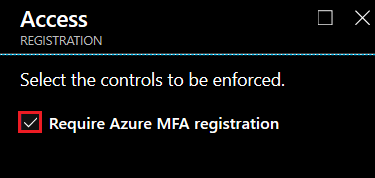
Note: This policy only affects cloud-based MFA. If the infrastructure has an MFA server, it will not be applied.
Enable the policy by clicking On.

Click Save.
Testing the user’s first access
When accessing any service in Azure with the user affected by the policy, they are prompted to complete MFA registration.
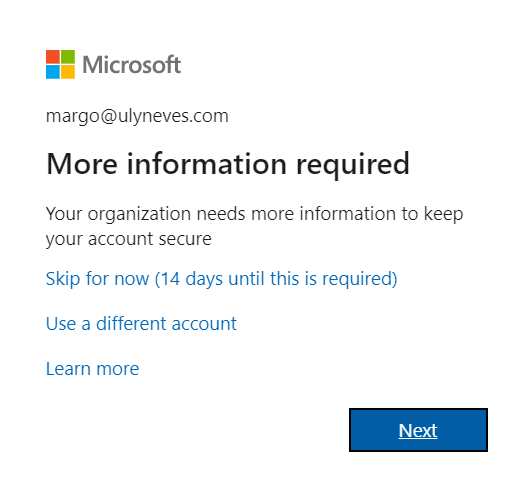
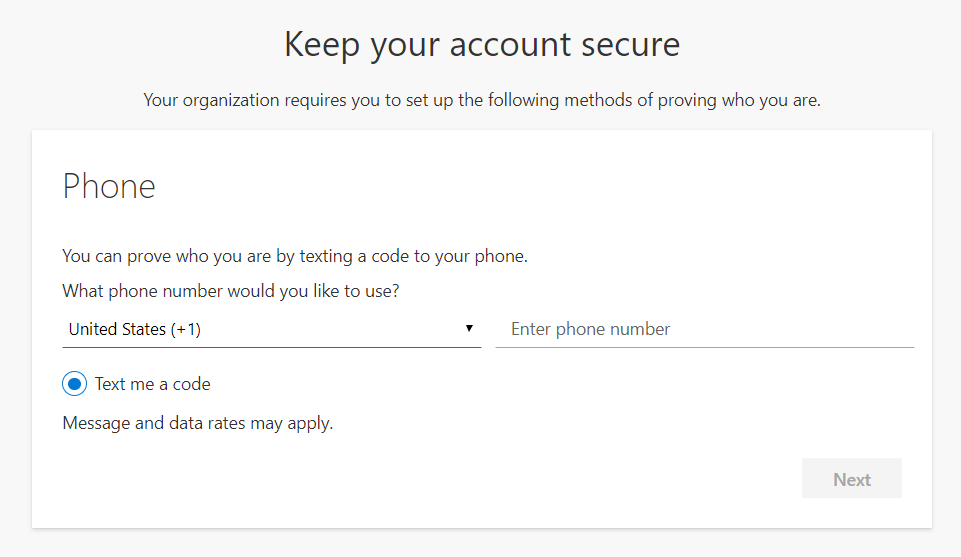
Enter a contact phone number and click Next.
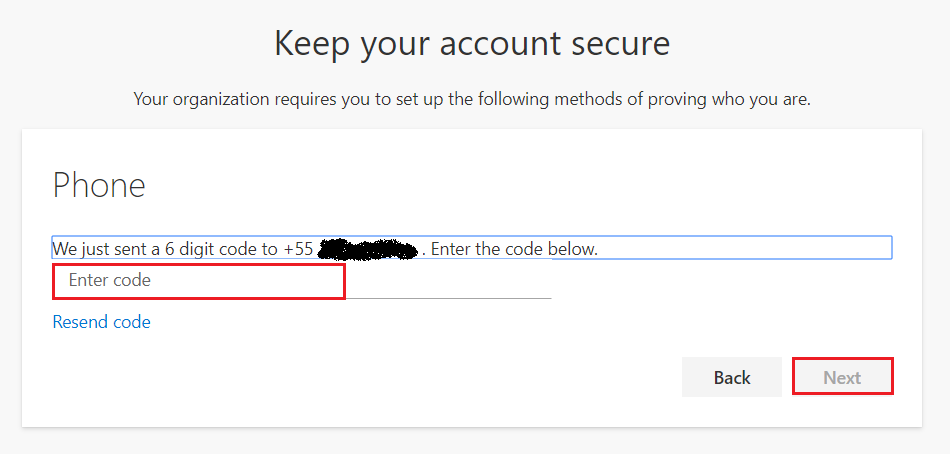
Enter the code received via SMS and click Next.
Once the SMS code is confirmed, you’ll see the message below:
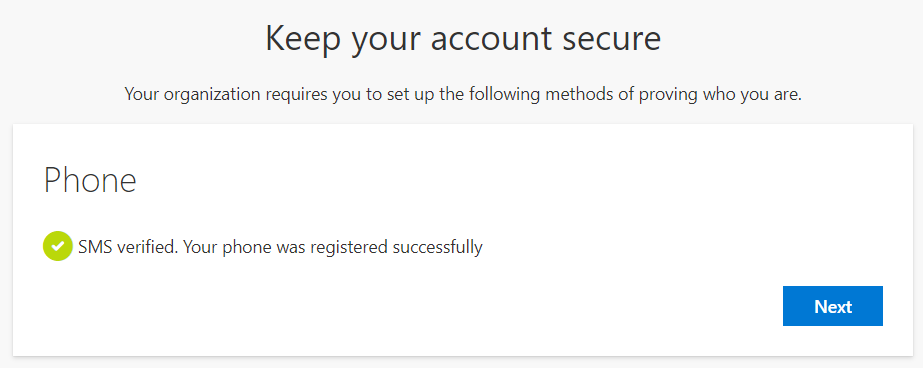
Click Next.
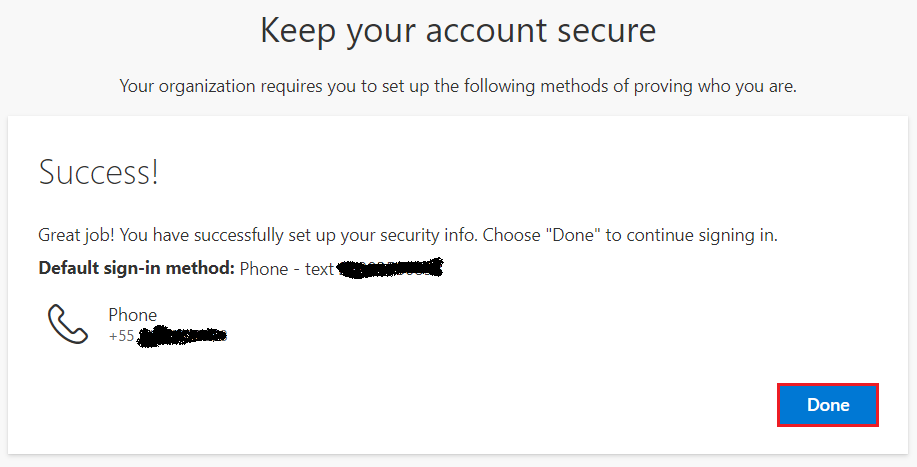
Click Done.
With MFA configured, access to the portal is granted.
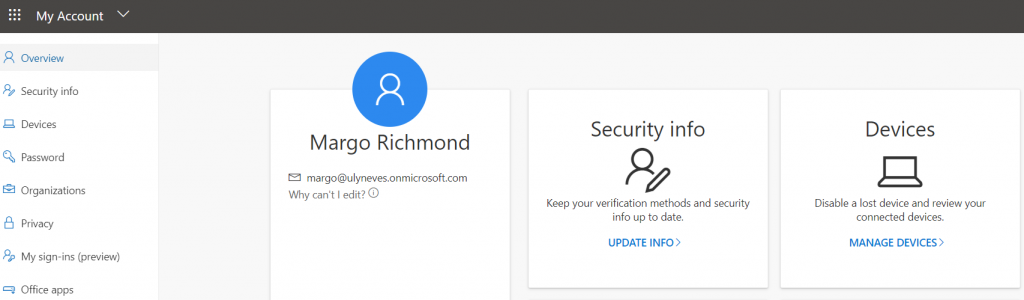
Let’s check the MFA methods registered for this user by clicking Update Info in the Security Info menu on the screen above.
Identity confirmation is requested by sending an SMS to the device we just registered.
Enter the code and click Verify.
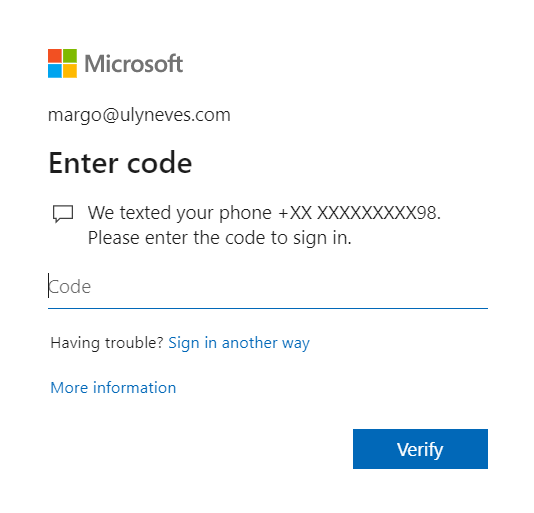
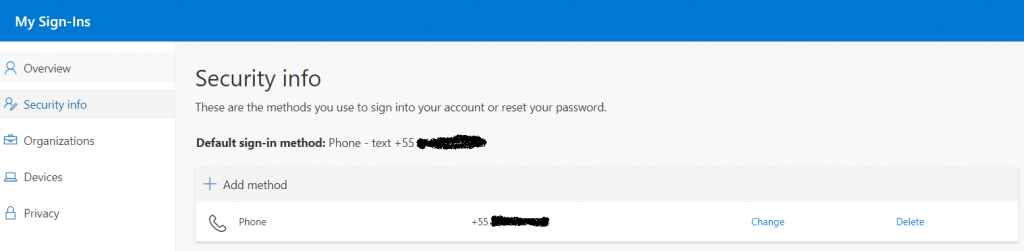
After verifying the SMS code, access to the portal with the security information is granted.
Adding another authentication method
You can add authentication using Microsoft’s Authenticator App by clicking Add method.
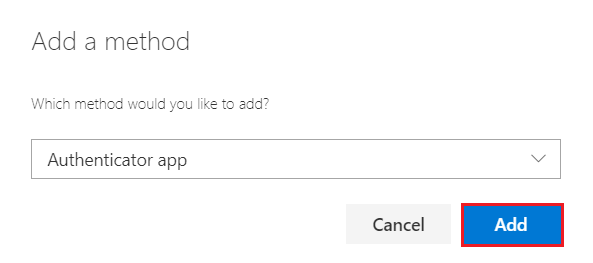
If you don’t have the Microsoft Authenticator app, click Download now. If you already have the app installed, click Next.
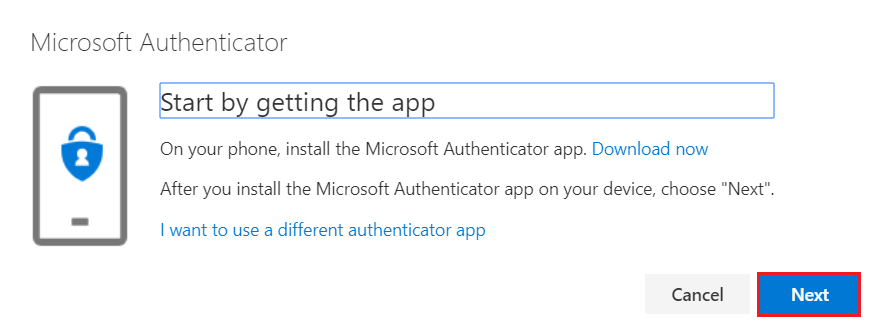
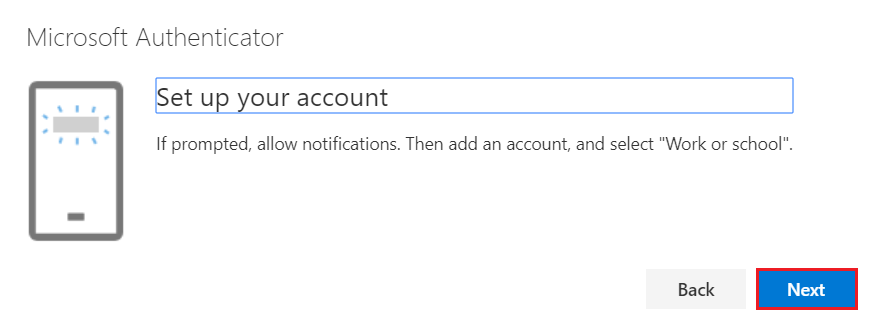
Click Next on the screen below.
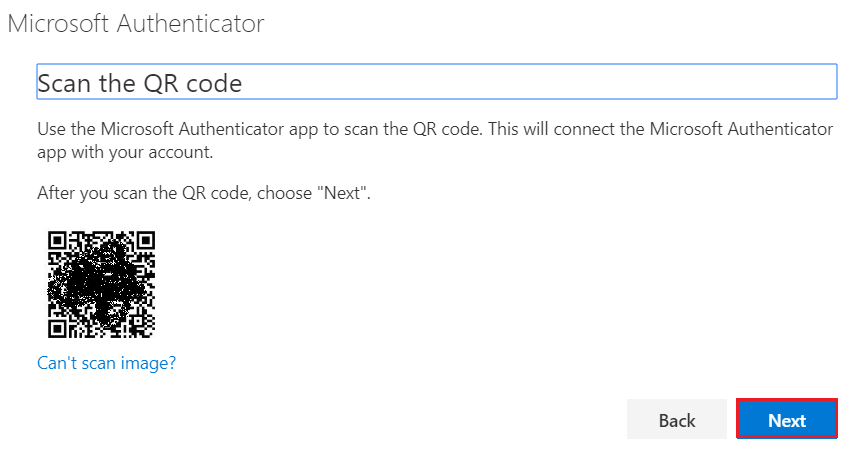
With the code shown below, perform the steps on your mobile device.
Registering the account in Microsoft Authenticator
After installing the Microsoft Authenticator app on your mobile device, open the app and click the + option located in the top-right corner.

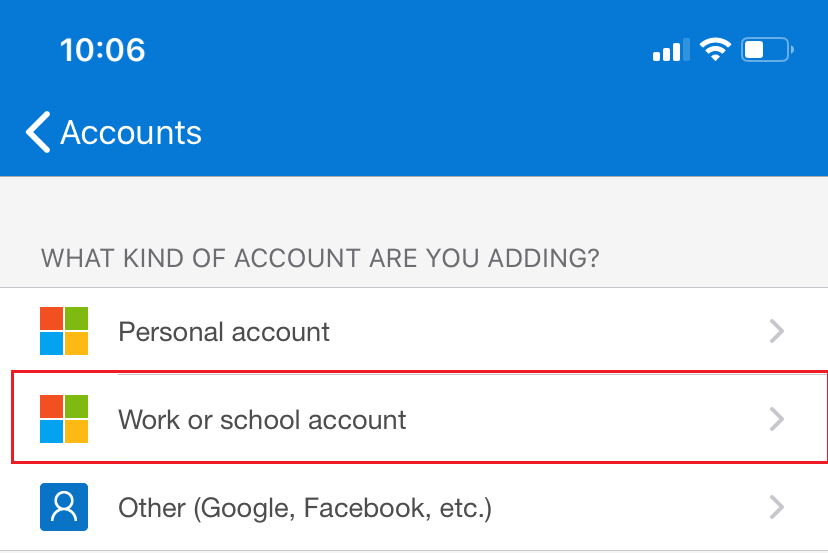
Select the Work or school account option in the Accounts menu.
Scan the code shown by the Azure portal.
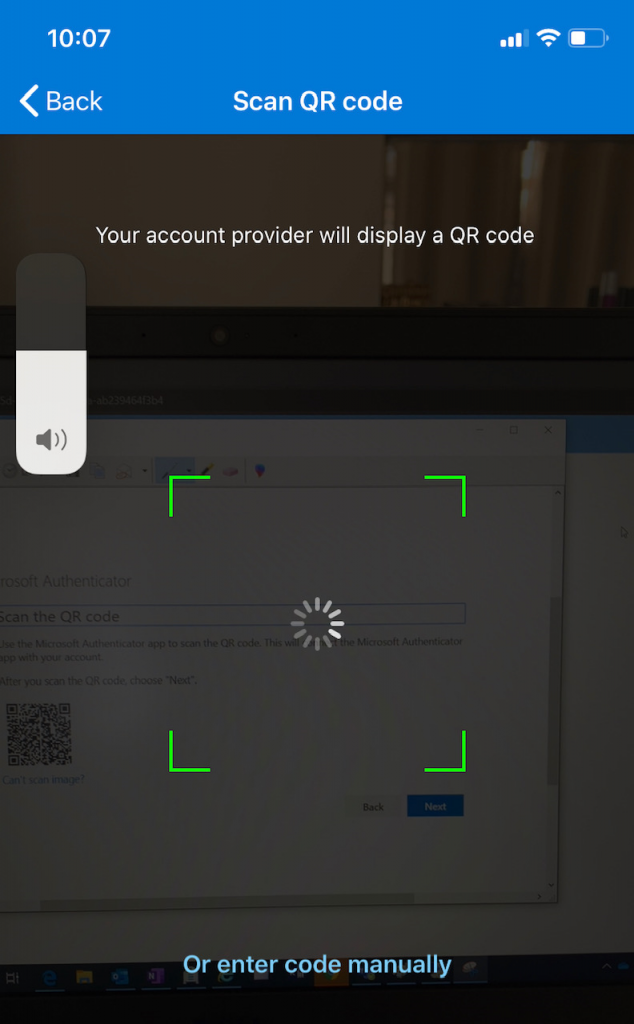
With the code scanned, the user’s profile is added to the Microsoft Authenticator app.

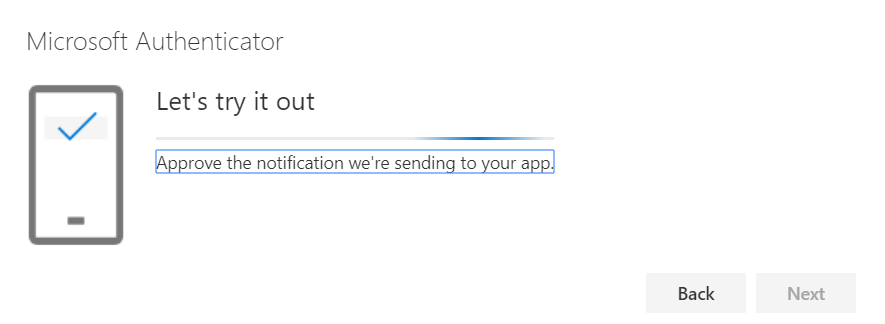
After the configuration is done on the device, Azure sends a Push request to the device to complete the process.
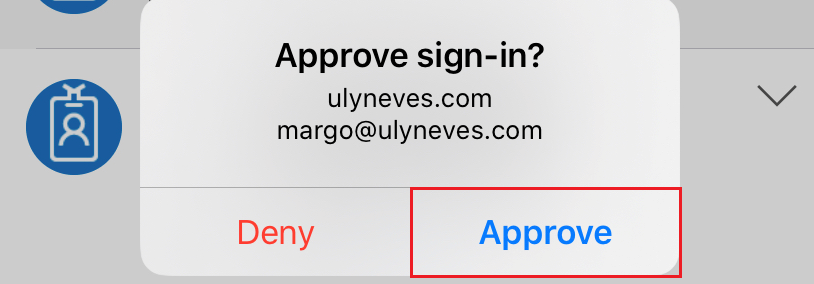
On the mobile device, click Approve.
Back in the Azure portal, after the approval is confirmed, you’ll receive the message below:
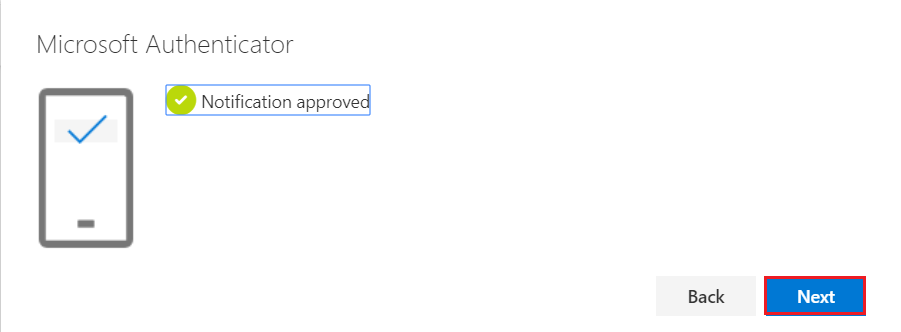
Click Next.
Changing the default MFA method
With more than one MFA method configured, you can change which option will be requested from the user when MFA is required.
To change the first MFA option, click Change.
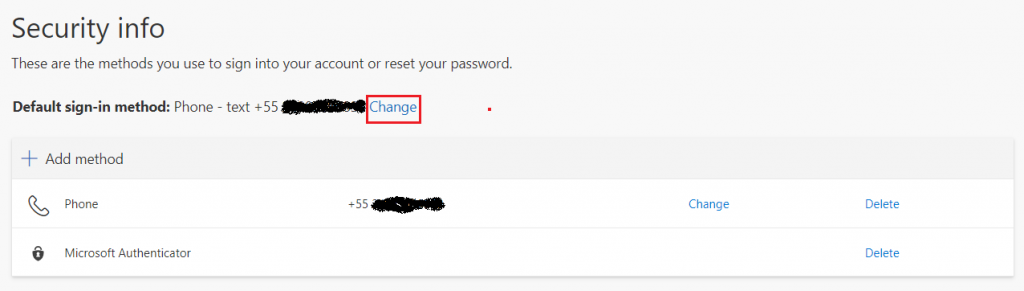
Select the Microsoft Authenticator – notification option and click Confirm.
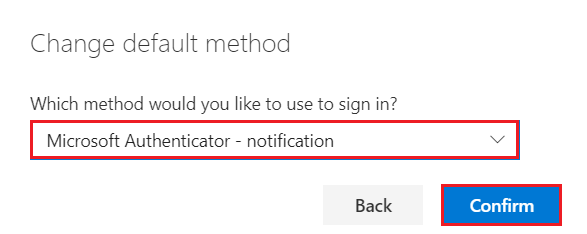
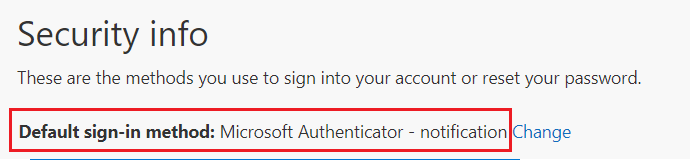
Now we can see that the default option for MFA is the Microsoft Authenticator app. When the user is prompted to confirm their identity, a Push will be sent to the app requesting approval of access.
Summary
In today’s article, we explained step by step how to enable the MFA registration policy using the Identity Protection tool in Microsoft Entra ID. We also demonstrated how to add a second authentication method in the user portal and how to set Microsoft Authenticator as the default for identity confirmation.
I hope this content has helped enrich your knowledge of Azure.
Did you like the post? Like and share it. 🙂
If you have any suggestions or comments, let us know.
[ ]’s
Ulysses Neves
