
Hello, everyone. In today’s article, we’ll explain what the Office 365 (Preview) application group is and how to use this new feature to control access to Office 365 resources in Azure using a conditional access policy. This configuration is typically used when the administrator wants to block all Office 365 applications except access to email.
What is Office 365 (preview)
Office 365 (preview) is an application group that contains all the resources that make up Office 365 in Azure. Using this group ensures that all applications related to Office 365 will be protected by the configured conditional access policy.
Below we show some applications that are part of the Office 365 (preview) application group:
- Microsoft Flow
- Microsoft Forms
- Microsoft Teams
- Office 365 Exchange Online
- Office 365 Sharepoint Online
- Office 365 Yammer and others.
Creating the conditional access policy
For this illustration, let’s create a conditional access policy to block any access to Office 365 applications and allow only access to email.
To create the new conditional access policy, access the Azure AD > Security > Conditional Access Policy menu or click this link.
Click + New policy.

Fill in the policy name in the Name field.
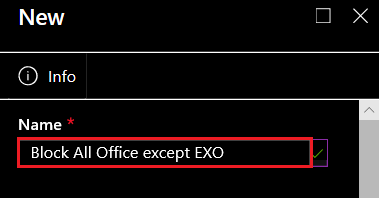
Selecting the users
To configure the users to be affected by this policy, perform the steps below:
1 – Select the Users and groups menu.
2 – Check the Select users and groups option.
3 – Click Select.
4 – Select the user or group you want to apply the policy to.
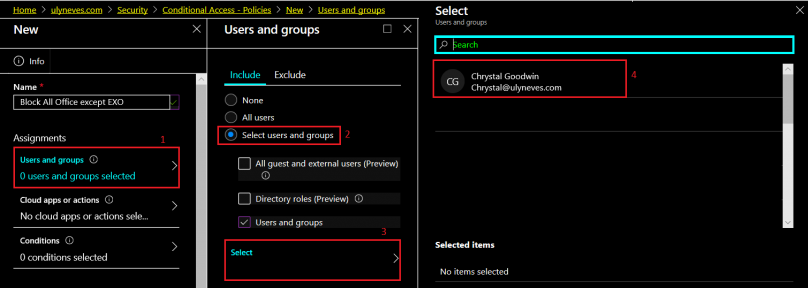
Click Select and then Done.
Configuring the applications
Now let’s select all the Office 365 applications listed in the introduction of this article using just one application group, Office 365 (preview). To do this, perform the steps below:
1 – Select the Cloud apps or actions menu.
2 – Click Select apps.
3 – Click Select to select the application group.
4 – Let’s search for the name Office 365.
5 – Select the Office 365 (preview) application.
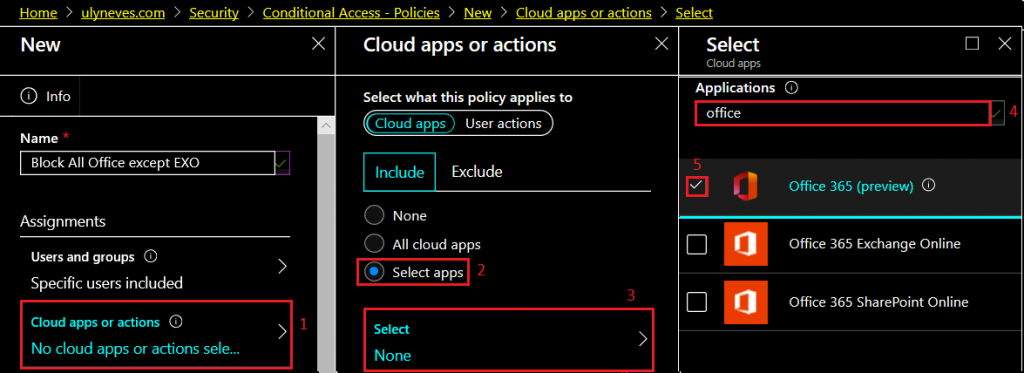
Click Select.
Excluding Exchange Online from the policy
Let’s configure Exchange Online to be the only Office resource allowed access. To do this, perform the steps below:
1 – Select the Exclude option.
2 – Click Select excluded cloud apps.
3 – Let’s search for the Exchange service.
4 – Select the Office 365 Exchange Online service.
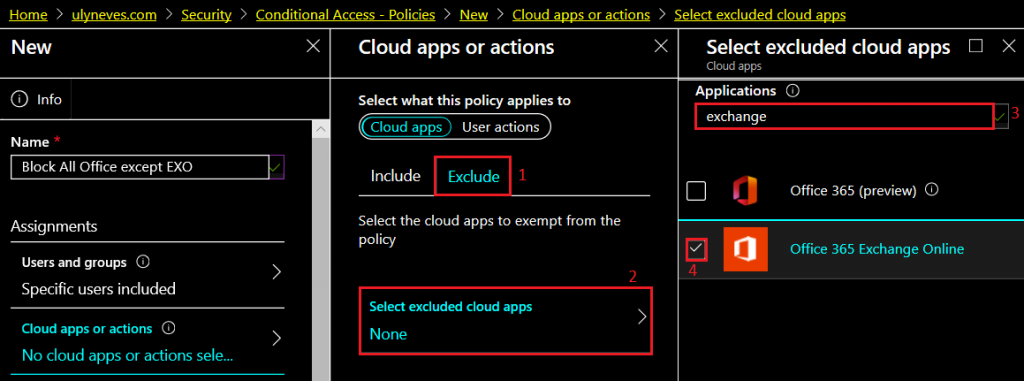
Click Select and then Done.
Configuring the policy control
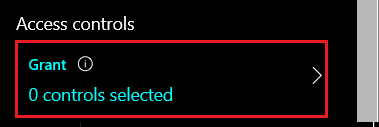
To select the control to be applied when the user accesses the applications configured in this policy, select the Grant option in the Access controls menu.
For this illustration, let’s block access for users who meet the requirements of this policy.
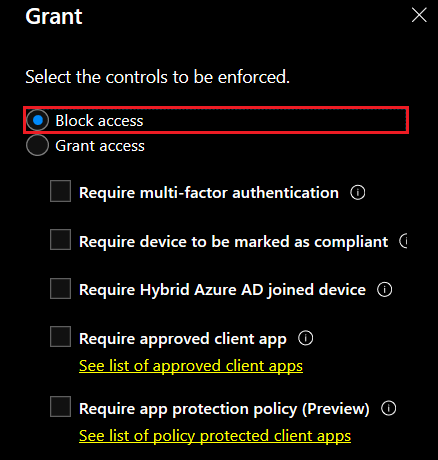
Click Select.
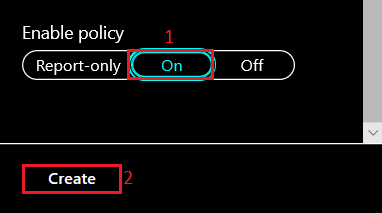
Let’s enable the policy in the Enable policy option.
Click Create.
Testing the access policy
Now let’s test access to the Office portal through the address https://portal.office.com.
Let’s enter the credential of the user who is in scope for this policy and click Next.
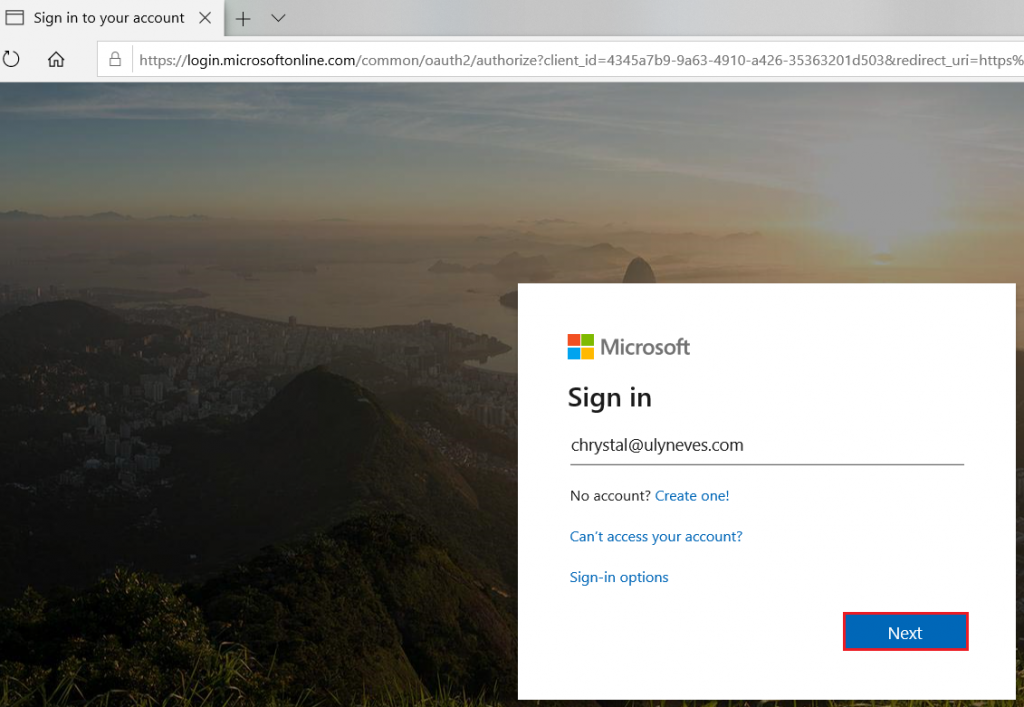
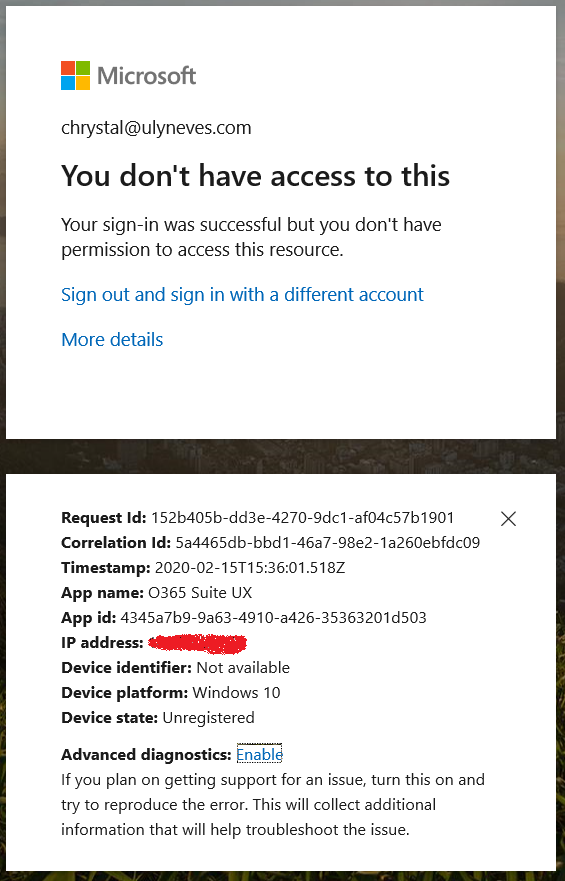
As expected, access to the Office portal is BLOCKED.
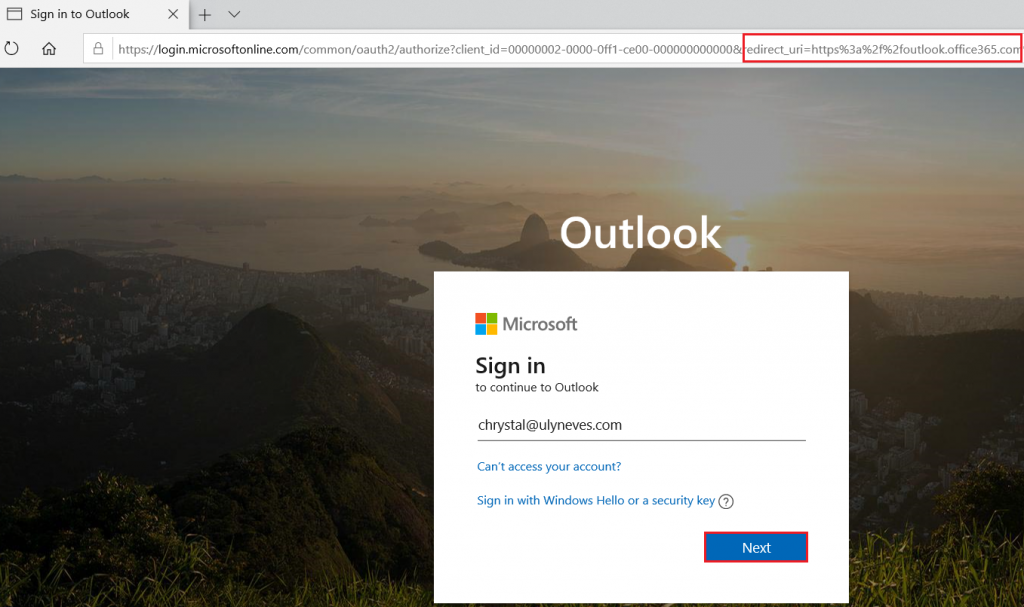
Now let’s access the same user’s email directly through the address https://outlook.office365.com/.
We fill in the user’s information again and click Next.
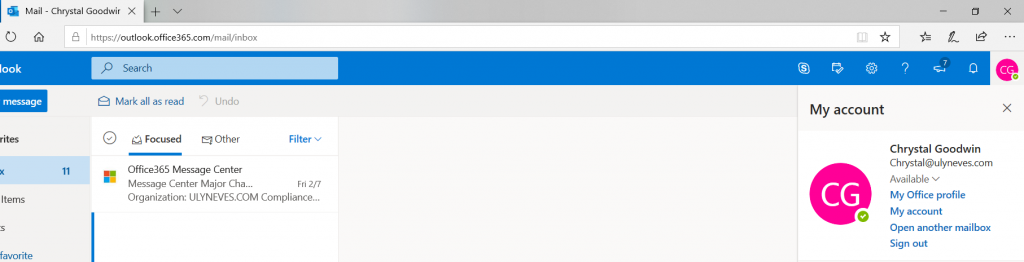
As we can see, access to email is granted.
Checking the access logs in the Azure portal
Let’s confirm through the logs in the Azure portal whether the conditional access policy we created was effective.
You can access the Microsoft Entra ID Sign-ins page using this link.
In the image below we can confirm the error code 53003 – Access has been blocked due to conditional access policies.
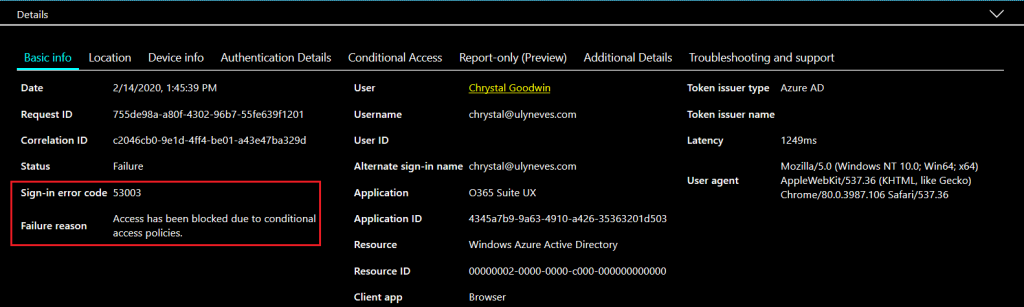
When we select the Conditional Access tab, we confirm the policy result for this access: Failure.

Now let’s confirm access to the Office 365 Exchange Online service by selecting the event for this access.
We notice that the status is Success.
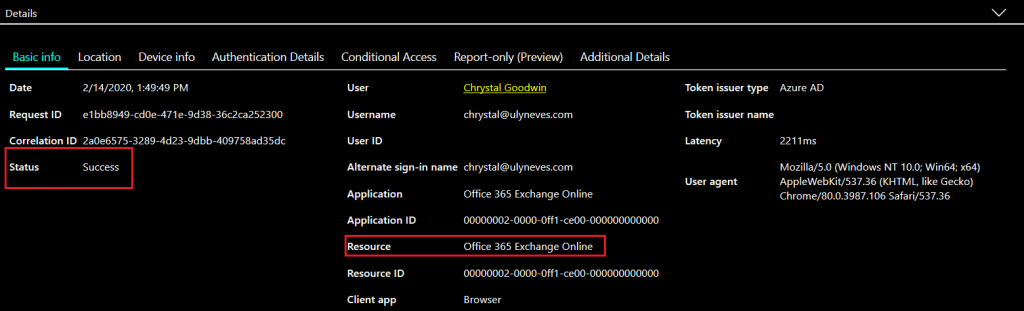
Accessing the Conditional Access tab, we confirm that the conditional access policy was not applied, and for this reason, the user’s access to the resource in Azure was granted.

Summary
In today’s article we presented the Office 365 (Preview) feature and how to use this feature to reduce the number of applications listed in the conditional access policy. We demonstrated step by step how to block access to Office applications with the exception of users’ email service.
I hope this content has helped enrich your knowledge of Microsoft Entra ID.
Did you like the post? Like it and share it. 🙂
If you have any suggestions or comments, let us know.
[ ]’s
Ulysses Neves

Boa tarde!
ótimo post.
duas dúvidas:
É possível bloquear por horário espeificos?
É possivel bloquear todos os aplicativos apenas de dispositivos mobile?
Olá Tiago, obrigado pelo feedback. Seguem as respostas às suas dúvidas:
É possível bloquear por horário espeificos? Infelizmente ainda não.
É possivel bloquear todos os aplicativos apenas de dispositivos mobile? É possível configurar a política para sistemas operacionais mobile. Dá uma olhada neste doc: https://docs.microsoft.com/en-us/azure/active-directory/conditional-access/concept-conditional-access-conditions#device-platforms
Forte abraço.