
Hey all. Today, I will show how to configure the claims provider trust between two AD FS farms to allow system admins give access to applications federated to an AD FS farm with users coming from another farm.
Requirements to follow this process:
- Two AD FS farms. No need to have different versions.
- One application configured as Relying Party to one of the farms. In our tests, we’ll use an application called Claims X-Ray.
Let’s consider the scenario below:
- Farm 1 as AD FS farm with application Claims X-Ray configured as Relying Party.
- Farm 2 as AD FS farm as claims users that will have access to the application Claims X-Ray.
Creating the trust between both farms
In the primary AD FS server of Farm 1, let’s configure the Claims Provider Trust following steps below:
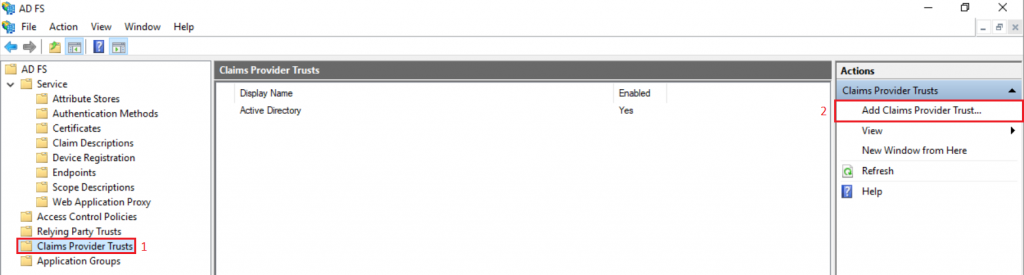
1 – Open AD FS console and select Claims Provider Trusts.
2 – Select option Add Claims Provider Trust…
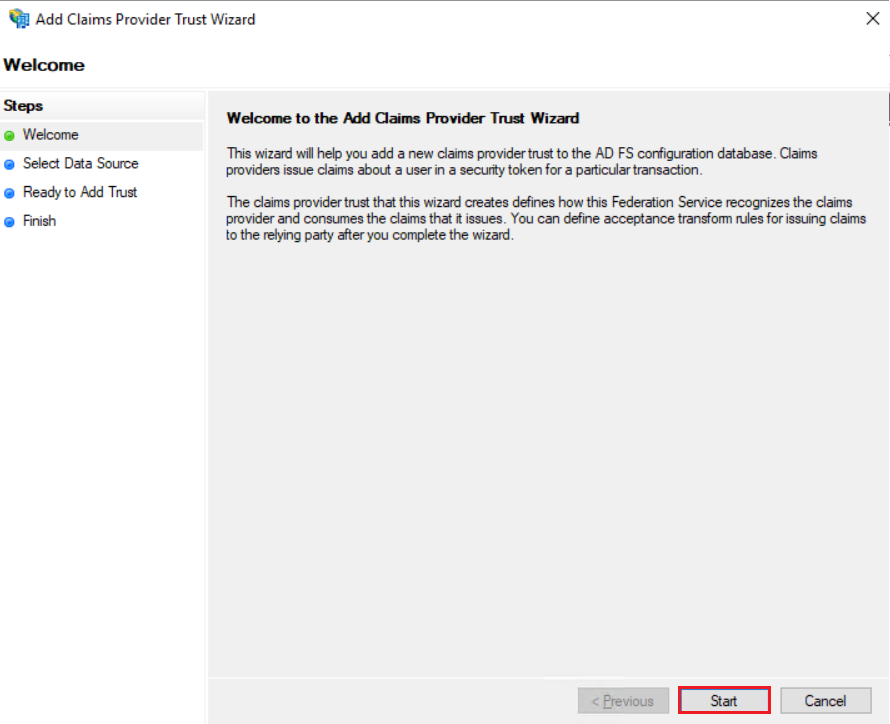
Select Start.
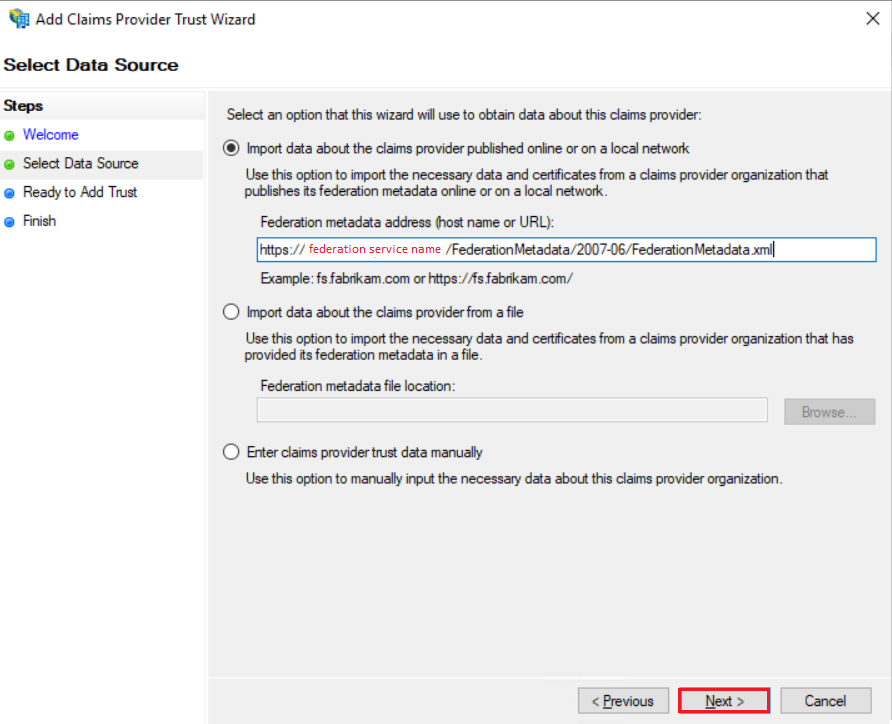
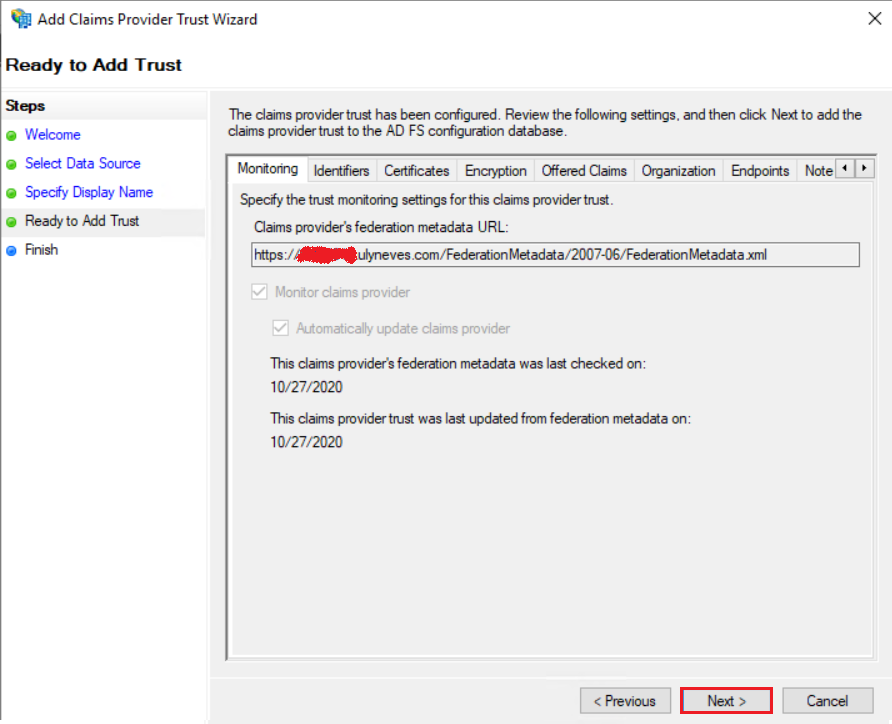
Let’s use the federation metadata of the federation service that belongs to farm 1. The address should look like: https://myserver.domain.com/FederationMetadata/2007-06/FederationMetadata.xml
Give a name to the Claims Provider Trust’s connection.
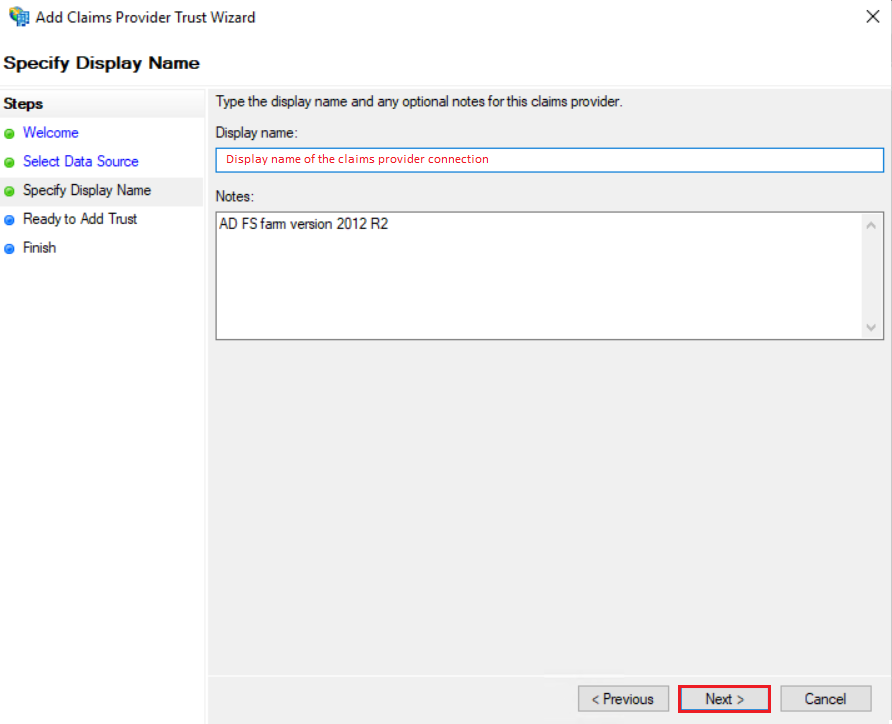
Select Next.
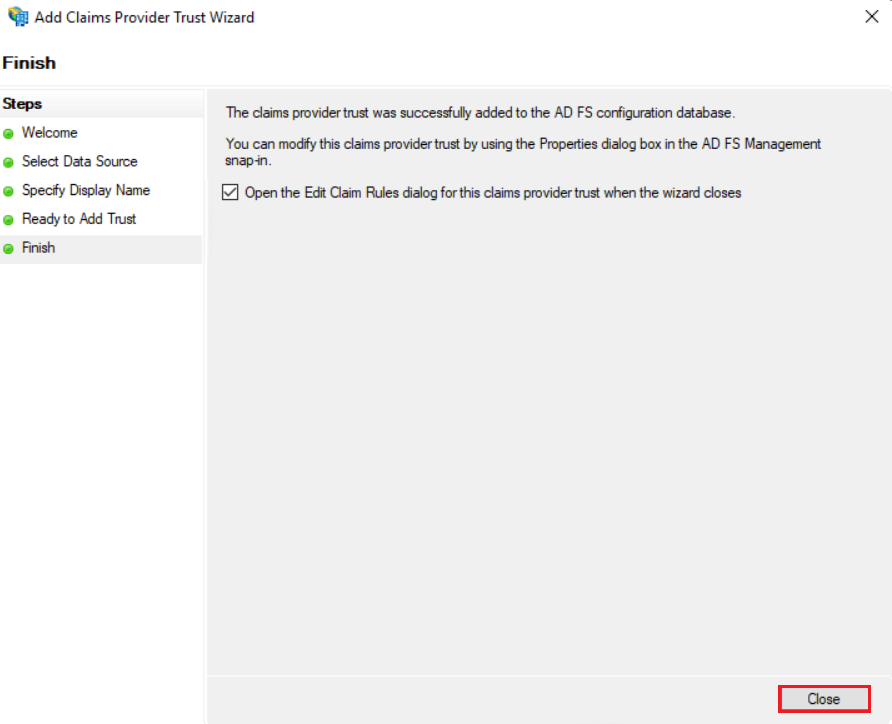
Click Close.
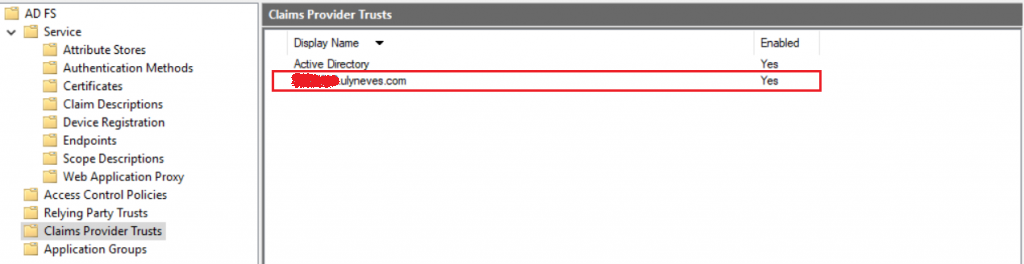
As we see, the new Claims Provider Trust is configured and enabled.
Configuring the Claim Rules
Let’s configure now the claim rules to tell which claims will be sent to the requestor, in case, the Application hosted on Farm 1.
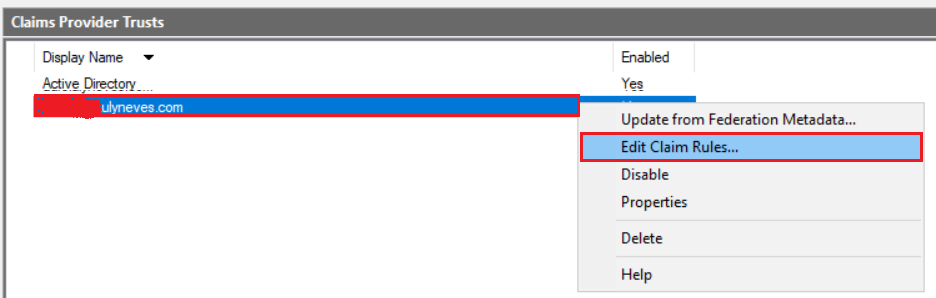
Let’s right-click on the Claims Provider Trust created and select Edit Claim Rules…
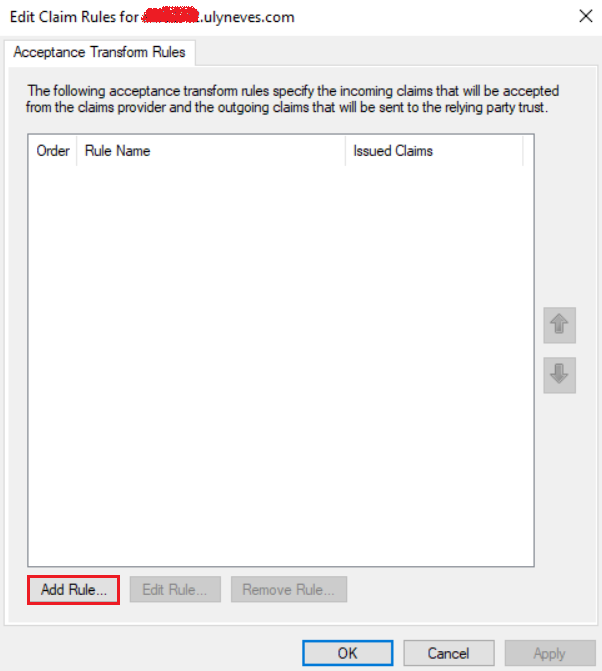
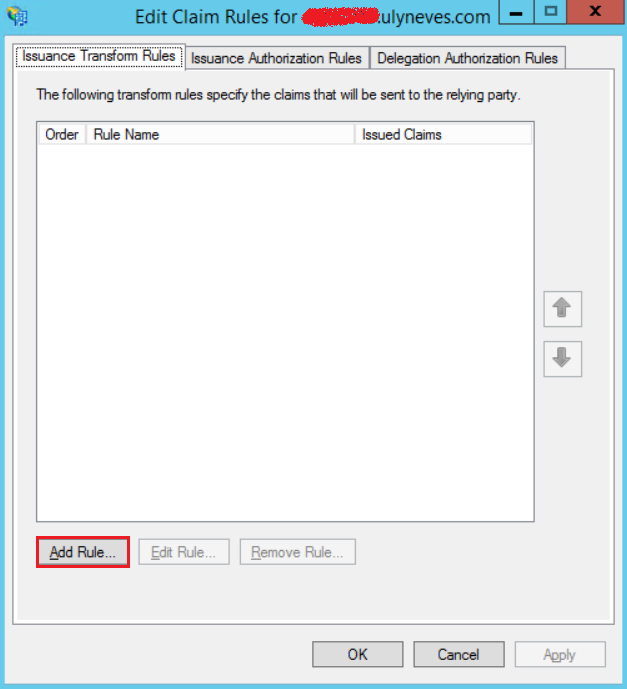
Click Add Rule…
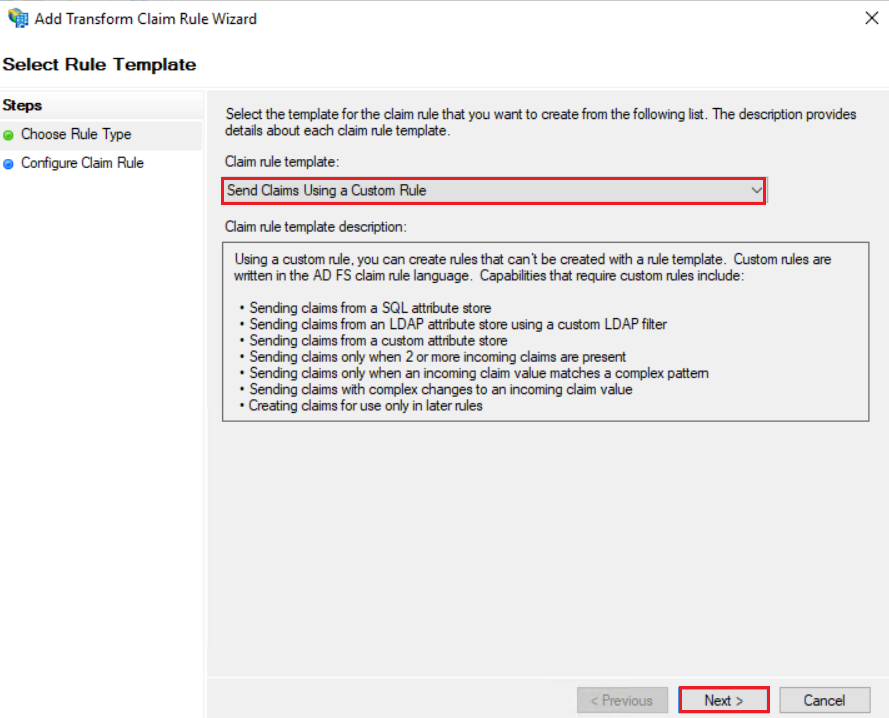
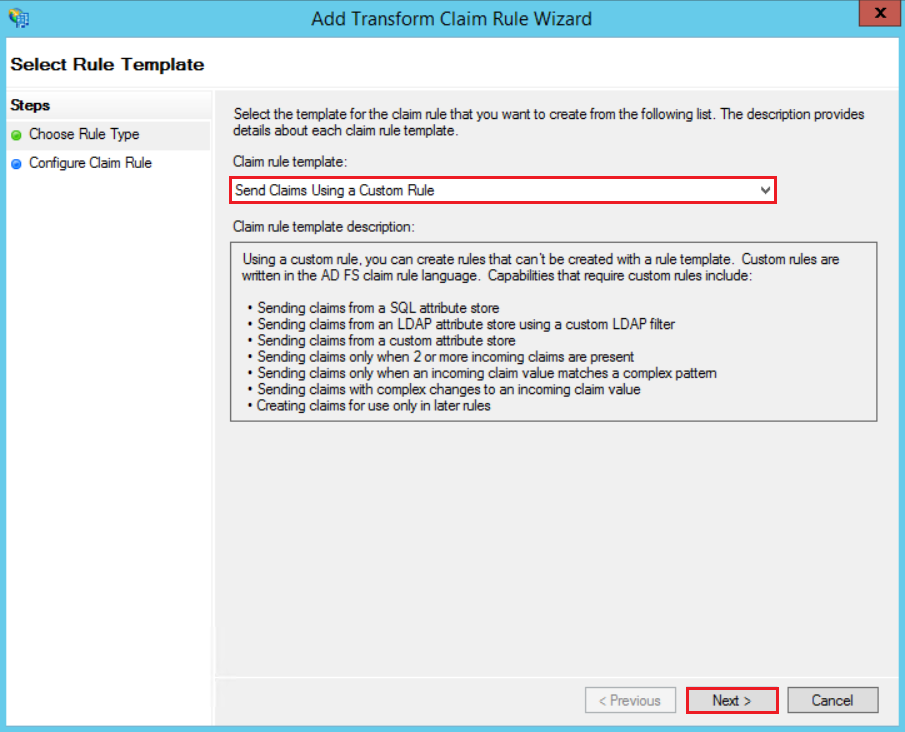
Select Send Claims Using a Custom Rule and click Next.
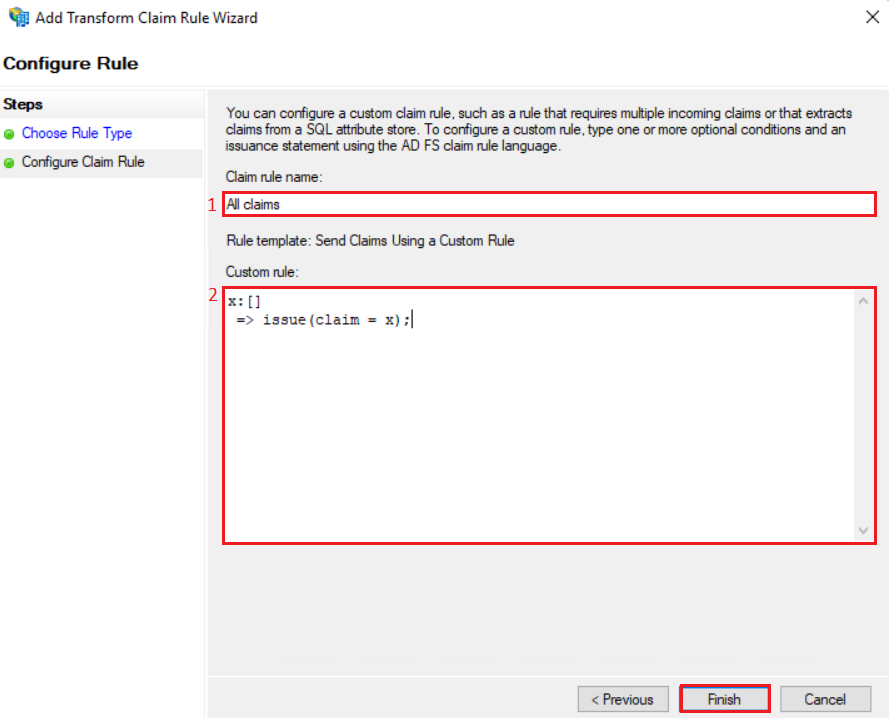
Let’s create for this test a rule issuing all claims. As this is just an illustration, I’ll select all claims to be sent through the pipeline. In a production scenario, you must check which claims are expected by the Application from the Claims Provider.
1 – Type the Claim rule’s name.
2 – Copy the text below and paste in the Custom rule’s box.
x:[]
=> issue(claim = x);
Click Finish.
Click Apply and OK.
Configuring the Relying Party Trust in the Farm 2
To have the AD FS service able to send claims to Farm 1, we need to configure a Relying Party Trust in this farm.
Open the AD FS console on Farm 2 and proceed with following steps:
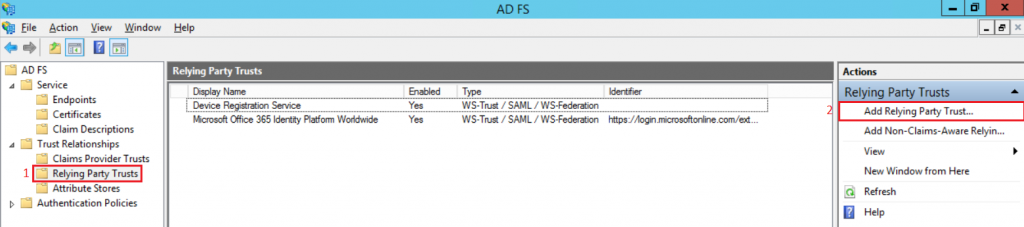
1 – Select Relying party Trusts.
2 – Click on Add Relying Party Trust…
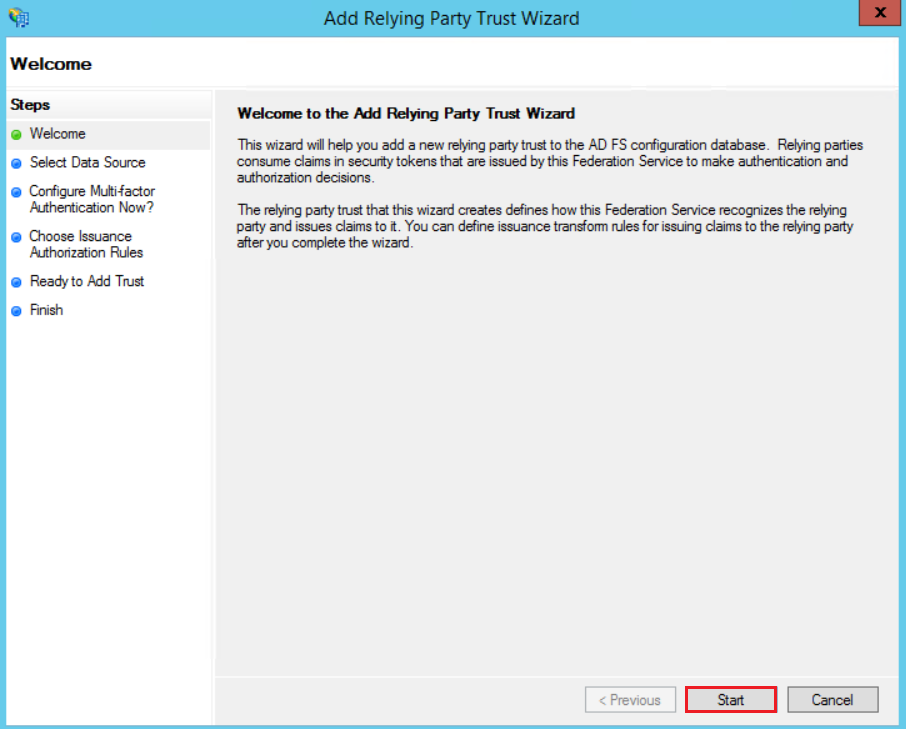
Click Start.
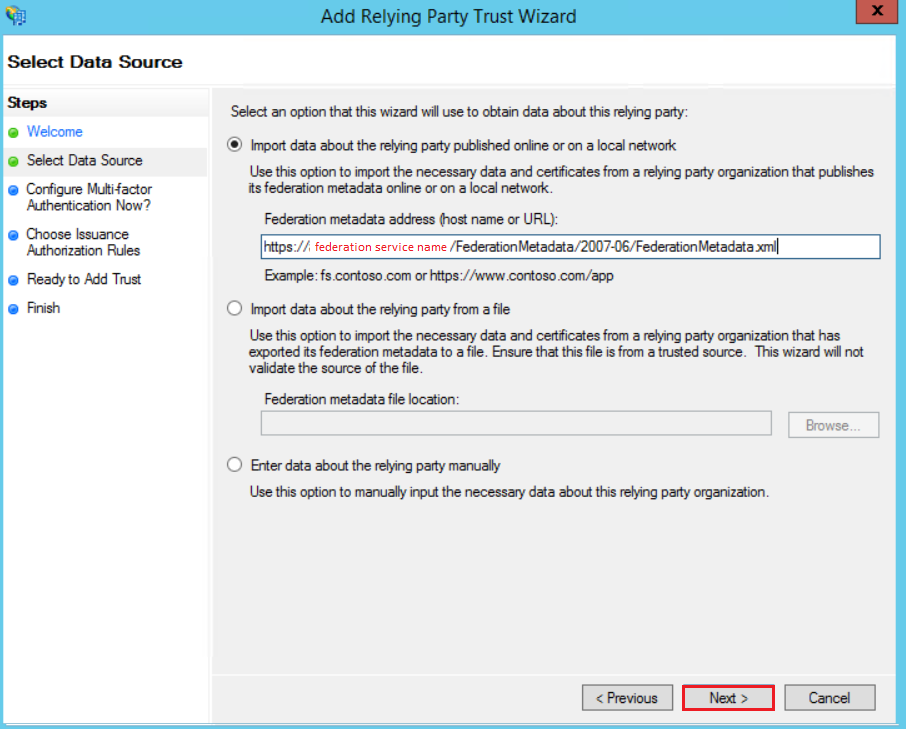
Select option Import data about the relying party published online or on a local network and provide the Federation Metadata URL hosted by Farm 1.
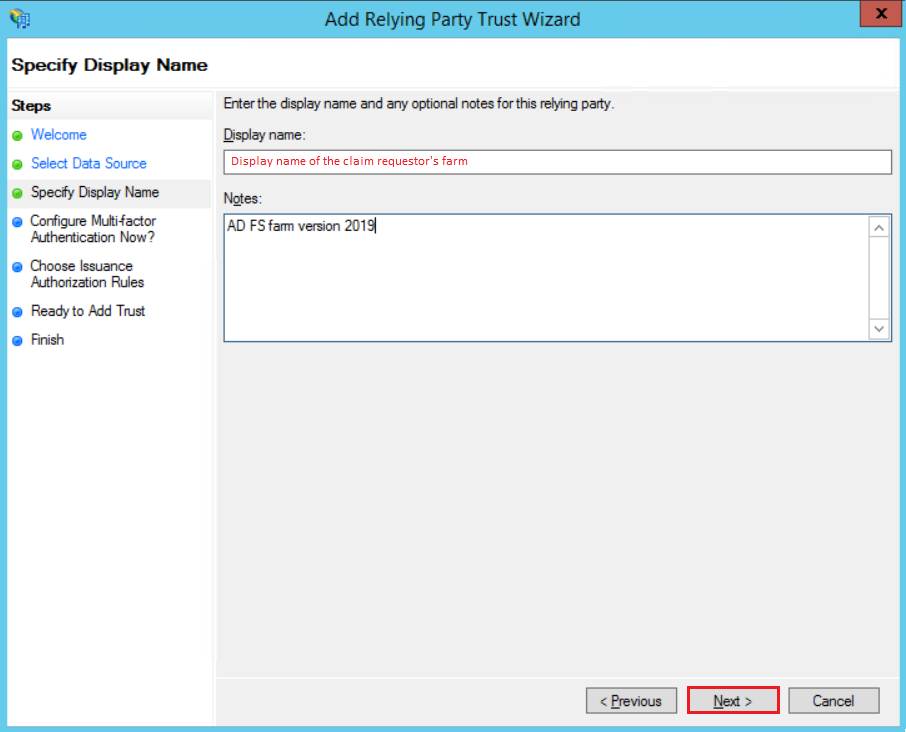
Provide a Display name to the Relying Party Trust, optionally some notes and click Next.
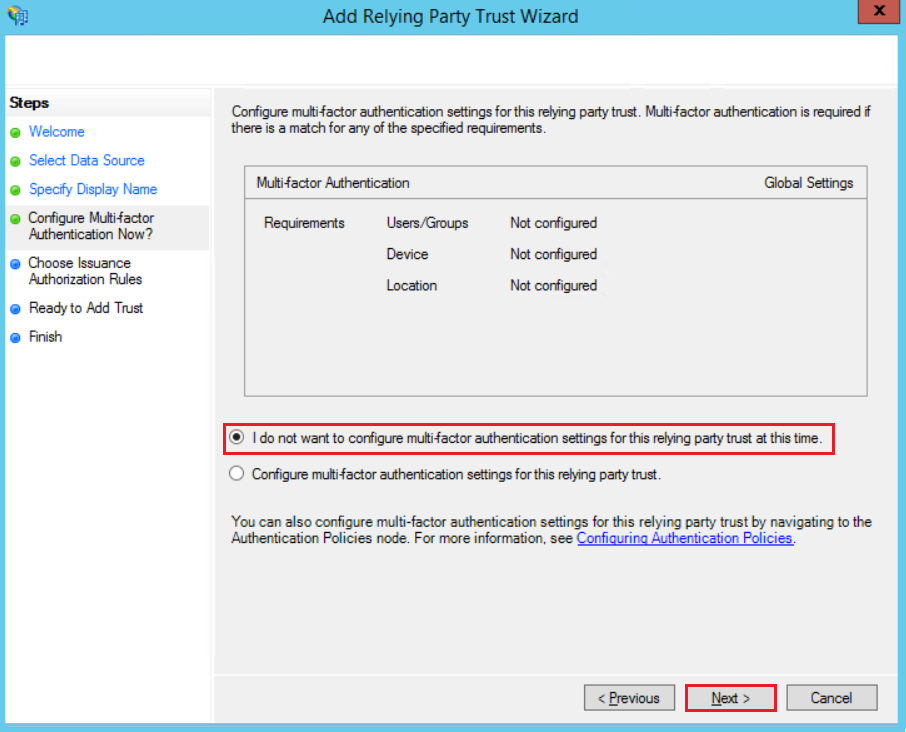
Let’s not force the use of MFA selecting I do not want to configure multi-factor authentication settings for this relying party trust at this time.
Click Next.
For this illustration, I will not create any Issuance Authorization rules so, let’s mark Permit all users to access this relying party.
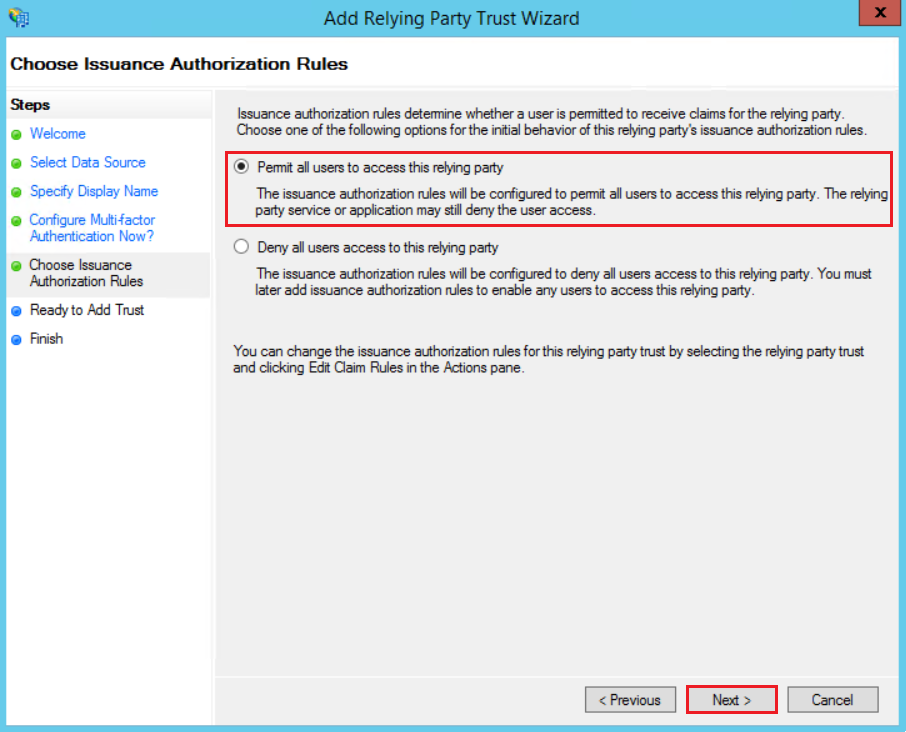
Click Next.
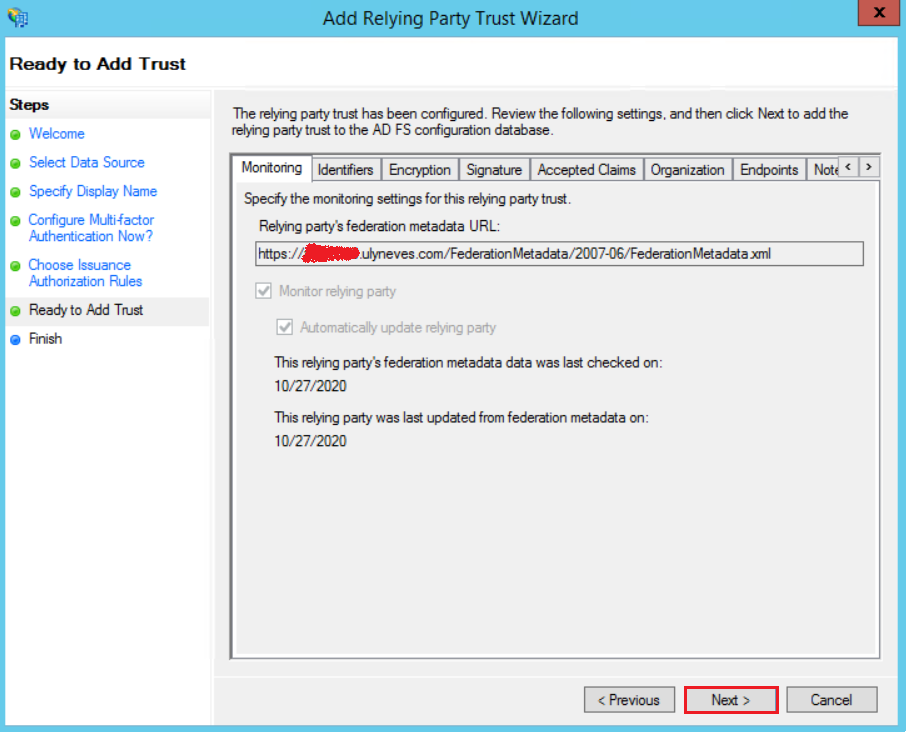
Clico Close.
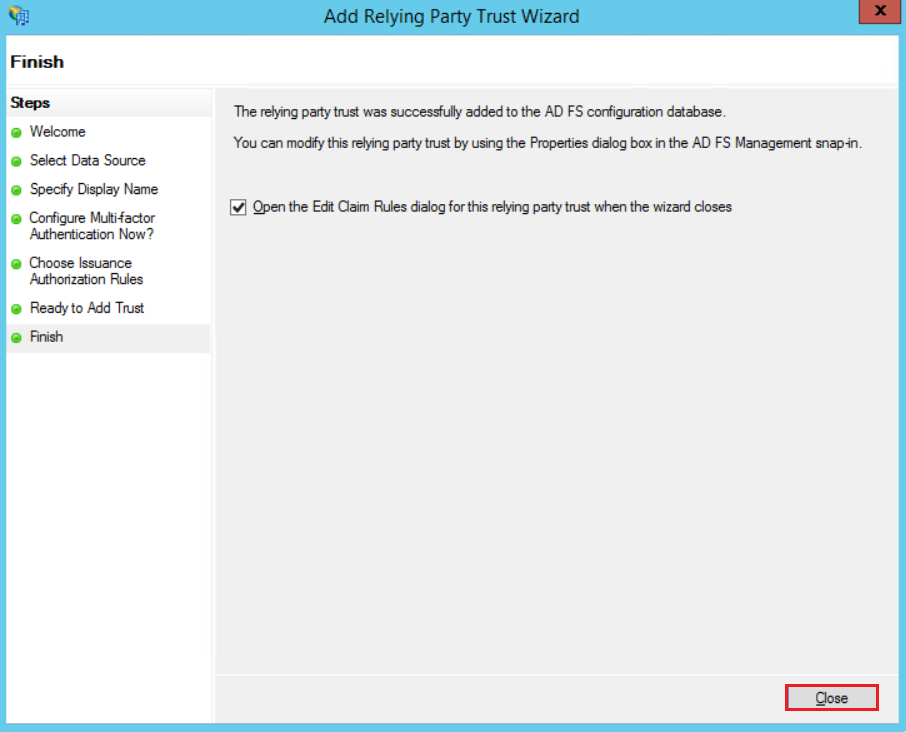
Configuring Claim rules
As we configured in Farm 1, let’s configure the Issuance Transform Rule to let Farm 2 send the expected claims to Relying Party configured in the previous step. Follow steps below:
1 – Right-click in the Relying party trust created previously.
2 – Click Edit Claim Issuance Policy.
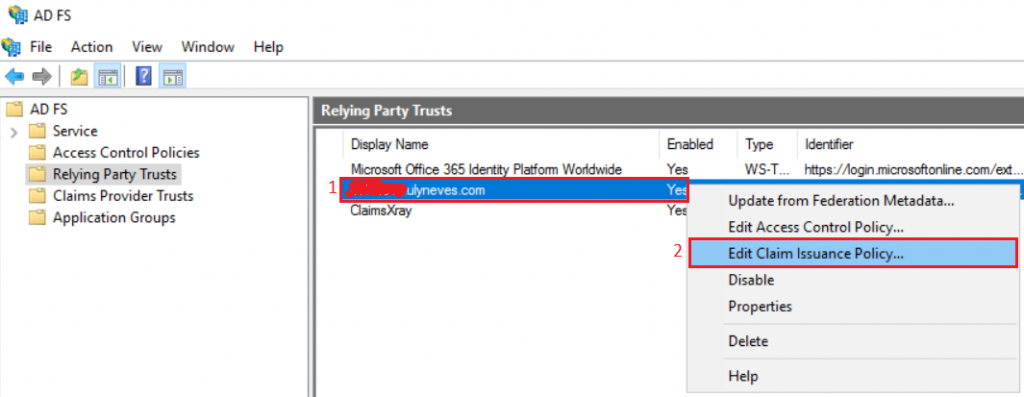
Click Add Rule…
Select option Send Claims using a Custom Rule and click Next.
Let’s create for this test the same rule created before with all claims included in the pipeline.
1 – Type the Claim rule’s name.
2 – Copy the text below and paste in the Custom rule’s box.
x:[]
=> issue(claim = x);
Click Finish.
Testing access to the Application
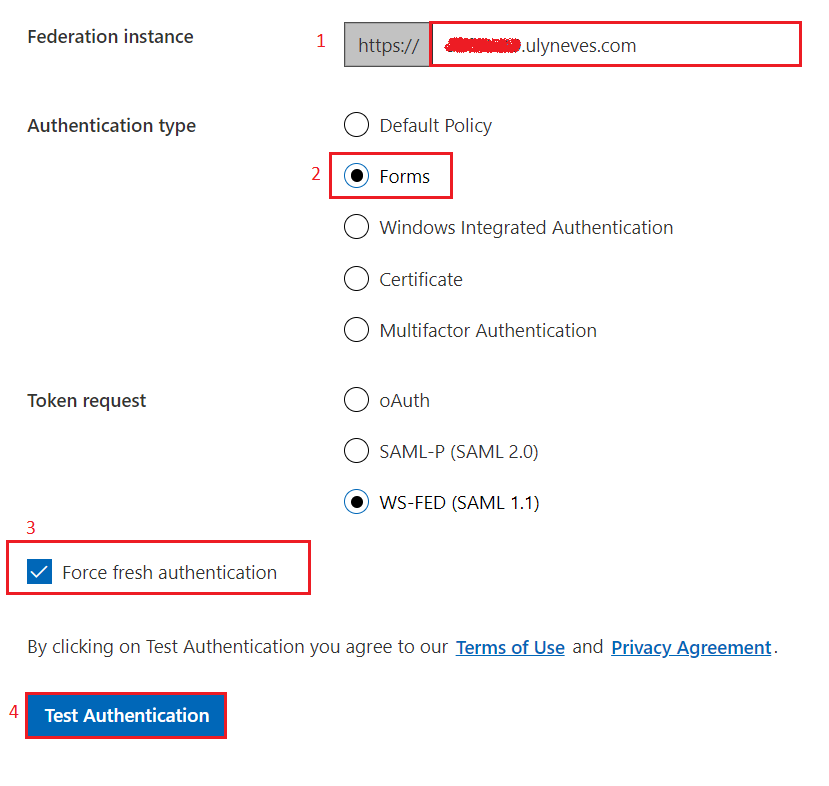
Let’s reproduce the access reaching the application ClaimsXray configured on Farm 1 through URL https://adfshelp.microsoft.com/ClaimsXray/TokenRequest.
Let’s proceed with the configuration as below:
1 – Fill the Federation instance with the federation service name of Farm 1 where you have the Application configured.
2 – Let’s select Forms as authentication type.
3 – Let’s mark Force fresh authentication.
4 – Select Test Authentication.
Let’s select Farm 2 as the claims provider to authenticate.
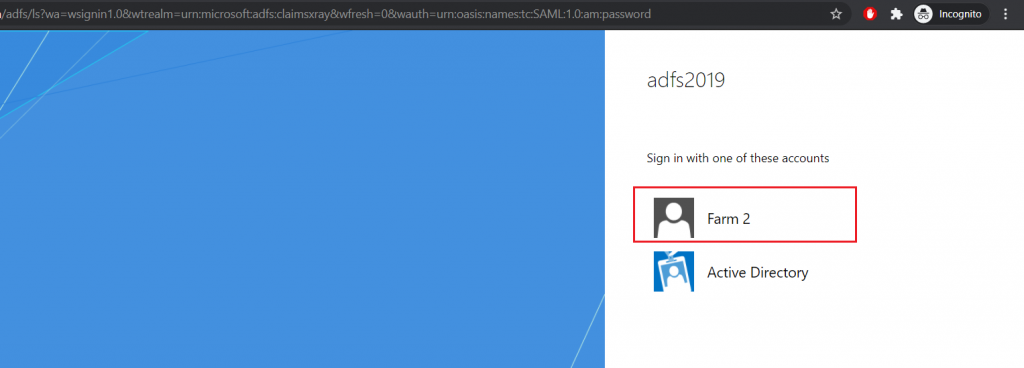
Now we see that the user was redirected to AD FS login page that belongs to Farm 2 to authenticate the user.
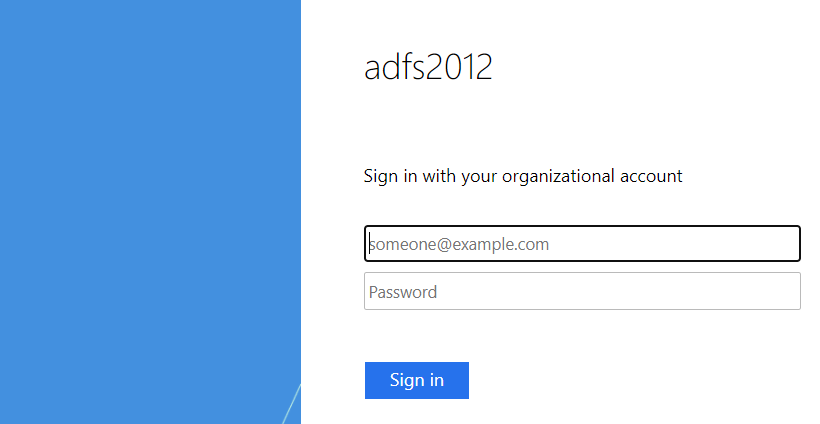
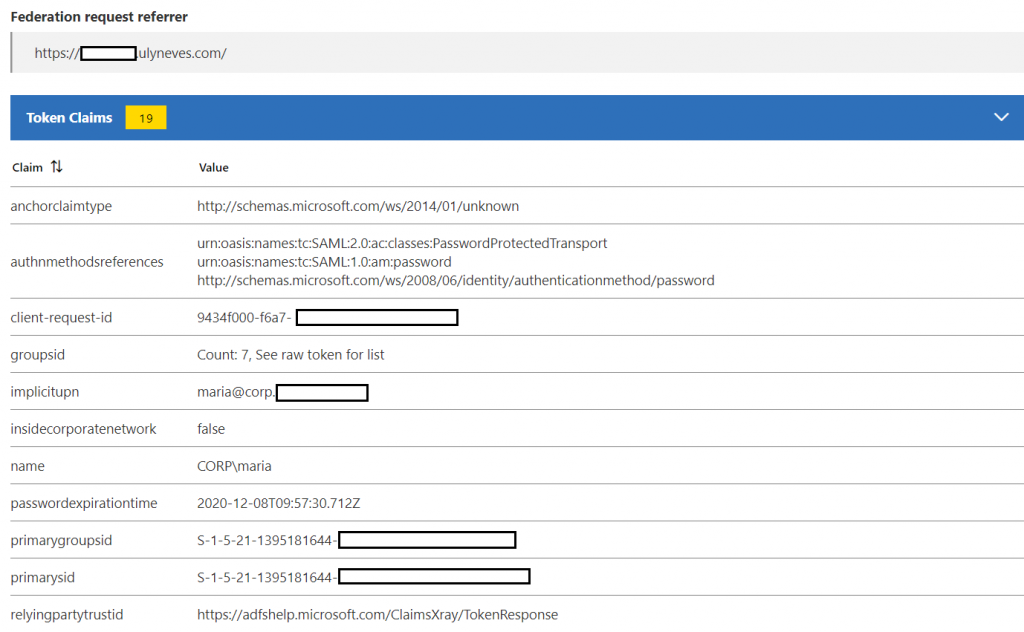
After providing the username and password on AD FS Farm 2, the user is authenticated and the access is granted to the application on Farm 1.
Summary
In this article, I’ve explained how to configure one AD FS farm to consume claims from another farm using Claims Provider Trusts feature. This can help System Admins authorize access to federated applications between AD FS farms.
I hope you have enjoyed reading this article and it helps you when administering your AD FS environment.
Enjoyed the article? Like and share. 🙂
In case you have any suggestion or feedback, please leave a comment.
[ ]’s
Ulysses Neves
